Canon XA10 XA10 Instruction Manual - Page 34
First Time Settings
 |
View all Canon XA10 manuals
Add to My Manuals
Save this manual to your list of manuals |
Page 34 highlights
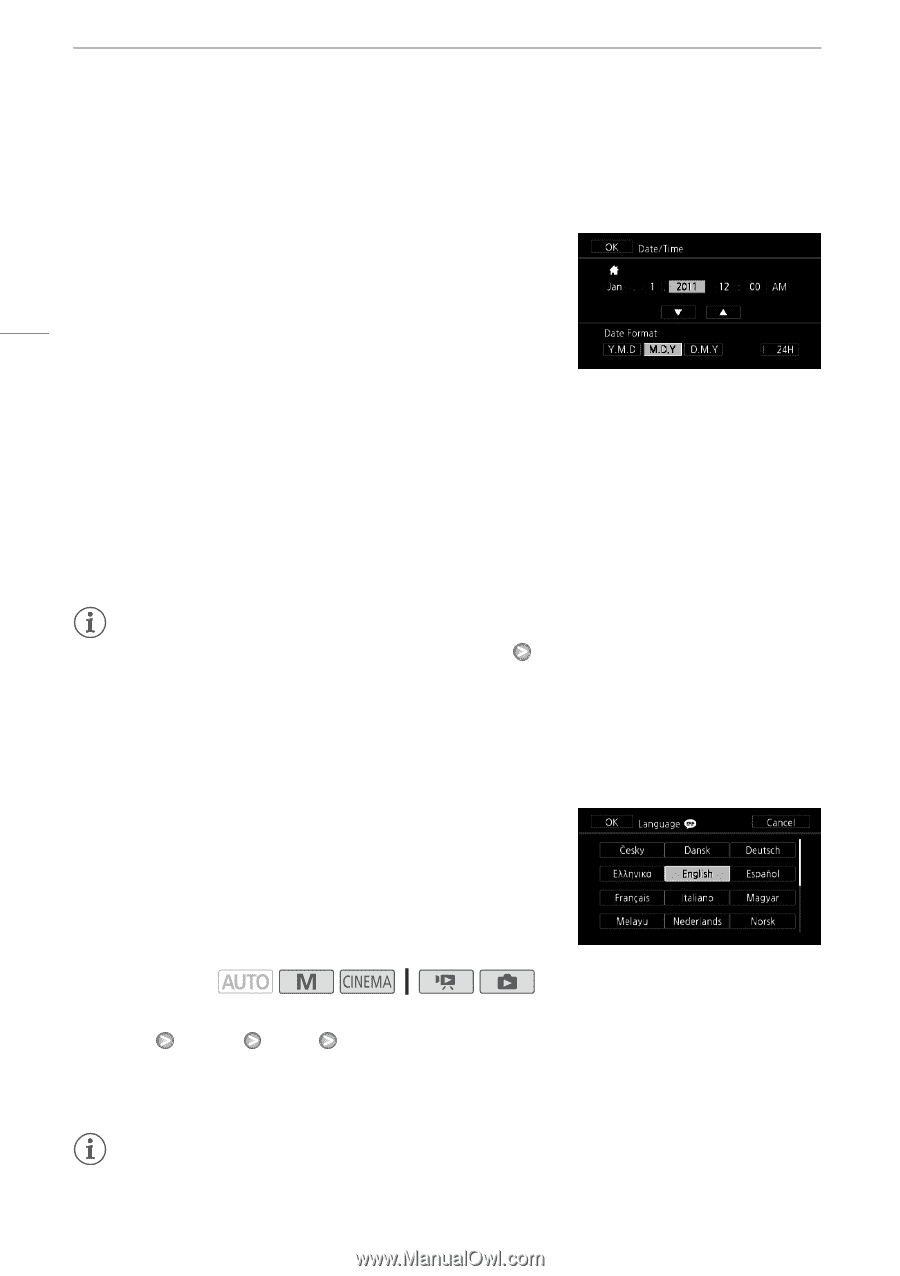
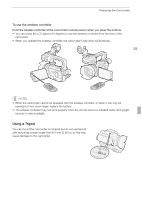
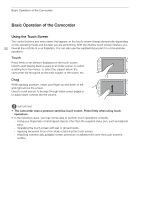
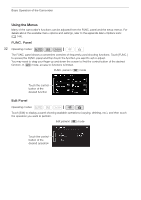
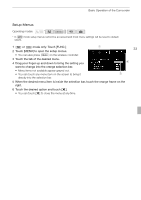
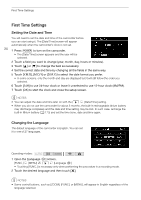
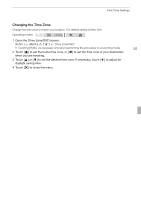
First Time Settings First Time Settings Setting the Date and Time You will need to set the date and time of the camcorder before you can start using it. The [Date/Time] screen will appear automatically when the camcorder's clock is not set. 34 1 Press x to turn on the camcorder. • The [Date/Time] screen appears and the year will be selected. 2 Touch a field you want to change (year, month, day, hours or minutes). 3 Touch [Z] or [O] to change the field as necessary. 4 Set the correct date and time by changing all the fields in the same way. 5 Touch [Y.M.D], [M.D,Y] or [D.M.Y] to select the date format you prefer. • In some screens, only the month and day are displayed but it will still follow the order you selected. 6 Touch [24H] to use 24-hour clock or leave it unselected to use 12-hour clock (AM/PM). 7 Touch [OK] to start the clock and close the setup screen. NOTES • You can adjust the date and time later on with the 6 [Date/Time] setting. • When you do not use the camcorder for about 3 months, the built-in rechargeable lithium battery may discharge completely and the date and time setting may be lost. In such case, recharge the built-in lithium battery (0 173) and set the time zone, date and time again. Changing the Language The default language of the camcorder is English. You can set it to one of 27 languages. Operating modes: 1 Open the [Language a] screen. [FUNC.] [MENU] 6 [Language a] • Touching [FUNC.] is necessary only when performing the procedure in a recording mode. 2 Touch the desired language and then touch [a]. NOTES • Some control buttons, such as [ZOOM], [FUNC.] or [MENU], will appear in English regardless of the language selected.
-
 1
1 -
2
-
3
-
4
-
5
-
6
-
7
-
8
-
9
-
10
-
11
-
12
-
13
-
14
-
15
-
16
-
17
-
18
-
19
-
20
-
21
-
22
-
23
-
24
-
25
-
26
-
27
-
28
-
 29
29 -
 30
30 -
 31
31 -
 32
32 -
 33
33 -
 34
34 -
 35
35 -
 36
36 -
 37
37 -
 38
38 -
 39
39 -
40
-
41
-
42
-
43
-
44
-
45
-
46
-
47
-
48
-
49
-
50
-
51
-
52
-
53
-
54
-
55
-
56
-
57
-
58
-
59
-
60
-
61
-
62
-
63
-
64
-
65
-
66
-
67
-
68
-
69
-
70
-
71
-
72
-
73
-
74
-
75
-
76
-
77
-
78
-
79
-
80
-
81
-
82
-
83
-
84
-
85
-
86
-
87
-
88
-
89
-
90
-
91
-
92
-
93
-
94
-
95
-
96
-
97
-
98
-
99
-
100
-
101
-
102
-
103
-
104
-
105
-
106
-
107
-
108
-
109
-
110
-
111
-
112
-
113
-
114
-
115
-
116
-
117
-
118
-
119
-
120
-
121
-
122
-
123
-
124
-
125
-
126
-
127
-
128
-
129
-
130
-
131
-
132
-
133
-
134
-
135
-
136
-
137
-
138
-
139
-
140
-
141
-
142
-
143
-
144
-
145
-
146
-
147
-
148
-
149
-
150
-
151
-
152
-
153
-
154
-
155
-
156
-
157
-
158
-
159
-
160
-
161
-
162
-
163
-
164
-
165
-
166
-
167
-
168
-
169
-
170
-
171
-
172
-
173
-
174
-
175
-
176
-
177
-
178
-
179
-
180
-
181
-
182
-
183
-
184
-
185
-
186
-
187
-
188
-
189
-
190
-
191
 |
 |