Canon XA10 XA10 Instruction Manual - Page 77
Using a Microphone or Audio Source Connected to an XLR Terminal
 |
View all Canon XA10 manuals
Add to My Manuals
Save this manual to your list of manuals |
Page 77 highlights
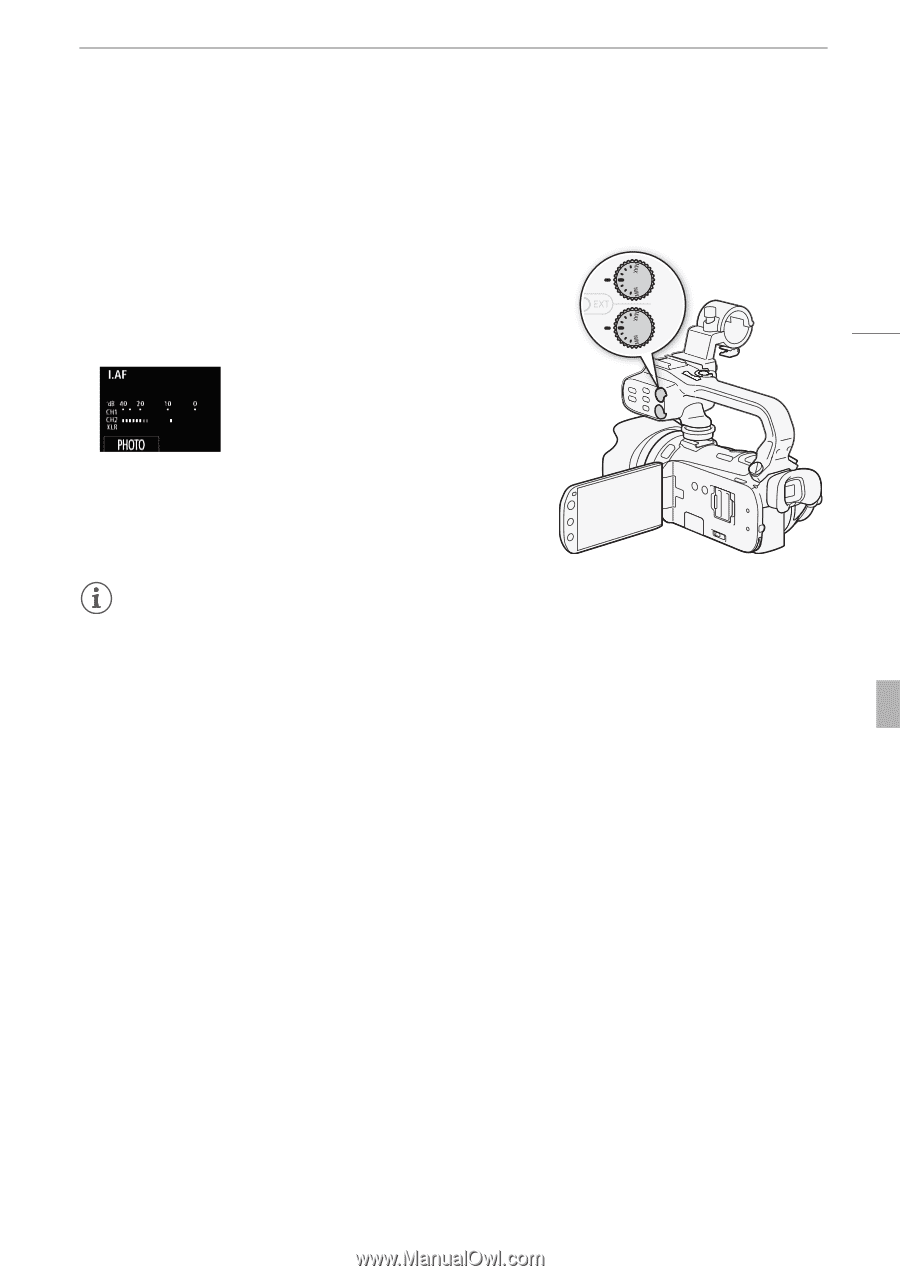
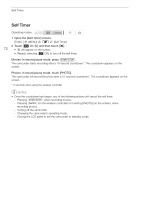
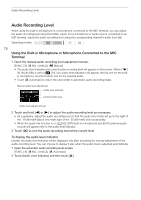
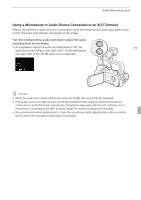
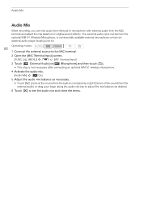
Audio Recording Level Using a Microphone or Audio Source Connected to an XLR Terminal When a microphone or audio source is connected to an XLR terminal and the audio input switch is set to EXT, the audio level indicator will appear on the screen. Turn the corresponding audio level dial to adjust the audio recording level as necessary. • As a guideline, adjust the audio recording level so that the audio level meter will go to the right of the -18 dB mark (about 77 one mark right of the -20 dB mark) only occasionally. NOTES • When the audio level meter reaches the red point (0 dB), the sound may be distorted. • If the audio level is too high and the sound gets distorted while using an external microphone connected to an XLR terminal, activate the microphone attenuator with the ATT switches. For a microphone connected to the MIC terminal, adjust the audio recording level manually. • We recommend using headphones to check the sound level while adjusting the audio recording level or when the microphone attenuator is activated.
-
 1
1 -
2
-
3
-
4
-
5
-
6
-
7
-
8
-
9
-
10
-
11
-
12
-
13
-
14
-
15
-
16
-
17
-
18
-
19
-
20
-
21
-
22
-
23
-
24
-
25
-
26
-
27
-
28
-
29
-
30
-
31
-
32
-
33
-
34
-
35
-
36
-
37
-
38
-
39
-
40
-
41
-
42
-
43
-
44
-
45
-
46
-
47
-
48
-
49
-
50
-
51
-
52
-
53
-
54
-
55
-
56
-
57
-
58
-
59
-
60
-
61
-
62
-
63
-
64
-
65
-
66
-
67
-
68
-
69
-
70
-
71
-
 72
72 -
 73
73 -
 74
74 -
 75
75 -
 76
76 -
 77
77 -
 78
78 -
 79
79 -
 80
80 -
 81
81 -
 82
82 -
83
-
84
-
85
-
86
-
87
-
88
-
89
-
90
-
91
-
92
-
93
-
94
-
95
-
96
-
97
-
98
-
99
-
100
-
101
-
102
-
103
-
104
-
105
-
106
-
107
-
108
-
109
-
110
-
111
-
112
-
113
-
114
-
115
-
116
-
117
-
118
-
119
-
120
-
121
-
122
-
123
-
124
-
125
-
126
-
127
-
128
-
129
-
130
-
131
-
132
-
133
-
134
-
135
-
136
-
137
-
138
-
139
-
140
-
141
-
142
-
143
-
144
-
145
-
146
-
147
-
148
-
149
-
150
-
151
-
152
-
153
-
154
-
155
-
156
-
157
-
158
-
159
-
160
-
161
-
162
-
163
-
164
-
165
-
166
-
167
-
168
-
169
-
170
-
171
-
172
-
173
-
174
-
175
-
176
-
177
-
178
-
179
-
180
-
181
-
182
-
183
-
184
-
185
-
186
-
187
-
188
-
189
-
190
-
191
 |
 |