Canon imageCLASS D420 imageCLASS D480 Basic Operation Guide - Page 119
Place documents., Press, FAX]., Image Quality] repeatedly, to select the image quality, then press
 |
View all Canon imageCLASS D420 manuals
Add to My Manuals
Save this manual to your list of manuals |
Page 119 highlights
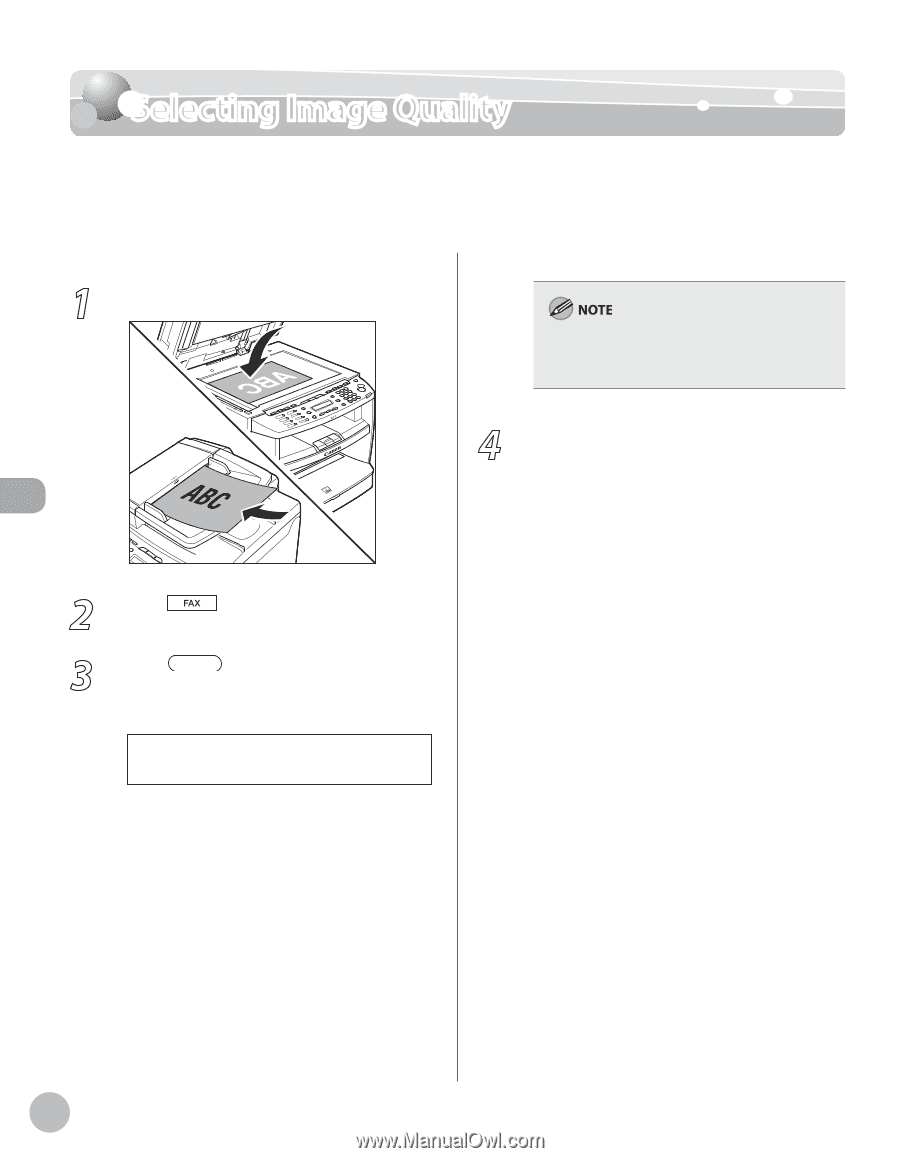
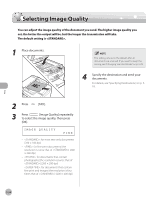
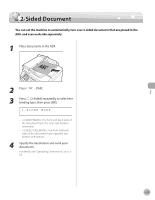
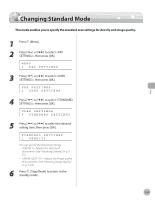
Fax Selecting Image Quality Selecting Image Quality You can adjust the image quality of the document you send. The higher image quality you set, the better the output will be, but the longer the transmission will take. The default setting is . 1 Place documents. This setting returns to the default after all documents are scanned. If you want to keep the setting, see "Changing Standard Mode," on p. 5-29. 4 Specify the destination and send your documents. For details, see "Specifying Destinations," on p. 518. 2 Press [FAX]. 3 Press [Image Quality] repeatedly to select the image quality, then press [OK]. IMAGE QUALITY FINE - : for most text-only documents (200 × 100 dpi) - : for fine-print documents (the resolution is twice that of ) (200 × 200 dpi) - : for documents that contain photographs (the resolution is twice that of ) (200 × 200 dpi) - : for documents that contain fine print and images (the resolution is four times that of ) (200 × 400 dpi) 5-24
-
 1
1 -
2
-
3
-
4
-
5
-
6
-
7
-
8
-
9
-
10
-
11
-
12
-
13
-
14
-
15
-
16
-
17
-
18
-
19
-
20
-
21
-
22
-
23
-
24
-
25
-
26
-
27
-
28
-
29
-
30
-
31
-
32
-
33
-
34
-
35
-
36
-
37
-
38
-
39
-
40
-
41
-
42
-
43
-
44
-
45
-
46
-
47
-
48
-
49
-
50
-
51
-
52
-
53
-
54
-
55
-
56
-
57
-
58
-
59
-
60
-
61
-
62
-
63
-
64
-
65
-
66
-
67
-
68
-
69
-
70
-
71
-
72
-
73
-
74
-
75
-
76
-
77
-
78
-
79
-
80
-
81
-
82
-
83
-
84
-
85
-
86
-
87
-
88
-
89
-
90
-
91
-
92
-
93
-
94
-
95
-
96
-
97
-
98
-
99
-
100
-
101
-
102
-
103
-
104
-
105
-
106
-
107
-
108
-
109
-
110
-
111
-
112
-
113
-
 114
114 -
 115
115 -
 116
116 -
 117
117 -
 118
118 -
 119
119 -
 120
120 -
 121
121 -
 122
122 -
 123
123 -
 124
124 -
125
-
126
-
127
-
128
-
129
-
130
-
131
-
132
-
133
-
134
-
135
-
136
-
137
-
138
-
139
-
140
-
141
-
142
-
143
-
144
-
145
-
146
-
147
-
148
-
149
-
150
-
151
-
152
-
153
-
154
-
155
-
156
-
157
-
158
-
159
-
160
-
161
-
162
-
163
-
164
-
165
-
166
-
167
-
168
-
169
-
170
-
171
-
172
-
173
-
174
-
175
-
176
-
177
-
178
-
179
-
180
-
181
-
182
-
183
-
184
-
185
-
186
-
187
-
188
-
189
-
190
-
191
-
192
-
193
-
194
-
195
-
196
-
197
-
198
-
199
-
200
-
201
-
202
-
203
-
204
-
205
-
206
-
207
-
208
-
209
-
210
-
211
-
212
-
213
-
214
-
215
-
216
-
217
-
218
-
219
-
220
-
221
-
222
-
223
-
224
-
225
-
226
-
227
-
228
-
229
-
230
-
231
-
232
-
233
-
234
-
235
-
236
 |
 |