Canon imageCLASS D420 imageCLASS D480 Basic Operation Guide - Page 174
Fuser Roller, Load a sheet of blank LTR paper in - black toner cartridge
 |
View all Canon imageCLASS D420 manuals
Add to My Manuals
Save this manual to your list of manuals |
Page 174 highlights
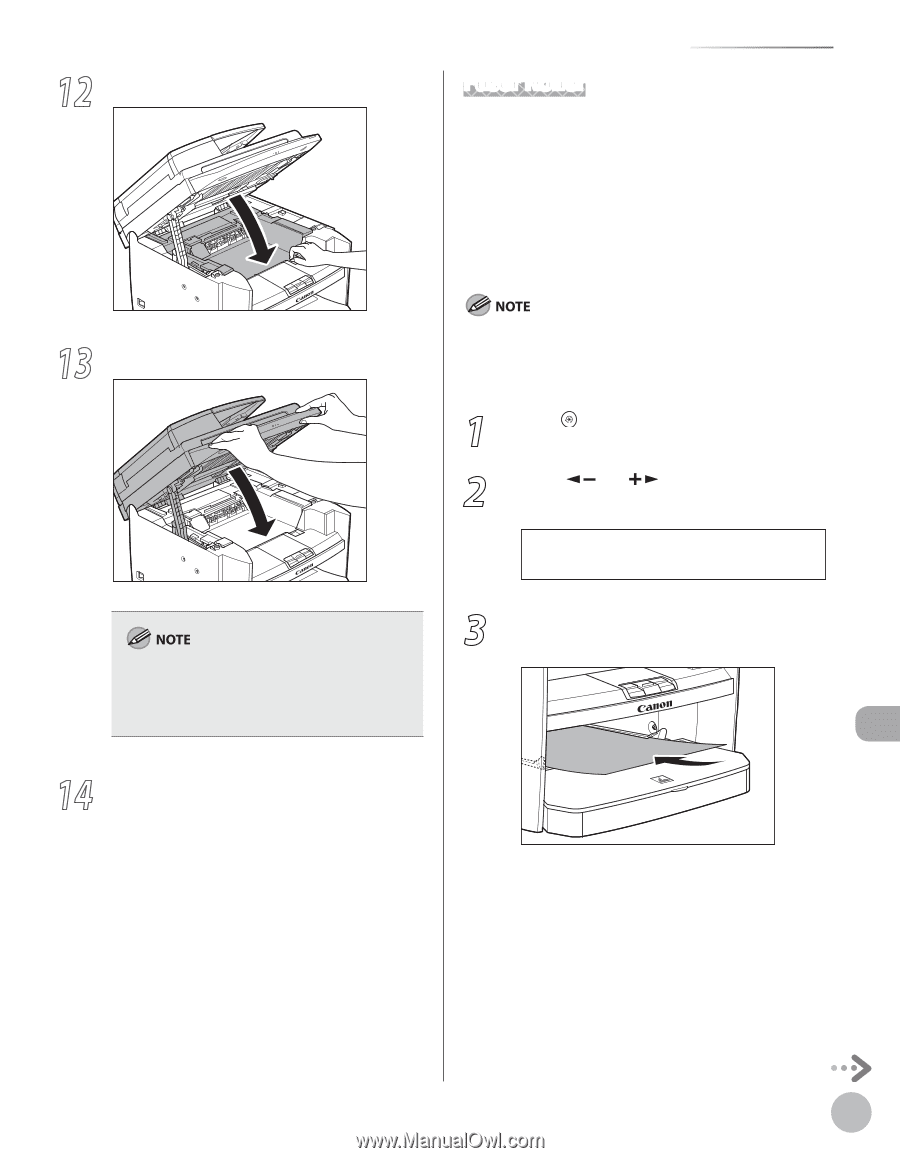
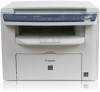
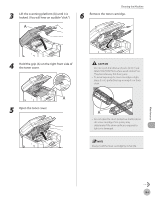
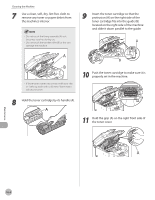
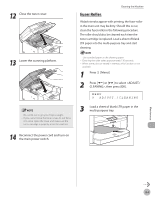
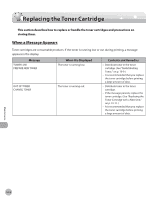
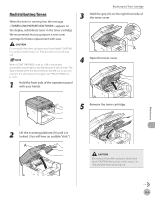
12 Close the toner cover. 13 Lower the scanning platform. - Be careful not to get your fingers caught. - If you cannot close the toner cover, do not force it to close. Open the cover and make sure the toner cartridge is properly set in the machine. 14 Reconnect the power cord and turn on the main power switch. Cleaning the Machine Fuser Roller If black streaks appear with printing, the fuser roller in the main unit may be dirty. Should this occur, clean the fuser roller in the following procedure. The roller should also be cleaned each time the toner cartridge is replaced. Load a sheet of blank LTR paper into the multi-purpose tray and start cleaning. - Use standard paper as the cleaning paper. - Cleaning the roller takes approximately 130 seconds. - When some jobs are stored in memory, this function is not available. 1 Press [Menu]. 2 Press [ ] or [ ] to select , then press [OK]. MENU 9 ADJUST./CLEANING 3 Load a sheet of blank LTR paper in the multi-purpose tray. Maintenance 10-5
-
 1
1 -
2
-
3
-
4
-
5
-
6
-
7
-
8
-
9
-
10
-
11
-
12
-
13
-
14
-
15
-
16
-
17
-
18
-
19
-
20
-
21
-
22
-
23
-
24
-
25
-
26
-
27
-
28
-
29
-
30
-
31
-
32
-
33
-
34
-
35
-
36
-
37
-
38
-
39
-
40
-
41
-
42
-
43
-
44
-
45
-
46
-
47
-
48
-
49
-
50
-
51
-
52
-
53
-
54
-
55
-
56
-
57
-
58
-
59
-
60
-
61
-
62
-
63
-
64
-
65
-
66
-
67
-
68
-
69
-
70
-
71
-
72
-
73
-
74
-
75
-
76
-
77
-
78
-
79
-
80
-
81
-
82
-
83
-
84
-
85
-
86
-
87
-
88
-
89
-
90
-
91
-
92
-
93
-
94
-
95
-
96
-
97
-
98
-
99
-
100
-
101
-
102
-
103
-
104
-
105
-
106
-
107
-
108
-
109
-
110
-
111
-
112
-
113
-
114
-
115
-
116
-
117
-
118
-
119
-
120
-
121
-
122
-
123
-
124
-
125
-
126
-
127
-
128
-
129
-
130
-
131
-
132
-
133
-
134
-
135
-
136
-
137
-
138
-
139
-
140
-
141
-
142
-
143
-
144
-
145
-
146
-
147
-
148
-
149
-
150
-
151
-
152
-
153
-
154
-
155
-
156
-
157
-
158
-
159
-
160
-
161
-
162
-
163
-
164
-
165
-
166
-
167
-
168
-
 169
169 -
 170
170 -
 171
171 -
 172
172 -
 173
173 -
 174
174 -
 175
175 -
 176
176 -
 177
177 -
 178
178 -
 179
179 -
180
-
181
-
182
-
183
-
184
-
185
-
186
-
187
-
188
-
189
-
190
-
191
-
192
-
193
-
194
-
195
-
196
-
197
-
198
-
199
-
200
-
201
-
202
-
203
-
204
-
205
-
206
-
207
-
208
-
209
-
210
-
211
-
212
-
213
-
214
-
215
-
216
-
217
-
218
-
219
-
220
-
221
-
222
-
223
-
224
-
225
-
226
-
227
-
228
-
229
-
230
-
231
-
232
-
233
-
234
-
235
-
236
 |
 |