Canon imageCLASS MF4350d imageCLASS MF4380dn/MF4370dn/MF4350d Basic Operation - Page 113
Switching Temporarily to Tone Dialing, information service answers, press - confirmation page
 |
UPC - 013803092097
View all Canon imageCLASS MF4350d manuals
Add to My Manuals
Save this manual to your list of manuals |
Page 113 highlights
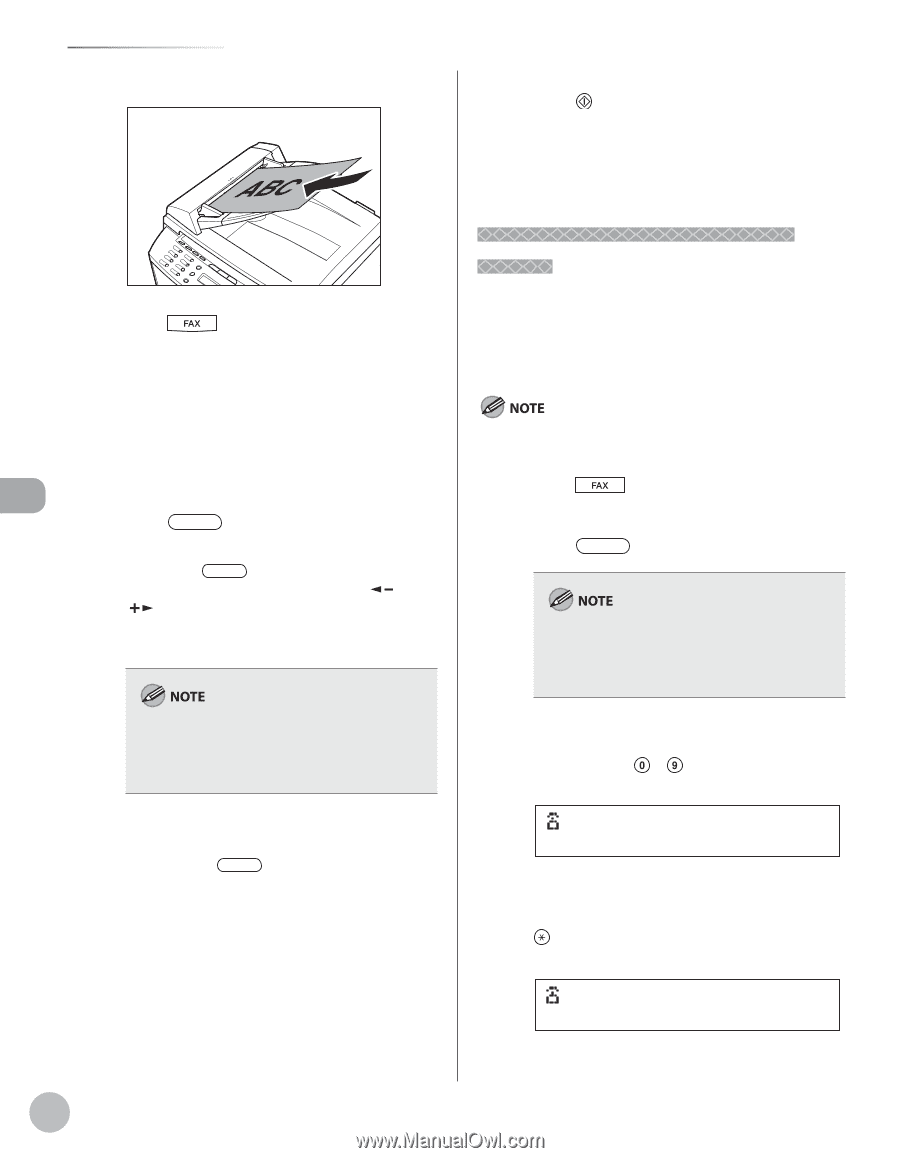
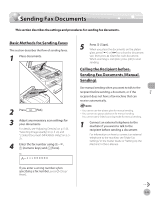
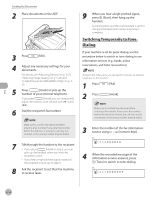
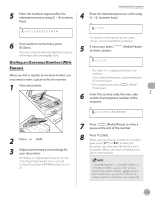
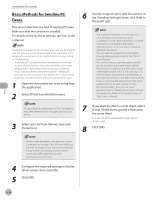
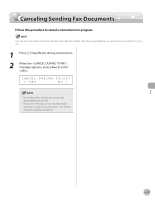
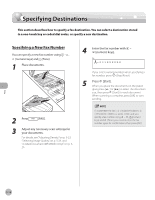
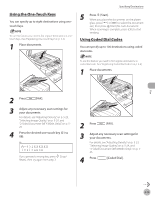
Fax Sending Fax Documents 2 Place documents in the ADF. 3 Press [FAX]. 4 Adjust any necessary settings for your documents. For details, see "Adjusting Density," on p. 5-23, "Selecting Image Quality," on p. 5-24, and "2-Sided Document (MF4380dn Only)," on p. 525. 5 Press [Hook] or pick up the handset of your external telephone. If you press [Hook], you can temporarily adjust the monitor tone volume with [ ] and [ ]. 6 Dial the recipient's fax number. Make sure to confirm the dial tone before entering a fax number. If you enter the number before the dial tone is heard, the call may not connect, or the wrong number may be dialed. 7 Talk through the handset to the recipient. - If you press [Hook] in step 5, you can pick up the handset when you hear the recipient's voice. - If you hear a high-pitched signal instead of the recipient's voice, go to step 9. 8 Ask the recipient to set their fax machine to receive faxes. 9 When you hear a high-pitched signal, press [Start], then hang up the handset. Scanning starts, and the scanned data is sent to the specified destination when scanning is complete. Switching Temporarily to Tone Dialing If your machine is set for pulse dialing, use the procedure below to switch to tone dialing to use information services (e.g., banks, airline reservations, and hotel reservations). To talk to the other party, you will need to connect an external telephone to the machine. 1 Press [FAX]. 2 Press [Hook]. Make sure to confirm the dial tone before entering a fax number. If you enter the number before the dial tone is heard, the call may not be connected, or the wrong number may be dialed. 3 Enter the number of the fax information service using - [numeric keys]. Ex. =031XXXXXX 4 When the recorded message of the information service answers, press [Tone] to switch to tone dialing. Ex. =031XXXXXXT 5-14
-
 1
1 -
2
-
3
-
4
-
5
-
6
-
7
-
8
-
9
-
10
-
11
-
12
-
13
-
14
-
15
-
16
-
17
-
18
-
19
-
20
-
21
-
22
-
23
-
24
-
25
-
26
-
27
-
28
-
29
-
30
-
31
-
32
-
33
-
34
-
35
-
36
-
37
-
38
-
39
-
40
-
41
-
42
-
43
-
44
-
45
-
46
-
47
-
48
-
49
-
50
-
51
-
52
-
53
-
54
-
55
-
56
-
57
-
58
-
59
-
60
-
61
-
62
-
63
-
64
-
65
-
66
-
67
-
68
-
69
-
70
-
71
-
72
-
73
-
74
-
75
-
76
-
77
-
78
-
79
-
80
-
81
-
82
-
83
-
84
-
85
-
86
-
87
-
88
-
89
-
90
-
91
-
92
-
93
-
94
-
95
-
96
-
97
-
98
-
99
-
100
-
101
-
102
-
103
-
104
-
105
-
106
-
107
-
 108
108 -
 109
109 -
 110
110 -
 111
111 -
 112
112 -
 113
113 -
 114
114 -
 115
115 -
 116
116 -
 117
117 -
 118
118 -
119
-
120
-
121
-
122
-
123
-
124
-
125
-
126
-
127
-
128
-
129
-
130
-
131
-
132
-
133
-
134
-
135
-
136
-
137
-
138
-
139
-
140
-
141
-
142
-
143
-
144
-
145
-
146
-
147
-
148
-
149
-
150
-
151
-
152
-
153
-
154
-
155
-
156
-
157
-
158
-
159
-
160
-
161
-
162
-
163
-
164
-
165
-
166
-
167
-
168
-
169
-
170
-
171
-
172
-
173
-
174
-
175
-
176
-
177
-
178
-
179
-
180
-
181
-
182
-
183
-
184
-
185
-
186
-
187
-
188
-
189
-
190
-
191
-
192
-
193
-
194
-
195
-
196
-
197
-
198
-
199
-
200
-
201
-
202
-
203
-
204
-
205
-
206
-
207
-
208
-
209
-
210
-
211
-
212
-
213
-
214
-
215
-
216
-
217
-
218
-
219
-
220
-
221
-
222
-
223
-
224
-
225
-
226
-
227
-
228
-
229
-
230
-
231
-
232
-
233
-
234
-
235
-
236
-
237
-
238
-
239
-
240
-
241
-
242
-
243
-
244
-
245
-
246
-
247
-
248
-
249
-
250
-
251
-
252
 |
 |