Casio QV-300 Owners Manual
Casio QV-300 Manual
 |
View all Casio QV-300 manuals
Add to My Manuals
Save this manual to your list of manuals |
Casio QV-300 manual content summary:
- Casio QV-300 | Owners Manual - Page 1
your selection of the QV-300 Liquid Crystal Digital Camera. The QV-300 comes with its own built-in liquid crystal color monitor that let's you instantly view the pictures you take. To get the most out of the QV-300, be sure to carefully read this manual and follow the instructions contained in it - Casio QV-300 | Owners Manual - Page 2
using the QV-300. All references in this manual to "this camera" and "the camera" refer to the CASIO QV-300 Digital Camera. • Never CABLE THAT COMES WITH THE CAMERA ----- THE CAMERA TO A VIDEO IN TERMINAL OF A COMPUTER THE SPECIAL CONNECTION CABLE THAT COMES WITH QV-Link SOFTWARE ----- THE CAMERA - Casio QV-300 | Owners Manual - Page 3
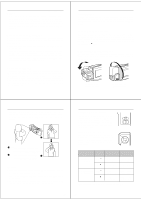
of the items shown below are included with your camera. If something is missing, contact your dealer as soon as possible. Camera Cleaning Cloth Soft case Alkaline batteries (AA-size × 4) Manual Wrist Strap Video cable GGetteinng eAcrqaulaiGnteudide The following illustrations show the names of - Casio QV-300 | Owners Manual - Page 4
camera. Be sure to note the following important precautions to avoid problems with will perform the amount of service indicated. Battery life is appears in the center of the LCD whenever remaining battery power drops below camera via the camera's DIGITAL terminal. • Whenever the AC adaptor is connected - Casio QV-300 | Owners Manual - Page 5
camera. • Should the cord of the AC adaptor become damaged (exposed internal wiring or shorts), request a replacement from an authorized CASIO service comes on, the image of the object that is in front of the camera's lens appears on the LCD. • You can perform steps 1 and 2 in either order (1 then - Casio QV-300 | Owners Manual - Page 6
recorded as green. Such color problems will show up in the LCD while you are composing the image. Shooting Images Outdoors Strong direct or reflected sunlight can cause recorded images to take on a greenish tinge. This is due to the characteristics of the camera's charge-coupled device (CCD), and - Casio QV-300 | Owners Manual - Page 7
automatically reverts to zero whenever the shutter button is pressed. You can manually reset the exposure adjustment value by using [+] and [-] to change that is picked up by the camera's lens appears on the LCD. The camera is designed to refresh the image on the LCD about seven times per second. - Casio QV-300 | Owners Manual - Page 8
An image output through this terminal will not look normal if the camera is connected to a PAL or other type of TV or video deck. Accessory video cable VIDEO OUT terminal TV */165 - 3 7*%&0 "6%*0 VIDEO IN terminal After connecting the camera and TV, set the channel of the TV to the channel used - Casio QV-300 | Owners Manual - Page 9
Four or nine memory pages can be displayed at the same time. This feature can be used to display multiple memory pages on the camera's built-in LCD, or on the screen of a connected TV. Multi-Page Display (EFFECT Menu) 1. Enter the Playback Mode. • Slide the function switch to the PLAY position - Casio QV-300 | Owners Manual - Page 10
auto play operation is in progress. If you forget to turn the camera off, there is the danger that auto play will continue until batteries MODE button stops the auto play operation. • Note that the buttons of the camera do not operate while a page change operation is in progress. Make sure that an - Casio QV-300 | Owners Manual - Page 11
Playing Back Images Protecting Memory Pages You can protect specific memory pages to ensure that they are not accidently deleted. • Note that you cannot protect or unprotect memory pages when pro- tected memory pages are hidden (page 45). To protect a single memory page 1. Enter the Playback Mode. • - Casio QV-300 | Owners Manual - Page 12
pages so their images do not appear on the monitor during playback. To hide protected memory pages While holding down the [+] button, turn on the camera. Important! • You cannot protect or unprotect pages (pages 41~44) while pro- tected pages are hidden. • You cannot display multiple images (page 34 - Casio QV-300 | Owners Manual - Page 13
personal computer (requires optional Connection Kit), another CASIO Digital Camera, or a QV Color Printer. The illustration below shows how to connect to another digital camera. DIGITAL terminal DIGITAL terminal* Connecting cable* * The type of connecting cable you should use depends on the type - Casio QV-300 | Owners Manual - Page 14
disconnect the cable, turn power off, or change the function switch setting while a data communication operation is in progress. Doing so can damage the camera. How data transfer affects resolution • QV-300 QV-300/QV-100 FINE FINE NORMAL NORMAL • QV-300 QV-10/QV-10A/QV-11/QV-30 .... FINE - Casio QV-300 | Owners Manual - Page 15
a Connected Device Using QV-Link Software and a Connection Cable The optionally available QV-Link Software and connection cable lets you transfer images from your digital camera to a personal computer. The following are the models of QV-Link software that support this camera. Windows Version: LK - Casio QV-300 | Owners Manual - Page 16
the AC adaptor if you are using one. Restore power and turn the camera on. If this does not work, contact your dealer or an authorized CASIO service provider. Very bright or Wrong BRIGHT setting very dark LCD image. Adjust the BRIGHT setting (page 11). Other No buttons or switches operate - Casio QV-300 | Owners Manual - Page 17
mm / 2.8" (H) X 6.4" (W) X 1.9" (D) Weight Approximately 250g / 8.8oz (excluding batteries) Accessories Wrist strap; soft case; video cable; Alkaline batteries (LR6 X 4); cleaning cloth; owner's manual • The liquid crystal panel built into this camera is the product of precision engineering, with
-
 1
1 -
 2
2 -
 3
3 -
 4
4 -
 5
5 -
 6
6 -
 7
7 -
8
-
9
-
10
-
11
-
12
-
13
-
14
-
15
-
16
-
17
 |
 |
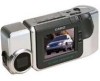
Liquid Crystal Digital Camera
QV-300
Owner's Manual
英
If you need help
with your camera,
please call:
1(800)435-7732
2
Introduction
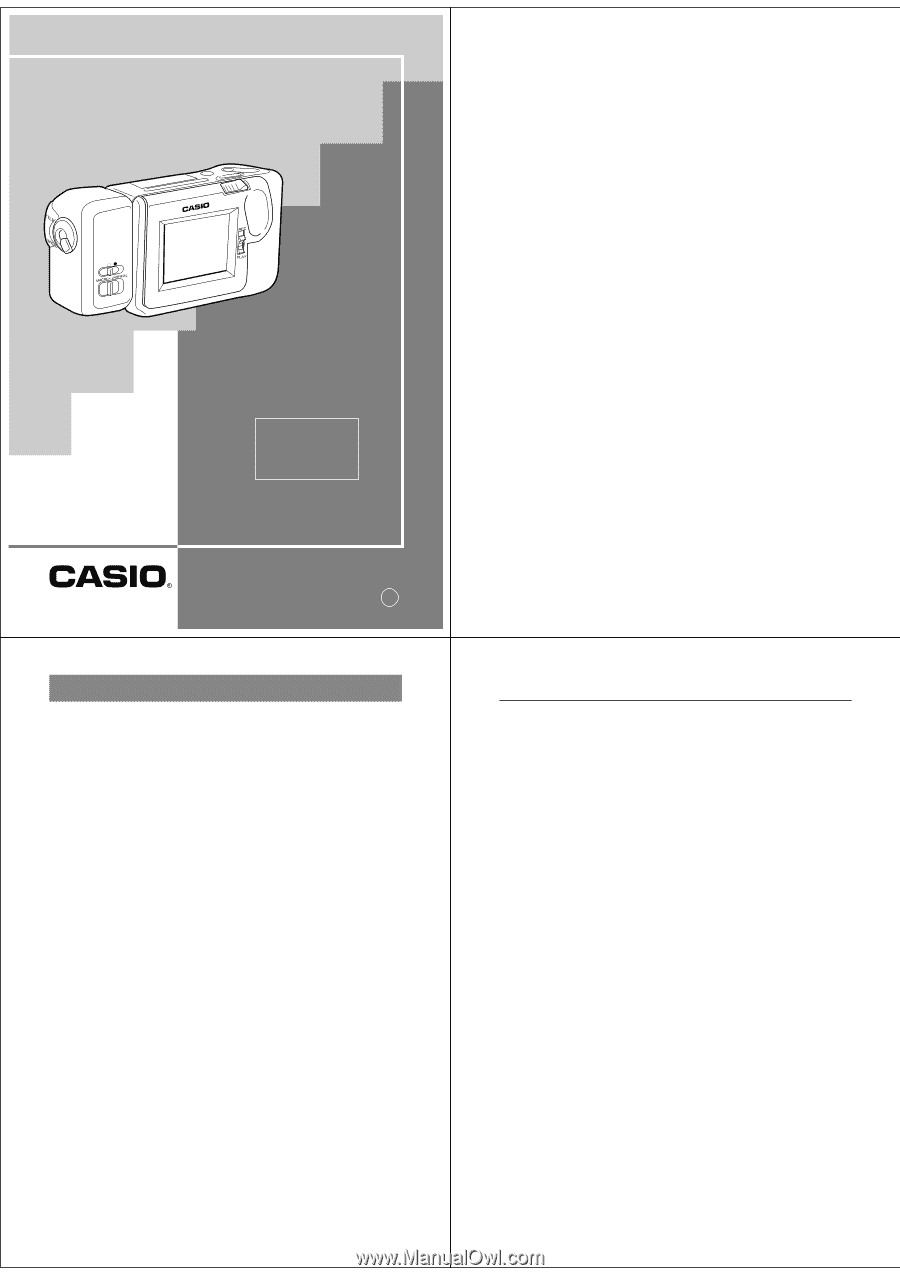
Congratulations upon your selection of the QV-300 Liquid Crystal
Digital Camera. The QV-300 comes with its own built-in liquid crystal
color monitor that let’s you instantly view the pictures you take.
To get the most out of the QV-300, be sure to carefully read this
manual and follow the instructions contained in it.
3
Contents
Precautions
..........................................................
5
Unpacking
.............................................................
9
General Guide
....................................................
10
Top and Display
..................................................................
10
Lens
....................................................................................
10
Bottom
................................................................................
11
Terminals
............................................................................
11
Power Supply
.....................................................
13
To load batteries
.................................................................
13
Using AC Power
.................................................................
17
Recording Images
..............................................
19
To record an image
.............................................................
19
How to avoid hand movement…
.........................................
21
Fluorescent Lighting
...........................................................
21
Infrared Light
.......................................................................
22
Shooting Images Outdoors
.................................................
22
Changing the Lens Orientation
...........................................
22
NORMAL/MACRO Switch
..................................................
24
Switching Between Lenses
.................................................
24
Resolution Modes
...............................................................
25
Exposure Adjustment
..........................................................
25
Changing the Aperture Setting
...........................................
27
Record Mode Displays
........................................................
27
Using the Self-Timer
...........................................................
30
Playing Back Images
.........................................
31
Displaying Images on the Camera’s LCD
...........................
31
Displaying Images on a TV Screen
....................................
32
Page Status Indicators
........................................................
33
Producing a Multi-Page Display
..........................................
34
4
Using the Zoom Function
....................................................
36
Using Auto Play
..................................................................
38
Protecting Memory Pages
..................................................
41
Unprotecting Memory Pages
..............................................
43
Hiding Protected Memory Pages
........................................
45
Deleting Memory Pages
....................................
46
Deleting Images From Memory
..........................................
46
Resolution Conversion
......................................
50
Connecting to Other Devices
............................
51
The camera terminals
.........................................................
51
Using the Camera with a Connected Device ... 52
Troubleshooting
.................................................
59
Specifications
.....................................................
65
About the camera’s backlight…
.......................
66
• CASIO COMPUTER CO., LTD. assumes no responsibility for any
damage or loss resulting from the use of this manual.
• CASIO COMPUTER CO., LTD. assumes no responsibility for any
loss or claims by third parties which may arise through the use of
the QV-300.
• CASIO COMPUTER CO., LTD. assumes no responsibility for any
damage or loss caused by deletion of data as a result of malfunc-
tion, repairs, or battery replacement. Be sure to back up all impor-
tant data on other media to protect against its loss.