Cisco 4402 Configuration Guide - Page 33
Configuration using autonomous access, points - setup
 |
UPC - 882658039997
View all Cisco 4402 manuals
Add to My Manuals
Save this manual to your list of manuals |
Page 33 highlights
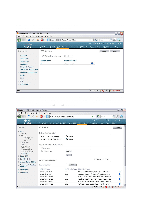
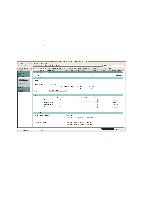
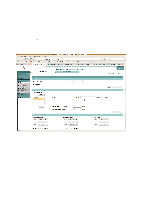
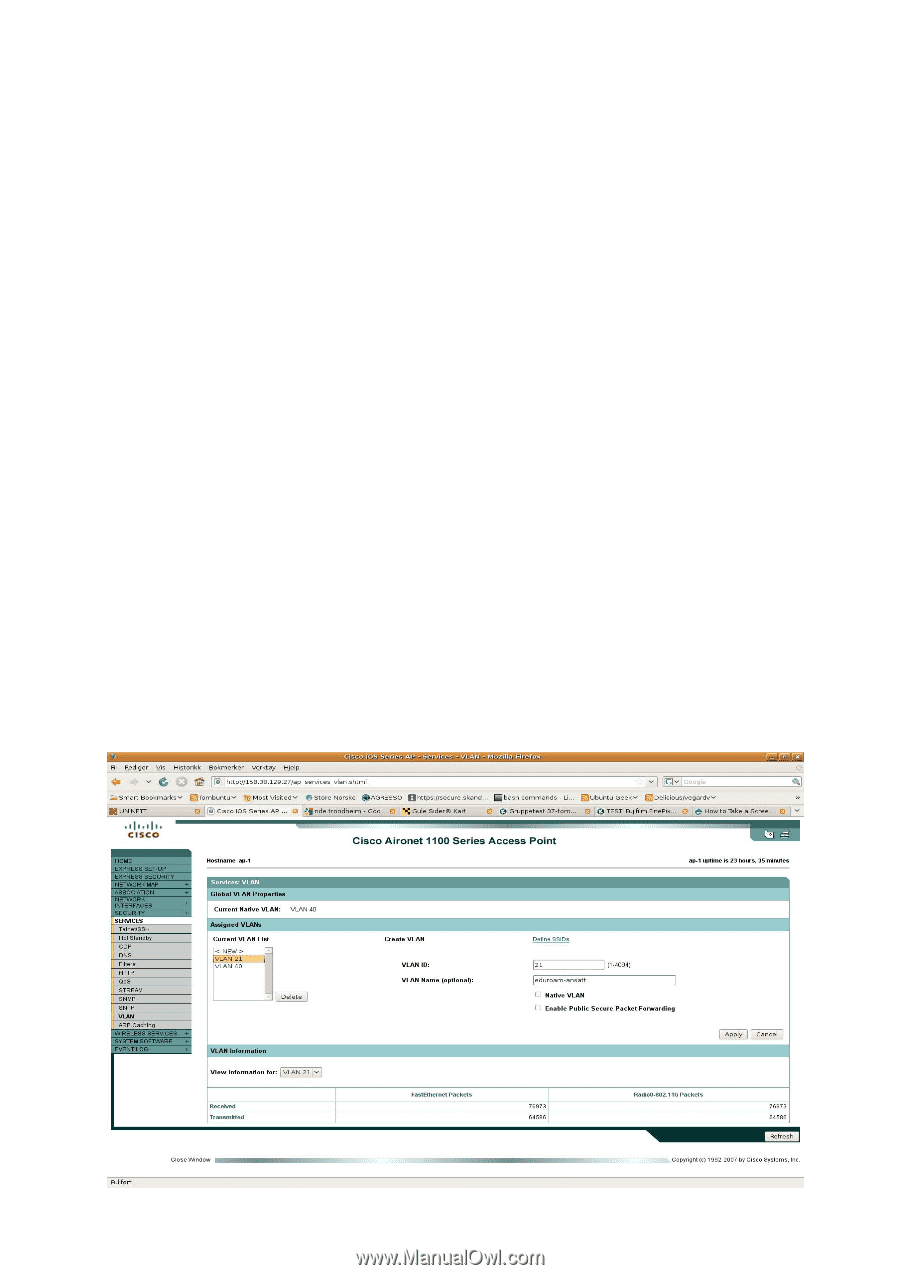
A. Configuration using autonomous access points The following is a description of how configuration may be carried out using autonomous access points. As mentioned earlier, this type of configuration is not recommended from the point of view of security. A.1 VLAN setup First we set up the VLAN, assuming that the access point is already configured with the necessary Management IP address, etc. 1. Log on to the access point using a web browser. 2. Go to SERVICES→VLAN to create the necessary VLANs. In our example, VLAN 21 has been created for eduroam employees and VLAN 40 for management. Remember to tick "Native VLAN" for VLAN 40. 33
-
 1
1 -
2
-
3
-
4
-
5
-
6
-
7
-
8
-
9
-
10
-
11
-
12
-
13
-
14
-
15
-
16
-
17
-
18
-
19
-
20
-
21
-
22
-
23
-
24
-
25
-
26
-
27
-
 28
28 -
 29
29 -
 30
30 -
 31
31 -
 32
32 -
 33
33 -
 34
34 -
 35
35 -
 36
36 -
 37
37 -
 38
38 -
39
-
40
-
41
-
42
-
43
-
44
-
45
-
46
-
47
-
48
-
49
-
50
-
51
-
52
-
53
-
54
-
55
-
56
-
57
-
58
-
59
-
60
 |
 |
33
A.
Configuration using autonomous access
points
The following is a description of how configuration may be carried out using autonomous access
points. As mentioned earlier, this type of configuration is not recommended from the point of view of
security.
A.1
VLAN setup
First we set up the VLAN, assuming that the access point is already configured with the necessary
Management IP address, etc.
1.
Log on to the access point using a web browser.
2.
Go to SERVICES
→
VLAN to create the necessary VLANs. In our example, VLAN 21 has been
created for eduroam employees and VLAN 40 for management. Remember to tick “Native
VLAN” for VLAN 40.