Cisco 4402 Configuration Guide - Page 50
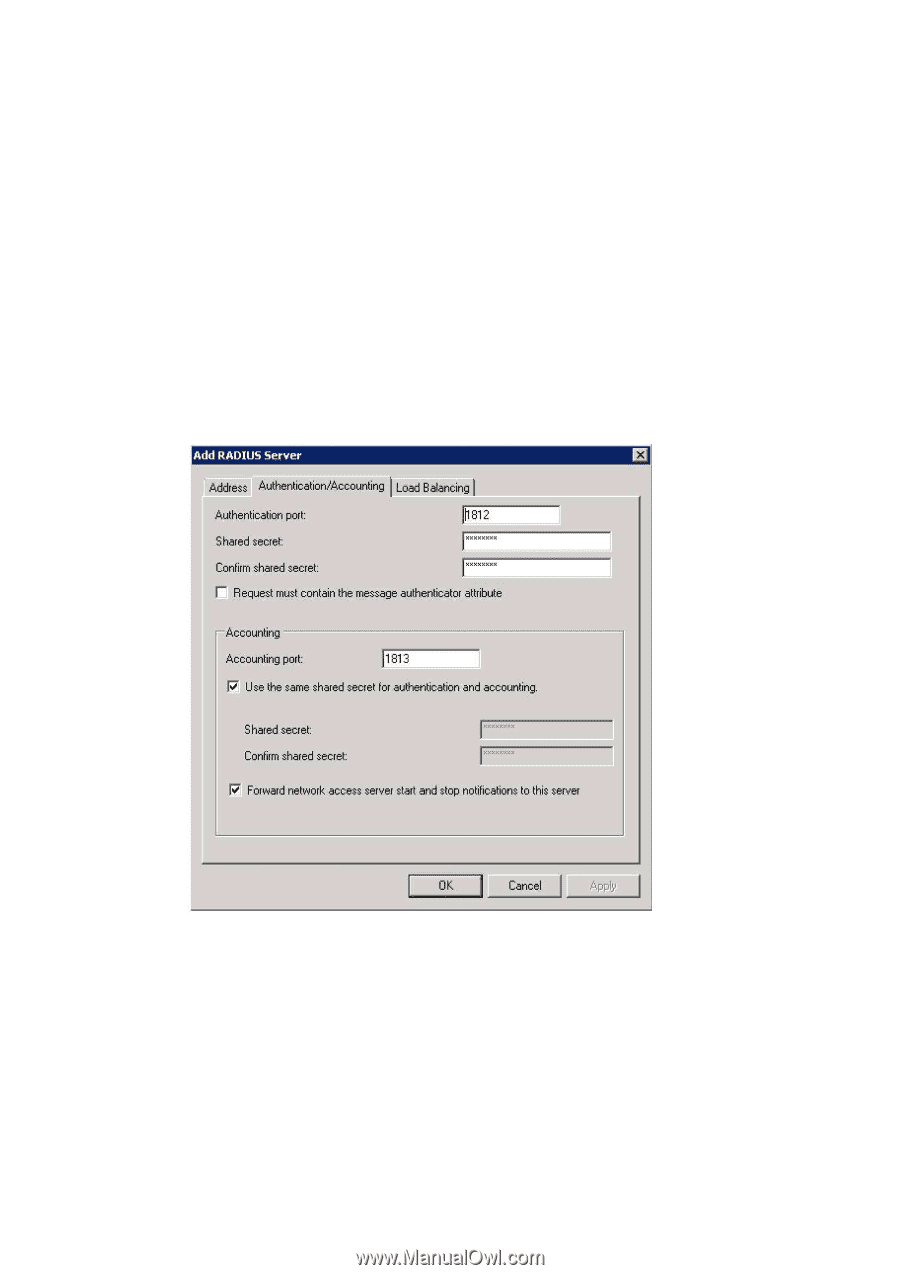
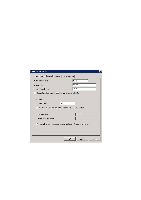
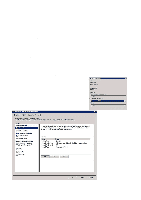
In the Authentication/Accounting tab, type in the Authentication Port and Shared Secret
 |
UPC - 882658039997
View all Cisco 4402 manuals
Add to My Manuals
Save this manual to your list of manuals |
Page 50 highlights
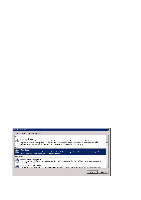
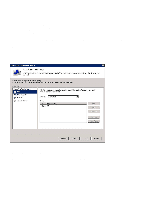
Step 3: Adding Remote RADIUS Server Groups To enable NPS to forward authentications, a server group must be created. If this RADIUS server is the last in a series of several and is not intended to forward authentication, it is not necessary to define any server groups. If the server is to be in communication with eduroam, eduroam must be added as a server group. • Right-click on "Remote RADIUS Server Groups" and select "New" • Type in a "Group name" and click on "Add" • If this is the server group used for connection to eduroam, the server group should be called "eduroam" • On the "Address" tab, enter the IP address or DNS name of the server. • In the "Authentication/Accounting" tab, type in the Authentication Port and Shared Secret • On the "Load Balancing" tab, no changes are necessary in systems with redundancy. • Click on "OK" in both windows. Repeat this procedure until all the server groups, for example a group for eduroam and a group for School, have been added. See www.eduroam.no for more information about eduroam. 50
-
 1
1 -
2
-
3
-
4
-
5
-
6
-
7
-
8
-
9
-
10
-
11
-
12
-
13
-
14
-
15
-
16
-
17
-
18
-
19
-
20
-
21
-
22
-
23
-
24
-
25
-
26
-
27
-
28
-
29
-
30
-
31
-
32
-
33
-
34
-
35
-
36
-
37
-
38
-
39
-
40
-
41
-
42
-
43
-
44
-
 45
45 -
 46
46 -
 47
47 -
 48
48 -
 49
49 -
 50
50 -
 51
51 -
 52
52 -
 53
53 -
 54
54 -
 55
55 -
56
-
57
-
58
-
59
-
60
 |
 |