Cisco E1200 User Manual - Page 59
How to connect your UPnP device to the media server, New Folder, Create, Save Settings, Delete
 |
View all Cisco E1200 manuals
Add to My Manuals
Save this manual to your list of manuals |
Page 59 highlights
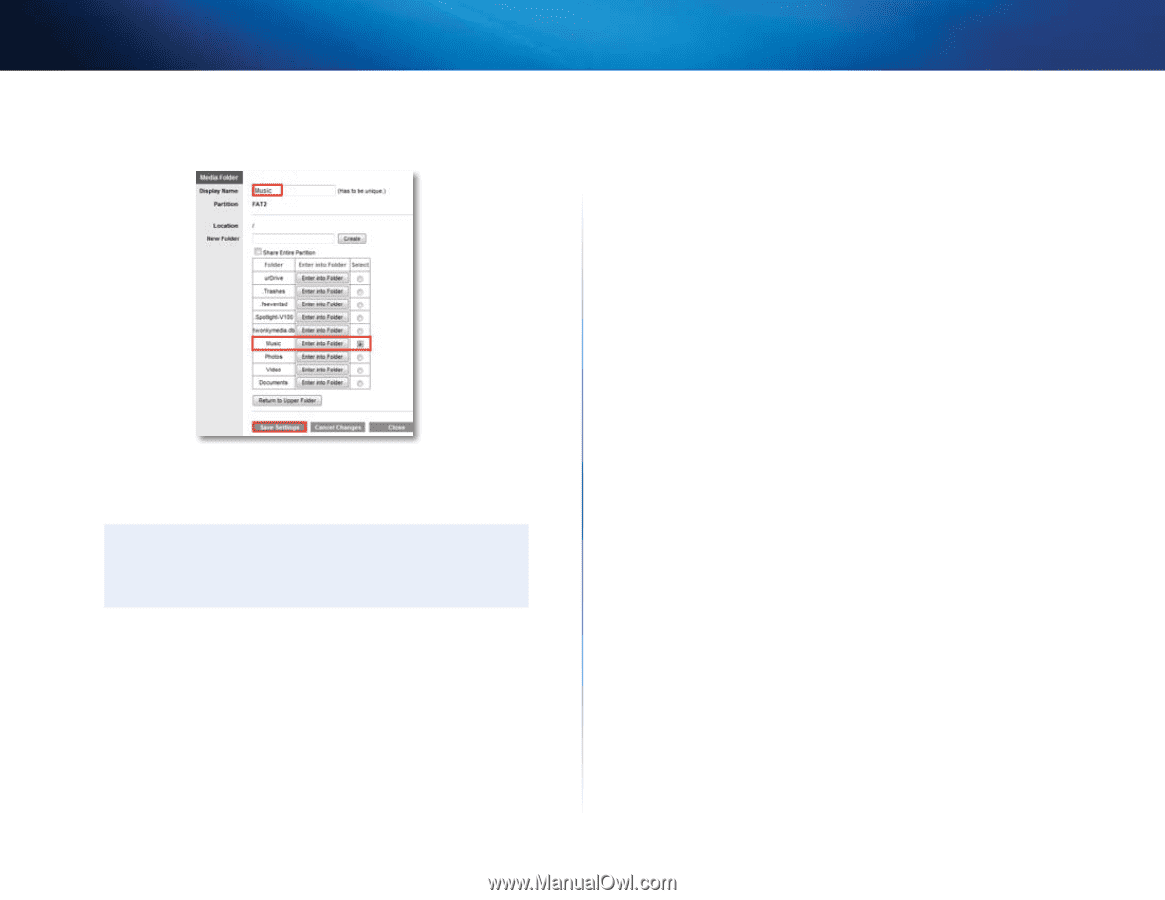
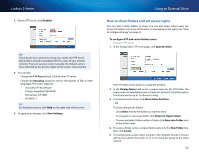
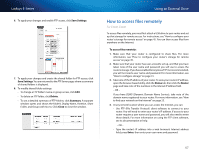
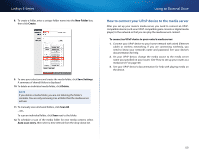
Linksys E-Series 8. To create a folder, enter a unique folder name into the New Folder box, then click Create. 9. To save your selections and create the media folder, click Save Settings. A summary of shared folders is displayed 10. To delete an individual media folder, click Delete. NOTE If you delete a media folder, you are not deleting the folder's contents. You are only removing it as a folder that the media server will use. 11. To manually scan all shared folders, click Scan All. - OR To scan an individual folder, click Scan next to the folder. 12. To schedule a scan of the media folder for new media content, select Auto-scan every, then select a time interval from the drop-down list. Using an External Drive How to connect your UPnP device to the media server After you set up your router's media server, you need to connect an UPnPcompatible device (such as an UPnP-compatible game console or digital media player) to the network so that you can play the media server's content. To connect an UPnP device to your router's media server: 1. Connect your UPnP device to your home network with wired (Ethernet cable) or wireless networking. If you are connecting wirelessly, you need to know your network's name and password. See your device's documentation for help. 2. On your UPnP device, change the media source to the media server name you specified on your router. (See "How to set up your router as a media server" on page 48) 3. See your UPnP device's documentation for help with playing media on the device. 49
-
 1
1 -
2
-
3
-
4
-
5
-
6
-
7
-
8
-
9
-
10
-
11
-
12
-
13
-
14
-
15
-
16
-
17
-
18
-
19
-
20
-
21
-
22
-
23
-
24
-
25
-
26
-
27
-
28
-
29
-
30
-
31
-
32
-
33
-
34
-
35
-
36
-
37
-
38
-
39
-
40
-
41
-
42
-
43
-
44
-
45
-
46
-
47
-
48
-
49
-
50
-
51
-
52
-
53
-
 54
54 -
 55
55 -
 56
56 -
 57
57 -
 58
58 -
 59
59 -
 60
60 -
 61
61 -
 62
62 -
 63
63 -
 64
64 -
65
-
66
-
67
-
68
-
69
-
70
-
71
-
72
-
73
-
74
-
75
-
76
-
77
-
78
-
79
-
80
 |
 |