Cisco E900 User Manual - Page 35
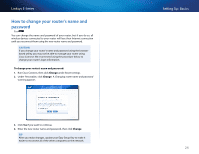
To set up guest access to your network, Change, yes default, Total guests, Finish, Password, LOGIN
 |
View all Cisco E900 manuals
Add to My Manuals
Save this manual to your list of manuals |
Page 35 highlights
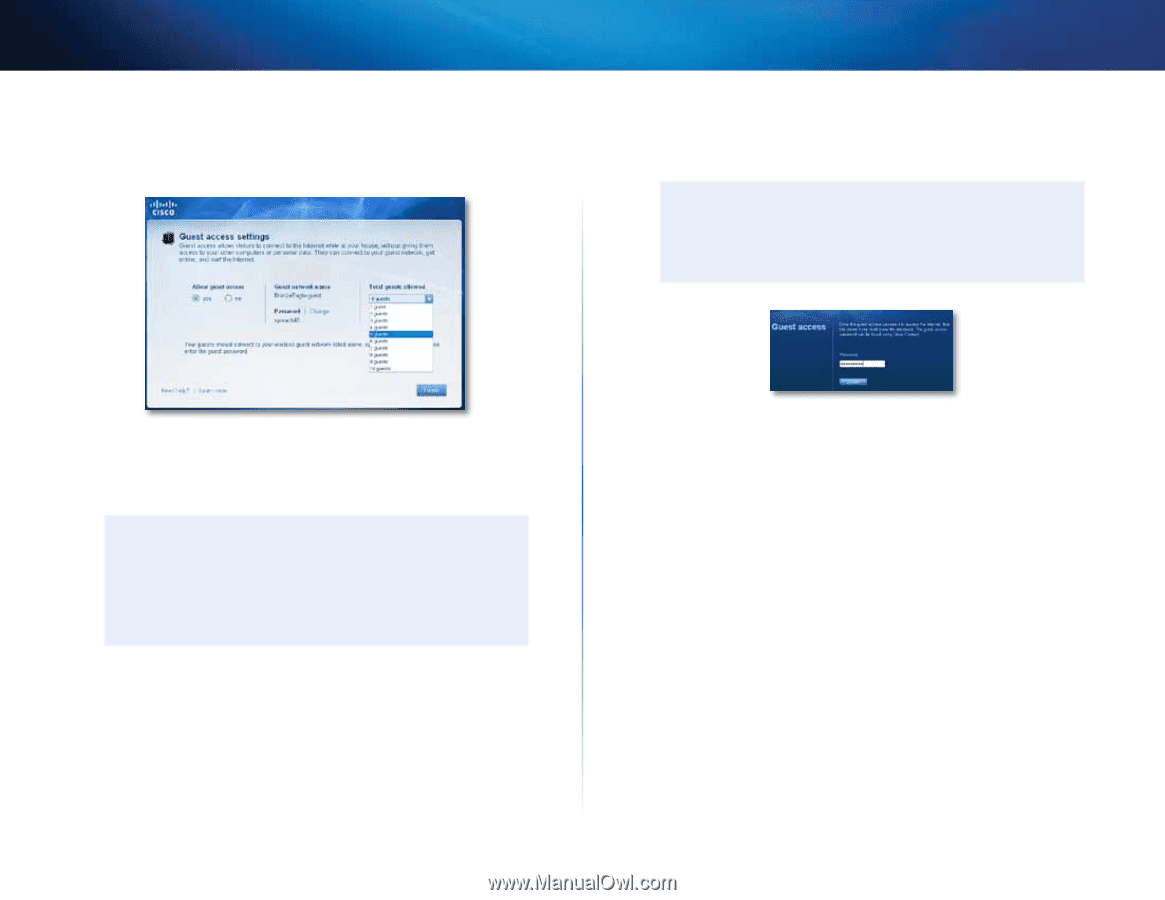
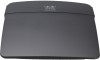
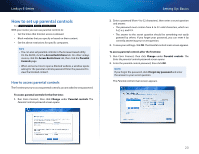
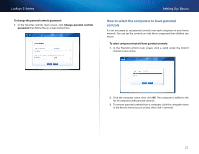
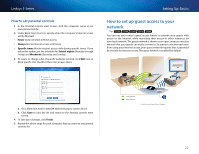
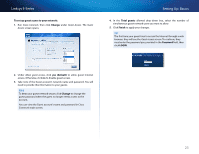
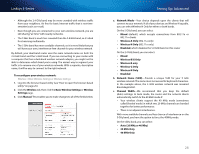
Linksys E-Series To set up guest access to your network: 1. Run Cisco Connect, then click Change under Guest Access. The Guest Access screen opens. Setting Up: Basics 4. In the Total guests allowed drop-down box, select the number of simultaneous guest network users you want to allow. 5. Click Finish to apply your changes. Tip The first time your guest tries to access the Internet through a web browser, they will see the Guest access screen. To continue, they must enter the password you provided in the Password field, then click LOGIN. 2. Under Allow guest access, click yes (default) to allow guest Internet access. Otherwise, click no to disable guest access. 3. Take note of the Guest account's network name and password. You will need to provide this information to your guests. Tips To keep your guest network secure, click Change to change the guest password when the guest no longer needs access to the account. You can view the Guest account's name and password in Cisco Connect's main screen. 23
-
 1
1 -
2
-
3
-
4
-
5
-
6
-
7
-
8
-
9
-
10
-
11
-
12
-
13
-
14
-
15
-
16
-
17
-
18
-
19
-
20
-
21
-
22
-
23
-
24
-
25
-
26
-
27
-
28
-
29
-
 30
30 -
 31
31 -
 32
32 -
 33
33 -
 34
34 -
 35
35 -
 36
36 -
 37
37 -
 38
38 -
 39
39 -
 40
40 -
41
-
42
-
43
-
44
-
45
-
46
-
47
-
48
-
49
-
50
-
51
-
52
-
53
-
54
-
55
-
56
-
57
-
58
-
59
-
60
-
61
-
62
-
63
-
64
-
65
-
66
-
67
-
68
-
69
-
70
-
71
-
72
-
73
-
74
-
75
-
76
-
77
-
78
-
79
-
80
-
81
-
82
-
83
-
84
-
85
-
86
-
87
-
88
-
89
-
90
-
91
-
92
 |
 |