Cisco SPA303 User Manual - Page 18
Installing Your Cisco SPA 303 IP Phone, Connecting the Handset
 |
View all Cisco SPA303 manuals
Add to My Manuals
Save this manual to your list of manuals |
Page 18 highlights
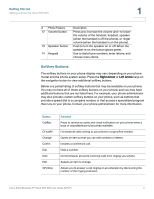
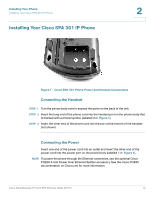
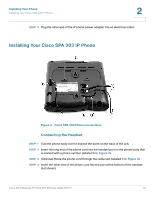
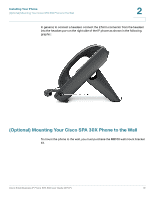
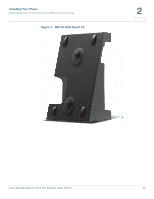
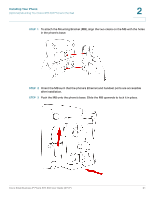
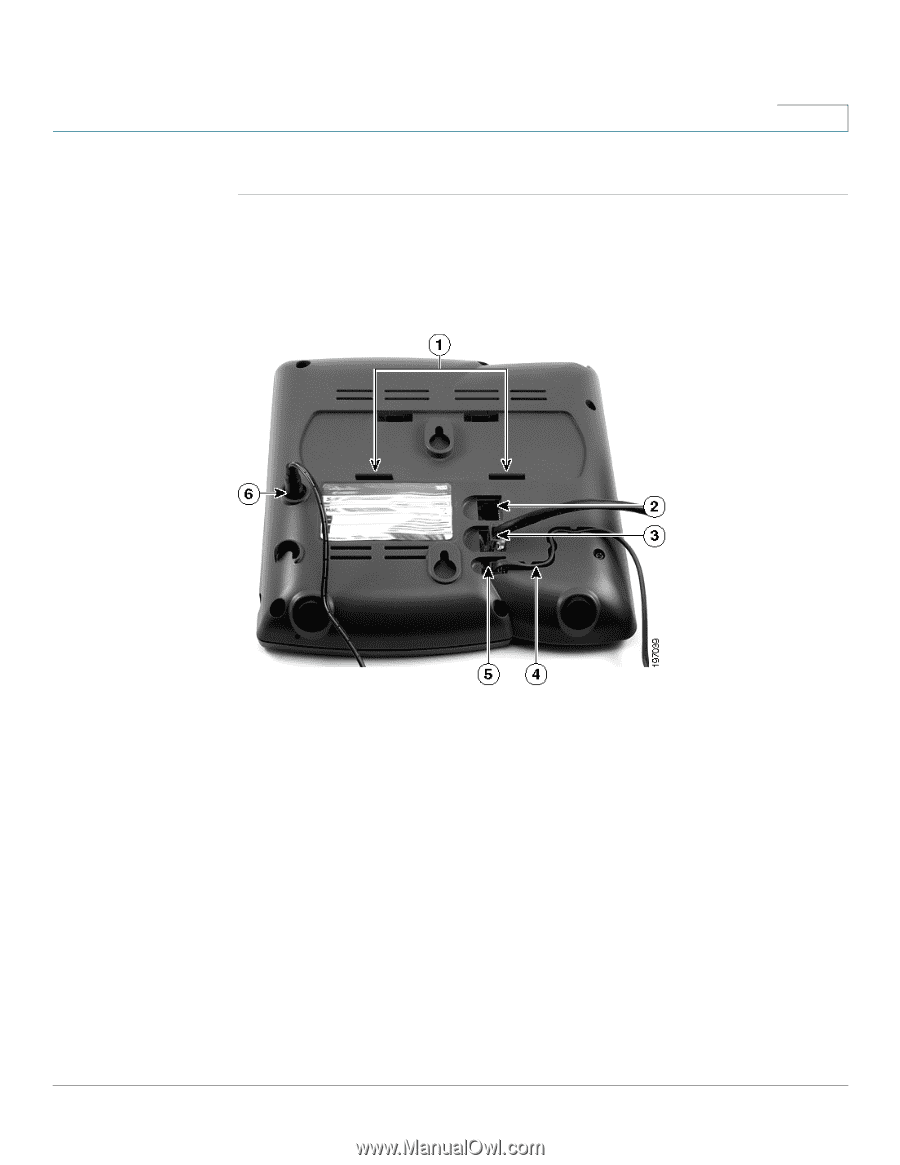
Installing Your Phone Installing Your Cisco SPA 303 IP Phone 2 STEP 5 Plug the other end of the IP phone power adapter into an electrical outlet. Installing Your Cisco SPA 303 IP Phone Figure 3 Cisco SPA 303 Phone Connections Connecting the Handset STEP 1 Turn the phone body over to expose the ports on the back of the unit. STEP 2 Insert the long end of the phone cord into the handset port on the phone body that is marked with a phone symbol. (labeled 5 in Figure 3). STEP 3 (Optional) Route the phone cord through the cable slot (labeled 4 in Figure 3). STEP 4 Insert the other end of the phone cord into the port at the bottom of the handset (not shown). Cisco Small Business IP Phone SPA 30X User Guide (SPCP) 16
-
 1
1 -
2
-
3
-
4
-
5
-
6
-
7
-
8
-
9
-
10
-
11
-
12
-
 13
13 -
 14
14 -
 15
15 -
 16
16 -
 17
17 -
 18
18 -
 19
19 -
 20
20 -
 21
21 -
 22
22 -
 23
23 -
24
-
25
-
26
-
27
-
28
-
29
-
30
-
31
-
32
-
33
-
34
-
35
-
36
-
37
-
38
-
39
-
40
-
41
-
42
-
43
-
44
-
45
-
46
-
47
-
48
-
49
-
50
-
51
-
52
-
53
 |
 |
Installing Your Phone
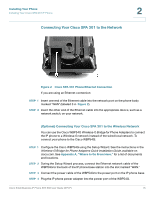
Installing Your Cisco SPA 303 IP Phone
Cisco Small Business IP Phone SPA 30X User Guide (SPCP)
16
2
STEP
5
Plug the other end of the IP phone power adapter into an electrical outlet.
Installing Your Cisco SPA 303 IP Phone
Figure 3
Cisco SPA 303 Phone Connections
Connecting the Handset
STEP 1
Turn the phone body over to expose the ports on the back of the unit.
STEP
2
Insert the long end of the phone cord into the handset port on the phone body that
is marked with a phone symbol. (labeled 5 in
Figure 3
).
STEP
3
(Optional) Route the phone cord through the cable slot (labeled 4 in
Figure 3
).
STEP
4
Insert the other end of the phone cord into the port at the bottom of the handset
(not shown).