Coby CB12 User Manual
Coby CB12 - CX Portable Radio Manual
 |
UPC - 716829101209
View all Coby CB12 manuals
Add to My Manuals
Save this manual to your list of manuals |
Coby CB12 manual content summary:
- Coby CB12 | User Manual - Page 1
of electric shock. The exclamation point within an equilateral triangle is intended to alert the user to the presence of important operation and servicing instructions in the literature accompanying the appliance. For Customer Use: Enter below the serial number that is located on the rear of the - Coby CB12 | User Manual - Page 2
the product suddenly has no response or powers off, an electrostatic discharge may be the unit in and turn it on again. FCC Statement: This device complies with Part 15 of the instructions, may cause harmful interference to radio communications. However, there is no guarantee that interference will - Coby CB12 | User Manual - Page 3
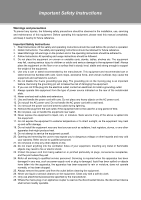
touch the power cord and antenna cable during lightning. 1111 Remove the plug from the wall outlet, if the equipment will not be used for a long period of time. 1111 Do not place, use or handle this equipment near water. 1111 Never expose the equipment to liquid, rain, or moisture. Seek service if - Coby CB12 | User Manual - Page 4
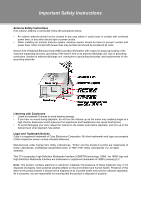
should be taken to prevent contact with power lines. Direct contact with power lines may be fatal and should be avoided at all costs. Section 810 of National Electrical Code (NEC) provides information with respect to proper grounding of the mast and supporting structure, grounding of the lead-in - Coby CB12 | User Manual - Page 5
of Contents Table Of Contents Precautions Important Safety Instructions Main Feature 1 Package Contents 2 Unit View 3 Remote Control 4 Cable Connections 7 TV Function 11 AV Function 15 PC Function 16 DVD Operation 17 Playback Function 19 DVD Setup 21 Troubleshooting 23 Specifications 24 - Coby CB12 | User Manual - Page 6
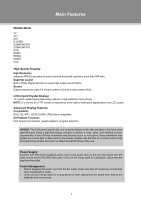
of the manufacturing process and does not affect the performance of the unit. Power Supply: Connect one end of the supplied power cord to the power jack on the unit rear panel and the other end to the AC100-240V wall outlet. If the unit will not be used for a long time, disconnect the plug from the - Coby CB12 | User Manual - Page 7
Package Contents Please make sure the following items are included with your product. If any item is missing, contact your dealer. a. b. c. a, Main Unit b, Power Cord & RCA Cable c, Remote Control Unit 2 - Coby CB12 | User Manual - Page 8
TV case to the wall •• Separate the TV case and the stand-base by removing screws before installation. •• Use the VESA standard mountings to fix the unit on the wall. Take care when mounting, it may cause damage or serious injury should it fall from its mountings. See the Specification page for VESA - Coby CB12 | User Manual - Page 9
through the sleep timer options. 14. SUBTITLE Display available DVD subtitles. 15. DISC MENU Access the DVD root menu. 16. GUIDE Display TV electronic program guide. 17. MTS Set the audio mode. 18. TITLE Access the DVD title menu. 19. LIGHT Turn the front panel light on/off. 20. ANGEL - Coby CB12 | User Manual - Page 10
the up/down direction button to select a desired working mode, press OK to enter. 28. CH+/Tune to a higher or lower channel. 29. MUTE Disable/enable audio output. 30. CH FAV Display the TV favorite channels list. 31. MENU Access the TV's main menu to adjust system options. 32. DVD SETUP Display the - Coby CB12 | User Manual - Page 11
batteries. •• Remove the batteries from the remote if it will not be used for a long period directly at the remote control sensor. 222 Do not place objects between the remote control unit and the remote control sensor. 333 Do not use this remote control unit while simultaneously operating the remote - Coby CB12 | User Manual - Page 12
done before connect the power supply. 222 If you have difficulty inserting the plug, turn it over and re-insert it. 333 If the product will not be used for a long period of time, disconnect the power. Note that the [POWER] button on the TV/remote control will place the TV into the standby mode - Coby CB12 | User Manual - Page 13
with electronic store. IMPORTANT NOTICE - When work with external device, •• Be sure to have all necessary connections properly done before connect the power supply. •• Set the unit into the relative input/output mode to enable the signal pass. •• Refer to the manual of external sources as well. 8 - Coby CB12 | User Manual - Page 14
cable/ AC100V-240V 50Hz/60Hz satellite boxes, DVD players, VCRs, etc.) 111 Connect the Y, Cb/ included with this product. 222 Use the red/white plug of supplied AV cable to connect R,L (1/2) port for audio transmission. A user guide. External AV Source Component 1 Connection External AV Source - Coby CB12 | User Manual - Page 15
. External AV Source RCA Input The CVBS port is capable of accepting signals from standard video sources(e.g., cable/satellite boxes, DVD players, VCRs, etc.) 111 Connect the VIDEO port with the yellow plug of the the supplied AV cable. 222 Connect the L, R port with the white/red plug of the - Coby CB12 | User Manual - Page 16
Connections" section for details). 222 Press POWER to turn on the player. 333 Press SOURCE to select the TV signal mode. a. Press the SOURCE button menu window. •• Press the left/right direction button to select the desired menu, press OK or the down direction button to enter. Picture Menu Audio Menu - Coby CB12 | User Manual - Page 17
TV Function Menu Description Picture Menu ITEM Picture Mode Contrast Brightness Color Tint Sharpness the image sharpness Press the right direction button to access the following options. Color Temp. - Set the color mode as Normal/Warm/Cool Screen Mode - Set Screen Mode as Zoom/Cinema/ - Coby CB12 | User Manual - Page 18
the CC mode. ( Off, On, CC On Mute) Basic Selection - Set the basic CC type. (CC1~4, Text 1~4) Advanced Selection - Set the advanced CC type (Service 1~6). Option -Press the right direction button to enter Option. Under the option menu, set Mode as Custom to edit the DTV CC type to your - Coby CB12 | User Manual - Page 19
TV Function Menu Description Channel Menu ITEM DESCRIPTION Air/Cable Setup the press the up/down direction button to select the desired channel. Press OK to set it as a favorite channel. To release, press OK again. Press the left/right button to turn pages in the FAV - Coby CB12 | User Manual - Page 20
to enter. While working with the menu 111 Press the up/down direction buttons to select the desired item. 222 Press the left/right direction button to adjust. 333 Press MENU to exit/back up the menu. NOTE: Please see the TV section for menu descriptions Note: Menu option availability is dependent on - Coby CB12 | User Manual - Page 21
please perform the following steps to adjust the screen manually . 111 Enter "VGA Settings" from the Option menu, select "Auto" and press the right direction button to adjust the monitor automatically. 222 Or if you still have problem with the monitor after, adjust "H-Position", "V-Position", "Clock - Coby CB12 | User Manual - Page 22
necessary connections have been made, press POWER to turn on the player and then press the MODE button to select DVD. The following discs can be read by the player : DVD /CD / MP3 /JPEG. Disc Loading 1. Put the disc slightly into the disc tray. 2. The disc will be taken automatically into the tray - Coby CB12 | User Manual - Page 23
DVD Operation CD Playback The player will play all tracks on a CD disc by default. MP3 Playback 111 Load a disc into the disc tray. 222 It will start playback automatically. Or press direction or zooming of the images. USB/Card Access Set the unit into the DVD mode, plug the USB or Card into the - Coby CB12 | User Manual - Page 24
(Pre-stop mode) It will resume from where it was direction buttons to move between title/chapter/time entry, press numeric buttons to input data. Press OK to start search. 222 Press GOTO once again to exit. NOTE: Some DVD discs do not support the search function. Fast Playback Press / on the remote - Coby CB12 | User Manual - Page 25
Playback Slow Motion Press the SLOW button on the remote to have current playback advanced in a slow motion to display the program menu. e.g. DVD Mode 222 Press direction buttons to move between input fields and press number buttons to input data. 333 Press direction buttons to select "Play " and - Coby CB12 | User Manual - Page 26
to select the desired item. 222 Press the right direction button or the OK button to confirm settings. 333 To exit, press DVD SETUP again. System Setup 111 TV System - Select the TV System from NTSC/PAL/AUTO. The default setting is NTSC. (The TV System for north America is NTSC. AUTO should only - Coby CB12 | User Manual - Page 27
DVD Setup Language Setup Item OSD Language Audio Lang Subtitle Lang Menu Lang Instruction Setup the OSD language. Setup the audio language. Setup the subtitle language. When OFF is selected, the subtitle will not be displayed. Setup the menu language. Default - Coby CB12 | User Manual - Page 28
with this device, please read the troubleshooting guide section and check our website at www.cobyusa.com for Frequently Asked Questions (FAQs) and firmware updates. If these resources do not resolve the problem, please contact Technical Support. Symptom No Power No Picture No Sound Color Distorted - Coby CB12 | User Manual - Page 29
Max) Speaker 2x(8Ω,10W) 0ºc-40ºc TFDVD 3295 TFT Panel Characteristic TV Charactoristic Active Area Resolution Display Color Pixel Pitch TV System Antenna Impedance Power Consumption Standard Operating Temperature Range 32" 1366X768 8-bit - 16.7M 0.51075(H) x 0.51075(V) ATSC/NTSC 75Ω 100 - Coby CB12 | User Manual - Page 30
TFT LCD Widescreen Television Instruction Manual TFDVD2695/3295 Please read this manual carefully before connection and use
-
 1
1 -
 2
2 -
 3
3 -
 4
4 -
 5
5 -
 6
6 -
 7
7 -
8
-
9
-
10
-
11
-
12
-
13
-
14
-
15
-
16
-
17
-
18
-
19
-
20
-
21
-
22
-
23
-
24
-
25
-
26
-
27
-
28
-
29
-
30
 |
 |
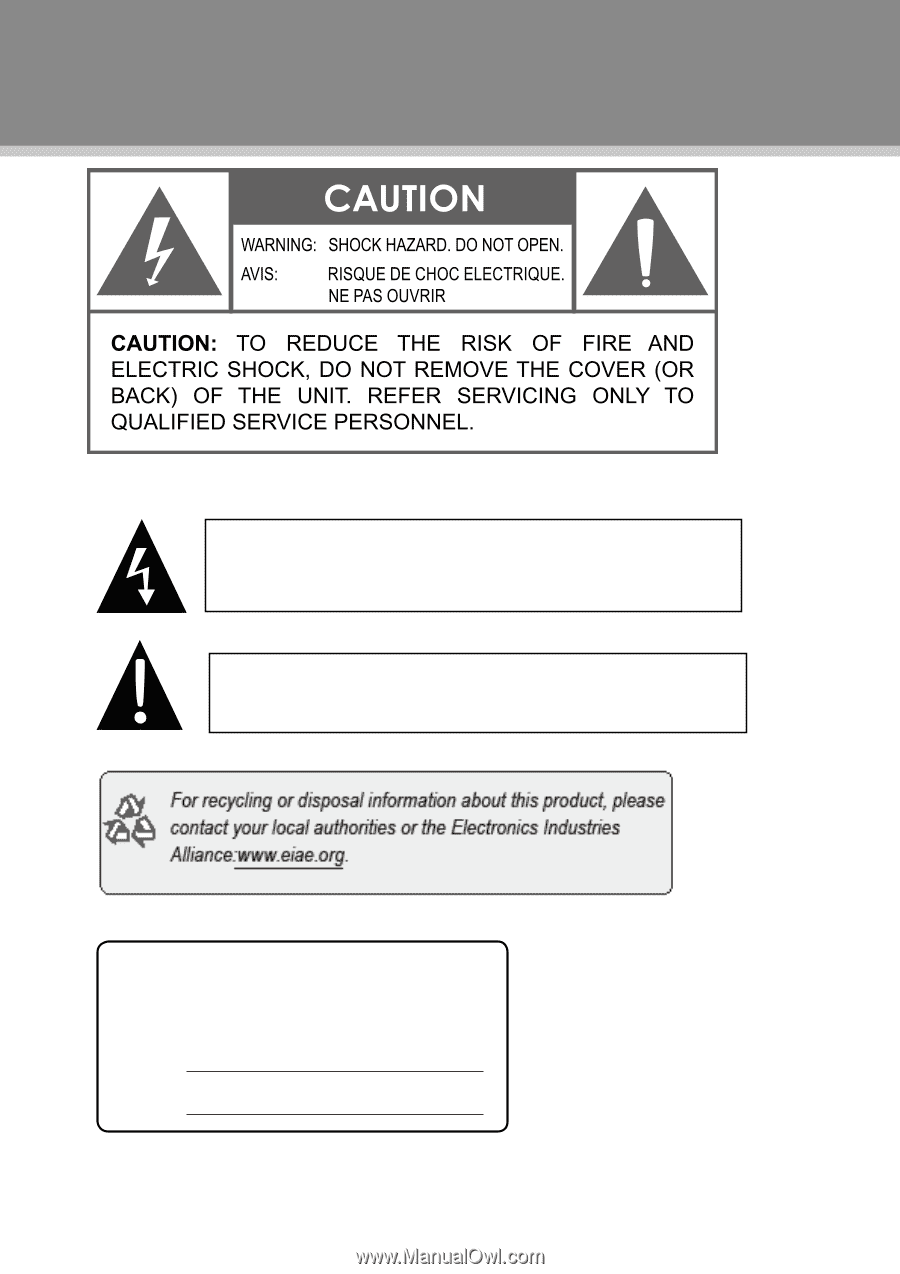
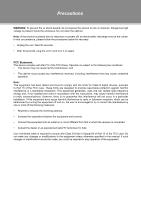
The lightning flash with arrowhead symbol within an equilateral triangle is
intended to alert the user to the presence of uninsulated “dangerous voltage”
within the product’s enclosure that may be of sufficient magnitude to constitute
a risk of electric shock.
The exclamation point within an equilateral triangle is intended to alert the
user to the presence of important operation and servicing instructions in the
literature accompanying the appliance.
Precautions
For Customer Use:
Enter below the serial number that is located on the
rear of the unit. Retain this information for future ref-
erence.
Model No.
Serial No.
TFDVD2695/3295