Compaq Evo n1050v Service Manual - Page 82
Replacing Small Parts
 |
View all Compaq Evo n1050v manuals
Add to My Manuals
Save this manual to your list of manuals |
Page 82 highlights
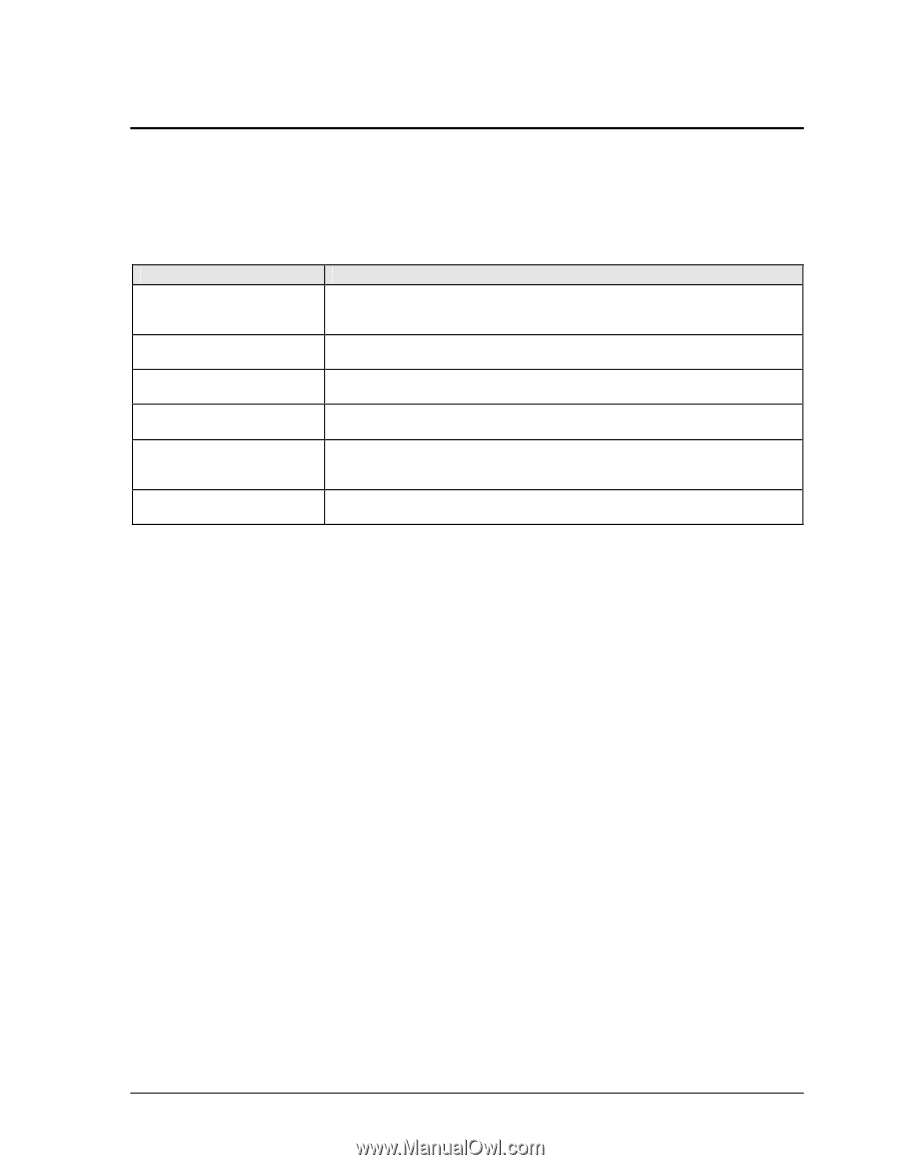
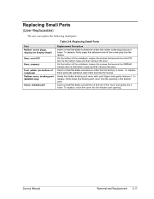
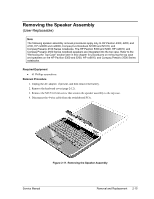
Replacing Small Parts (User-Replaceable) The user can replace the following small parts. Table 2-4. Replacing Small Parts Part Rubber screw plugs, display (on display bezel) Door, mini-PCI Door, memory Feet, rubber (on bottom of notebook) Rubber cover, docking port (XE4500 only) Cover, modem port Replacement Procedure Insert a small flat-blade screwdriver under the rubber screw plug and pry it loose. To replace, firmly press the adhesive side of the screw plug into the recess. On the bottom of the notebook, loosen the screws that secure the mini-PCI door to the bottom case and then remove the door. On the bottom of the notebook, loosen the screws that secure the SDRAM module door to the bottom case and then remove the door. Insert a small flat-blade screwdriver under the foot and pry it loose. To replace, firmly press the adhesive side of the foot into the recess. Grasp the rubber docking port cover with your fingers and gently remove it. To replace, firmly press the docking port cover into the opening in the bottom case. Insert a small flat-blade screwdriver at the top of the cover and gently pry it loose. To replace, insert the cover into the modem port opening. Service Manual Removal and Replacement 2-11
-
 1
1 -
2
-
3
-
4
-
5
-
6
-
7
-
8
-
9
-
10
-
11
-
12
-
13
-
14
-
15
-
16
-
17
-
18
-
19
-
20
-
21
-
22
-
23
-
24
-
25
-
26
-
27
-
28
-
29
-
30
-
31
-
32
-
33
-
34
-
35
-
36
-
37
-
38
-
39
-
40
-
41
-
42
-
43
-
44
-
45
-
46
-
47
-
48
-
49
-
50
-
51
-
52
-
53
-
54
-
55
-
56
-
57
-
58
-
59
-
60
-
61
-
62
-
63
-
64
-
65
-
66
-
67
-
68
-
69
-
70
-
71
-
72
-
73
-
74
-
75
-
76
-
 77
77 -
 78
78 -
 79
79 -
 80
80 -
 81
81 -
 82
82 -
 83
83 -
 84
84 -
 85
85 -
 86
86 -
 87
87 -
88
-
89
-
90
-
91
-
92
-
93
-
94
-
95
-
96
-
97
-
98
-
99
-
100
-
101
-
102
-
103
-
104
-
105
-
106
-
107
-
108
-
109
-
110
-
111
-
112
-
113
-
114
-
115
-
116
-
117
-
118
-
119
-
120
-
121
-
122
-
123
-
124
-
125
-
126
-
127
-
128
-
129
-
130
-
131
-
132
-
133
-
134
-
135
-
136
-
137
-
138
-
139
-
140
-
141
-
142
-
143
-
144
-
145
-
146
-
147
-
148
-
149
-
150
-
151
-
152
-
153
-
154
-
155
-
156
-
157
-
158
-
159
-
160
-
161
-
162
-
163
-
164
-
165
-
166
-
167
-
168
-
169
-
170
-
171
-
172
-
173
-
174
-
175
-
176
-
177
-
178
-
179
-
180
-
181
-
182
-
183
-
184
-
185
-
186
-
187
-
188
 |
 |