Craftsman 17550 Operation Manual
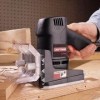
Craftsman 17550 - 3.5 Amp Detail Biscuit Jointer Manual
 |
View all Craftsman 17550 manuals
Add to My Manuals
Save this manual to your list of manuals |
Craftsman 17550 manual content summary:
- Craftsman 17550 | Operation Manual - Page 1
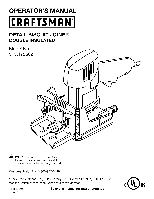
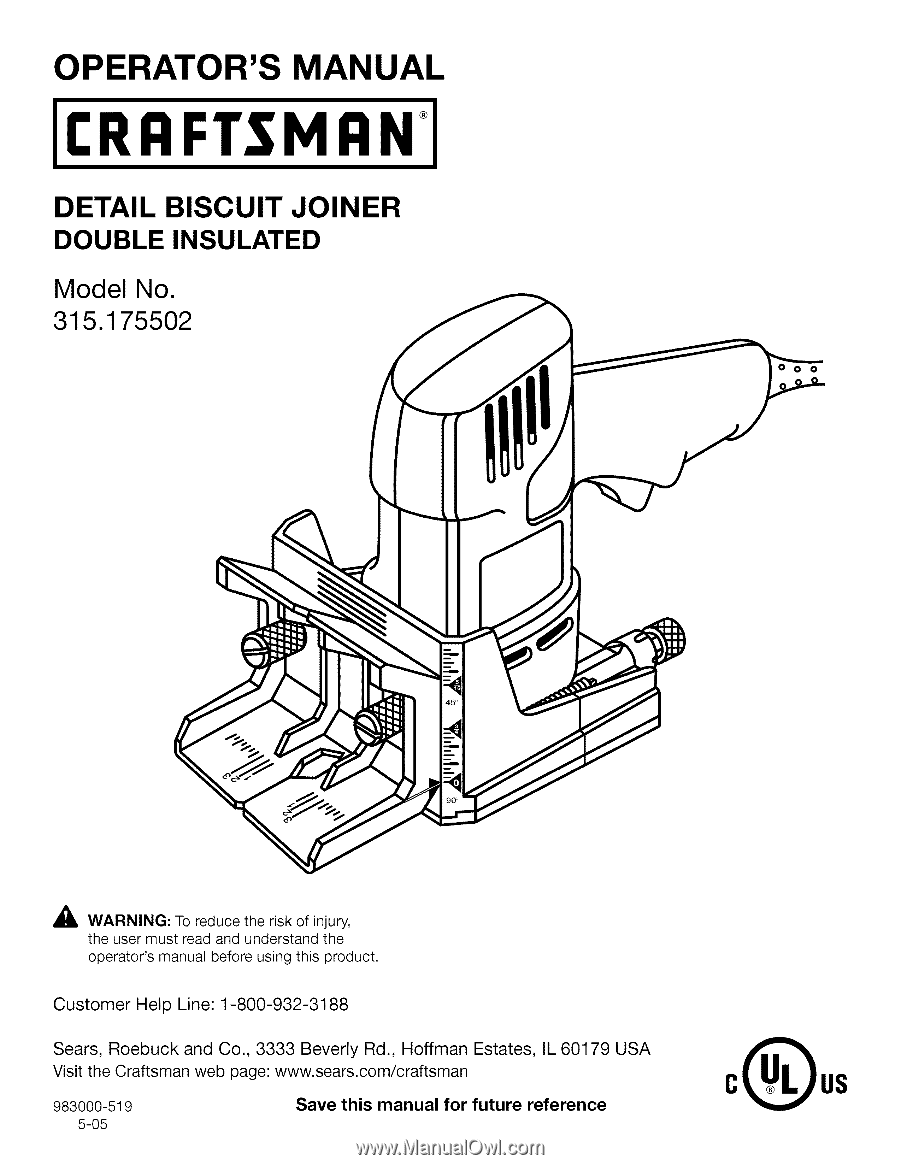
OPERATOR'S MANUAL I:RRFTSMRN DETAIL BISCUIT JOINER DOUBLE INSULATED Model No. 315.1 75502 OO A WARNING: To reduce the risk of injury, the user must read and understand the operator's manual before using this product. Customer Help Line: 1-800-932-3188 Sears, Roebuck and Co., 3333 Beverly Rd., - Craftsman 17550 | Operation Manual - Page 2
Operation ...• Maintenance ...• Accessories ... 9 10-t9 20-22 23 • Troubleshooting ... 23 • Exploded View and Parts List ... 24-25 • Parts Ordering/Service ... Back Page FULL ONE YEAR WARRANTY ON CRAFTSMAN TOOL If this CRAFTSMAN tool fails to give complete satisfaction within one year from the - Craftsman 17550 | Operation Manual - Page 3
INSTRUCTIONS (one blade is and support the parts, and any other condition that may affect the tool's operation. If damaged, have the tool serviced before using. Many accidents are caused by poorly maintained tools. • Use only accessories that are recommended by the manufacturer for your model - Craftsman 17550 | Operation Manual - Page 4
by unqualified personnel may result in a risk of injury. When servicing a tool, use only identical replacement parts. Follow instructions in the Maintenance section of this manual. Use of unauthorized parts or failure to follow Maintenance Instructions may create a risk of shock or injury. • Hold - Craftsman 17550 | Operation Manual - Page 5
reduce the risk of injury, user must read and understand operator's manual before using this product. Always wear safety goggles, safety glasses with your hands away from the blade will result in serious personal injury. Failure to keep your hands away from the blade will result in serious personal - Craftsman 17550 | Operation Manual - Page 6
servicing, use only identical replacement parts. A WARNING: To avoid serious personal injury, do not attempt to use this product until you read thoroughly and understand completely the operator's manual. Save this operator's manual and review frequently for continuing safe operation and instructing - Craftsman 17550 | Operation Manual - Page 7
of the system and should be performed only by a qualified service technician. For service, we suggest you return the tool to your nearest authorized service center for repair. Always use original factory replacement parts when servicing. ELECTRICAL CONNECTION This tool has a precision-built electric - Craftsman 17550 | Operation Manual - Page 8
PRODUCT SPECIFICATIONS Fence Angles 45 ° and 90 ° Depth of Cut with Micro Depth of Cut Adjustment 0 - 9/32 in. Fence Height Adjustment With Fence Angle Set on 90 0 - 3/4 in. With Fence Angle Set on 45 5/16 in. - 13/16 in. No Load Speed 19,000/min. Input 120 V, 60 Hz, AC only, 3.5 Amps Net - Craftsman 17550 | Operation Manual - Page 9
to 90 ° or 45 ° . The fence should always be used to guide and balance the biscuit joiner, providing ease of operation and maintaining control. BLADE Your biscuit joiner has a t-1/2 in. 6-tooth blade for cutting biscuit slots. DEPTH ADJUSTMENT KNOB(S) A spring-loaded depth adjustment knob makes it - Craftsman 17550 | Operation Manual - Page 10
strong joint. Traditional spline joinery requires cutting slots with a router or table saw. Small, thin strips of wood must then be cut to fit inside the slots and act as splines. Newer methods of spline joinery use a plate or biscuit joiner to cut precise mating oval slots in adjoining boards. This - Craftsman 17550 | Operation Manual - Page 11
DEPTH OF CUT Depth of cut is a basic setting that must be adjusted for all biscuit joinery applications. The biscuit joiner can be adjusted to three standard cutting depths to accommodate three standard size biscuits -- Rt, R2, and R3. Adjustments are made by engaging slots on depth adjustment knob - Craftsman 17550 | Operation Manual - Page 12
slots. Rotating the jam nut to the left will cut deeper biscuit slots. FENCE HEIGHT ADJUSTMENT See Figure 6. The fence on the biscuit joiner can be moved up and down to adjust the position of the blade in relation to the top of the workpiece. A scale on both sides of the front base indicates - Craftsman 17550 | Operation Manual - Page 13
cut. • Tighten height adjustment knobs securely. FENCEORIENTATION FOR45 ° ANGLES FENCEORIENTATION FOR90° ANGLES LINE OF CUT INDICATORS See Figure 9. The detail biscuit joiner has a centerline/line of cut indicator on the reversible fence and a centerline indicator mark on the bottom side of the - Craftsman 17550 | Operation Manual - Page 14
mark(s) on the board. • Depress the switch trigger and let the motor build to its maximum speed, then gradually push the biscuit joiner forward to extend the blade into the wood. BISCUITSLOT(S) Fig. t 1 • When the base assembly bottoms out against the depth of cut adjustment knob setting, pull - Craftsman 17550 | Operation Manual - Page 15
securely so that it will not move during the cut. • Plug the detail biscuit joiner into the power supply and prepare to make your first cut. Grasp and build to its maximum speed, then gradually push the biscuit joiner forward to extend the blade into the wood. • When the base assembly bottoms - Craftsman 17550 | Operation Manual - Page 16
face of another board. Typical applications include attaching shelves to bookcases and inner support braces to frames. Actual cutting of a T-joint is as simple as centerline intersection. • Next, you must remove the fence from the biscuit joiner in order to cut slots into the face of the vertical - Craftsman 17550 | Operation Manual - Page 17
the detail biscuit joiner on a vertical board and align the indicator marks on the bottom shoe with the centerline on the vertical board. • Place a straight piece of wood on the vertical board and securely clamp it flush against the bottom shoe. This piece of wood is used for a fence or guide. It - Craftsman 17550 | Operation Manual - Page 18
prepare to cut the slot. • Depress the switch trigger and let the motor build to its maximum speed, then gradually push the biscuit joiner forward to extend the blade into the wood. • When the base assembly bottoms out against the depth of cut adjustment knob setting, pull back, releasing pressure - Craftsman 17550 | Operation Manual - Page 19
are used when joining two boards using hinges supplied in one of Craftsman's optional hinge kits. Typical applications include jewelry boxes, doors on clocks build to its maximum speed, then gradually push the biscuit joiner forward to extend the blade into the wood. When the base assembly bottoms - Craftsman 17550 | Operation Manual - Page 20
Service Center. BLADE REPLACEMENT See Figures 24-26. After extended use, the blade may become dull. If you accidentally hit a nail or other blunt object, it will dull or break the blade. These situations require replacing the blade. REPLACING THE BLADE Unplug the tool. Place the biscuit joiner - Craftsman 17550 | Operation Manual - Page 21
• Remove the blade. See "Replacing the Blade." • With the biscuit joiner still upside down on a work- bench, remove the two front base screws. FRONTBASE SCREWDRIVER Fig. 26 • Remove outer blade washer and blade. • Clean wood particles and resin from blade washer and all surrounding parts. A WARNING - Craftsman 17550 | Operation Manual - Page 22
tightensecurely. • Reinstatlhl eblade.Tightenthe bladescrewsecurely. • Reassembtlehebottomshoe.Tightenthefourscrews securely. (ES) TAB(S) REARBASE BEARINGPLATE SPRING(S) Fig. 28 A CAUTION: Blade tips are sharp. Be careful not to cut yourself when cleaning. Clean wood particles and resin from - Craftsman 17550 | Operation Manual - Page 23
recommended can result in serious personal injury. PROBLEM , Biscuits do not fit the slots. Biscuits not fitting slots may also cause misalignment of and surrounding areas. Remove front and rear base assemblies and clean blade, bearing plate, base assembly slots and surrounding areas. Apply a - Craftsman 17550 | Operation Manual - Page 24
,_ CRAFTSMAN DETAIL BISCUIT JOINER - MODEL NUMBER 315.175502 • SEE NOTE "A' 2 I4 3 46 10 8 7 22 - Craftsman 17550 | Operation Manual - Page 25
CRAFTSMAN DETAIL BISCUIT JOINER - MODEL NUMBER 315.175502 • J TDhEeTAmIoLdeBlISnCuUmIbTerJOwiIlNl EbRe foournwdheon aorpdleartiengattraecphaeird ptaorttsh.e motor housing. Always mention the model number in all correspondence regarding your | SEE BACK PAGE FOR PARTS ORDERING INSTRUCTIONS Key Part - Craftsman 17550 | Operation Manual - Page 26
it, no matter who sold it! For the replacement parts, accessories and owner's manuals that you need to do-it-yourself. For Sears professional purchase a protection agreement (U.S.A.) or maintenance agreement (Canada) on a product serviced by Sears: 1-800-827-6655 (U.S.A.) 1-800-361-6665 (Canada)
-
 1
1 -
 2
2 -
 3
3 -
 4
4 -
 5
5 -
 6
6 -
 7
7 -
8
-
9
-
10
-
11
-
12
-
13
-
14
-
15
-
16
-
17
-
18
-
19
-
20
-
21
-
22
-
23
-
24
-
25
-
26
 |
 |
OPERATOR'S
MANUAL
I:RRFTSMRN
DETAIL BISCUIT
JOINER
DOUBLE
INSULATED
Model No.
315.1 75502
O
O
A
WARNING:
To reduce the risk of injury,
the user must read and understand
the
operator's
manual before using this product.
Customer
Help
Line:
1-800-932-3188
Sears,
Roebuck
and Co.,
3333
Beverly
Rd.,
Hoffman
Estates,
IL 60179
USA
Visit the Craftsman
web page: www.sears.com/craftsman
983000-5t
9
5-05
Save
this
manual
for future
reference