D-Link DCS-2132L Quick Installation Guide
D-Link DCS-2132L Manual
 |
View all D-Link DCS-2132L manuals
Add to My Manuals
Save this manual to your list of manuals |
D-Link DCS-2132L manual content summary:
- D-Link DCS-2132L | Quick Installation Guide - Page 1
the setup wizard. Mac Users - Once downloaded, double-click the file to launch the setup wizard. Step 9: Click on the Start button to start the wizard and follow the instructions from the Installation Wizard to finish setting up your camera. mydlink Portal After registering your DCS-2132L camera
-
 1
1
 |
 |
ENGLISH
Quick Install Guide
Cloud Camera 2200
Thank you for purchasing the DCS-2132L Cloud Camera 2200. Follow the easy
steps in this guide to properly set up your camera. Please verify that all the package
contents below are available.
DCS-2132L
If any of the above items are missing, please contact your reseller.
Technical Support
Having trouble installing your new product? D-Link’s website contains the latest
user documentation and software updates for D-Link products. U.S. and Canadian
customers can contact D-Link Technical Support through our website or by phone.
United States
Telephone:
(877) 453-5465
Internet:
Canada
Telephone:
(800) 361-5265
Internet:
Copyright ©2012 All rights reserved. D-Link and the D-Link logo are registered trademarks of D-Link Corporation or its subsidiaries.
Other trademarks are the property of their respective owners. Maximum wireless signal rate derived from IEEE Standard 802.11g and
802.11n specifications. Actual data throughput will vary. Network conditions and environmental factors, including volume of network
traffic, building materials and construction, and network overhead, lower actual data throughput rate. Environmental factors will
adversely affect wireless signal range. Product specifications, size and shape are subject to change without notice, and actual product
appearance may differ from that depicted on the packaging. Visit dlink.com (US) or dlink.ca (Canada) for more details.
Version 1.0(US)
|
May 18, 2012
Package Contents
DCS-2132L Cloud Camera 2200
CAT5 Ethernet Cable
Power Adapter
•
Computer with Microsoft Windows® 7, Vista®, or XP, Mac OS® X (10.5 or above)
•
PC with 1.3GHz or above; at least 128MB RAM
•
Internet Explorer 7 or above, Firefox 3.5 or above, Safari 4 or above, Chrome 8
or above
• Existing 10/100 Ethernet-based network or 802.11n/g wireless network
• A broadband Internet connection
System Requirements
Installation
Step 1:
Open a web browser and go to
. Click your
camera model and then under Wizard, click the link of the version (Windows or Mac)
you want to download. Depending on your web browser, you may need to right-click
the link and select
Save link as
. Once downloaded, do not launch the wizard until
instructed.
Step 2:
If you have a WPS-enabled router and want to connect your camera wirelessly to
your wireless network, do not connect the Ethernet cable and continue with
Step 3
.
Connect the included Ethernet cable to the Ethernet port located on the back of
the DCS-2132L and attach it to your router.
Skip to Step 7
.
Step 3:
Attach the power supply to the power input located on the back of the DCS-2132L
and connect it to a wall outlet or power strip. Power is confirmed when the Power
LED is lit.
Step 4:
Press and hold the
WPS
button on the back of the camera for 5 seconds. The blue
WPS status LED will start to blink.
Step 5:
Press the
WPS
button on your wireless router within 2 minutes. On some routers,
you may need to log into the web interface and then click an on-screen button to
activate the WPS feature. Please refer to your router’s user manual if needed.
Step 6:
Once the WPS LED stops blinking and the Power LED is green,
skip to Step 8
.
Step 7:
Attach the power supply to the power input located on the back of the DCS-2132L
and connect it to your wall outlet or power strip. Power is confirmed when the
Power LED is lit.
Step 8:
Windows Users -
Once the file is downloaded from Step 1, you will have to extract
(unzip) the files. Right-click the file and select to extract the files. Once extracted,
double-click autorun.exe to launch the setup wizard.
Mac Users -
Once downloaded, double-click the file to launch the setup wizard.
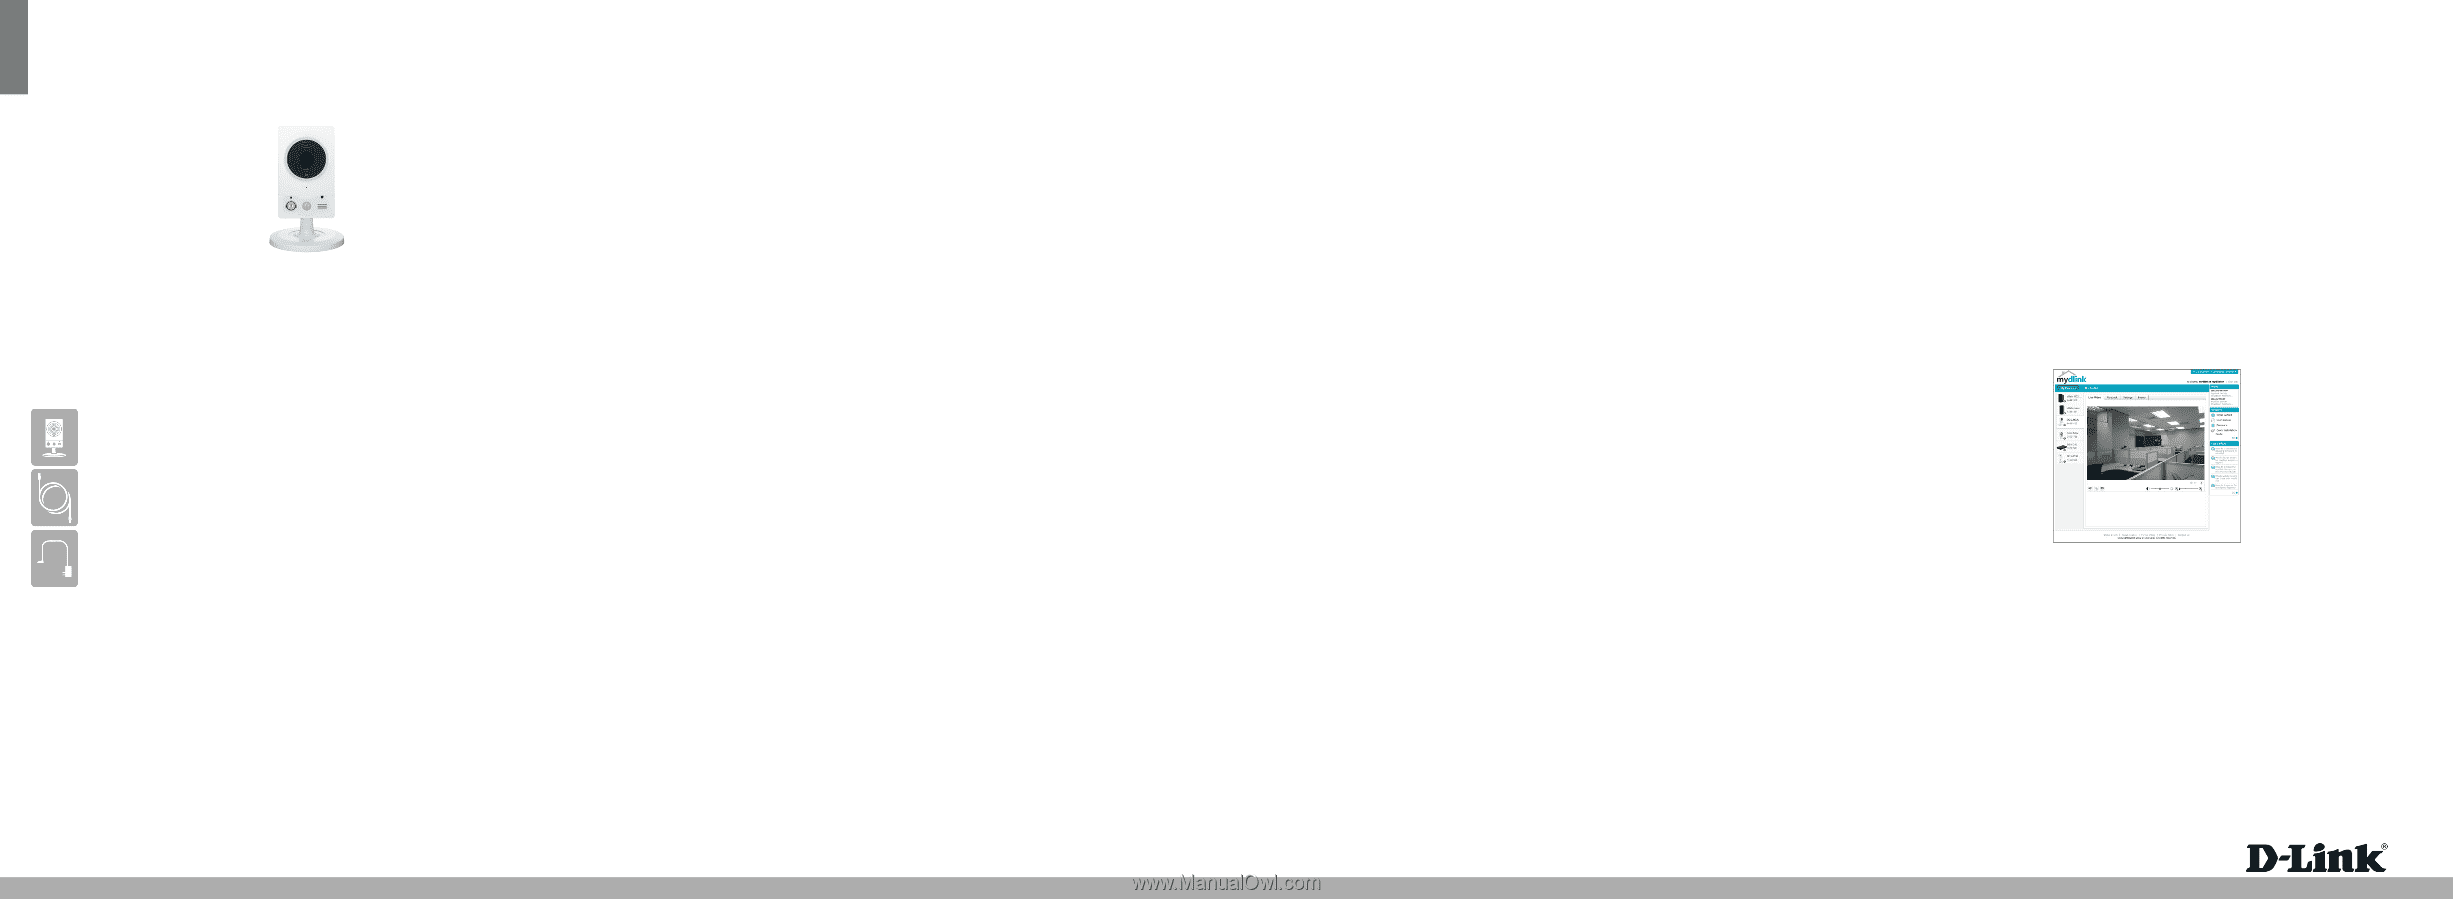
After registering your DCS-2132L camera with mydlink, you will be able to remotely
access your camera from the
www.mydlink.com
website. After signing in to your
mydlink account, you will see a screen similar to the following:
Step 1:
Open Internet Explorer and go to
, then sign into mydlink.
Step 2:
Select your camera from the device list, and your camera’s Live View will appear.
mydlink Portal
Zero Configuration Setup (with mydlink Cloud Router only)
Note:
The Zero Configuration Setup will only work with a registered Cloud Router
and an active mydlink account. If you do not have a mydlink Cloud Router, please
skip to the
Easy Setup
section.
Easy Setup (all other routers)
Step 1:
Attach the power supply to the power input located on the back of the DCS-2132L
and connect it to a wall outlet or power strip. Power is confirmed when the Power
LED is lit. Your Cloud Router will automatically assign your network settings (both
wired and wireless) to your camera.
Step 2:
If using an Ethernet connection:
Connect the included Ethernet cable to the
Ethernet port located on the back of the DCS-2132L and connect it to your router.
If using a wireless connection:
Press and hold the
WPS
button on the back of the
camera for 5 seconds. The blue WPS status LED will start to blink. Then, press the
WPS
button on your Cloud Router within 2 minutes.
Step 3:
From any computer, open a web browser, go to
and log
into your account. Once mydlink detects your camera, a notice will appear that there
is a new device detected. Click on your camera from the
New Devices
list and then
click
Yes
to add your camera.
Your setup is complete!
You can now unplug your camera and move it to the location of your choice.
Step 9:
Click on the
Start
button to start the wizard and follow the instructions from
the Installation Wizard to finish setting up your camera.