D-Link DCS-6620 Product Manual - Page 83
Changing the Camera Order in the List
 |
UPC - 790069277078
View all D-Link DCS-6620 manuals
Add to My Manuals
Save this manual to your list of manuals |
Page 83 highlights
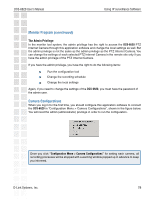
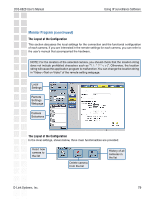
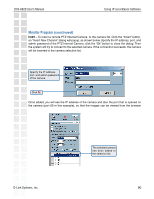
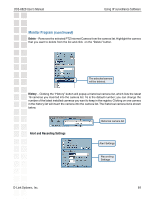
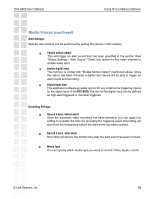
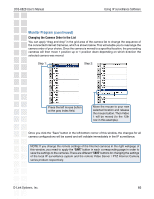
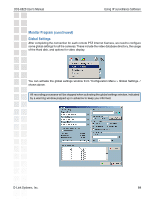
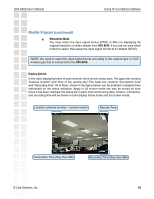
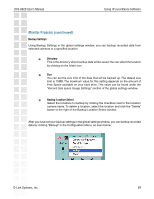
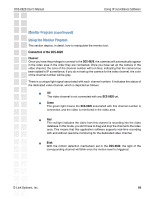
DCS-6620 User's Manual Using IP surveillance Software Monitor Program (continued) Changing the Camera Order in the List You can apply "drag and drop" in the grid area of the camera list to change the sequence of the connected Internet Cameras, which is shown below. This will enable you to rearrange the camera order of your choice. Once the camera is moved to a specified location, the proceeding cameras will then move 1 position up or 1 position down depending on which direction the selected camera was moved. Step 1: Step 2: Press the left mouse button at the gray index field. Move the mouse to your new selected location and release the mouse button. Then Video 1 will be moved (to the 12th row in this example). Once you click the "Save" button in the left-bottom corner of this window, the changes for all camera configurations will be saved and will validate immediately in the IP surveillance. NOTE: If you change the remote settings of the Internet cameras in the right webpage of this window, you need to apply the "SAVE" button in each corresponding page in order to save the settings to the cameras. There are different "SAVE" buttons for changing the settings of the local IP surveillance system and the remote Video Server / PTZ Internet Camera series product respectively. D-Link Systems, Inc. 83
-
 1
1 -
2
-
3
-
4
-
5
-
6
-
7
-
8
-
9
-
10
-
11
-
12
-
13
-
14
-
15
-
16
-
17
-
18
-
19
-
20
-
21
-
22
-
23
-
24
-
25
-
26
-
27
-
28
-
29
-
30
-
31
-
32
-
33
-
34
-
35
-
36
-
37
-
38
-
39
-
40
-
41
-
42
-
43
-
44
-
45
-
46
-
47
-
48
-
49
-
50
-
51
-
52
-
53
-
54
-
55
-
56
-
57
-
58
-
59
-
60
-
61
-
62
-
63
-
64
-
65
-
66
-
67
-
68
-
69
-
70
-
71
-
72
-
73
-
74
-
75
-
76
-
77
-
 78
78 -
 79
79 -
 80
80 -
 81
81 -
 82
82 -
 83
83 -
 84
84 -
 85
85 -
 86
86 -
 87
87 -
 88
88 -
89
-
90
-
91
-
92
-
93
-
94
-
95
-
96
-
97
-
98
-
99
-
100
-
101
-
102
-
103
-
104
-
105
-
106
-
107
-
108
-
109
-
110
-
111
-
112
-
113
-
114
-
115
-
116
-
117
-
118
-
119
-
120
-
121
-
122
-
123
-
124
-
125
-
126
-
127
-
128
-
129
-
130
-
131
-
132
-
133
-
134
-
135
-
136
-
137
-
138
-
139
-
140
-
141
-
142
-
143
 |
 |