D-Link DHP-311AV Manual
D-Link DHP-311AV Manual
 |
View all D-Link DHP-311AV manuals
Add to My Manuals
Save this manual to your list of manuals |
D-Link DHP-311AV manual content summary:
- D-Link DHP-311AV | Manual - Page 1
- D-Link DHP-311AV | Manual - Page 2
are trademarks or registered trademarks of their respective companies. Copyright © 2011 by D-Link Systems, Inc. All rights reserved. This publication may not be reproduced, in whole or in part, without prior expressed written permission from D-Link Systems, Inc. D-Link DHP-311AV User Manual 2 - D-Link DHP-311AV | Manual - Page 3
6 Connection 7 Simple Connect Button 8 Hardware Installation 9 Simple Connect Button 10 Using the Setup Wizard 12 Configuration 13 Security 15 Troubleshooting 17 Technical Specifications 18 Contacting Technical Support 19 Warranty 20 Registration 25 D-Link DHP-311AV User Manual 3 - D-Link DHP-311AV | Manual - Page 4
Link DHP-310AV PowerLine AV Mini Adapters Two CAT5 Ethernet Cable CD-ROM with Software and User Manual Quick Install Guide System Requirements Software Requirements* • Windows® 7, Windows Vista®, XP (with Service Pack 3) • PC with 233MHz Processor, 64MB Memory • Ethernet Adapter (10/100Mbps) Network - D-Link DHP-311AV | Manual - Page 5
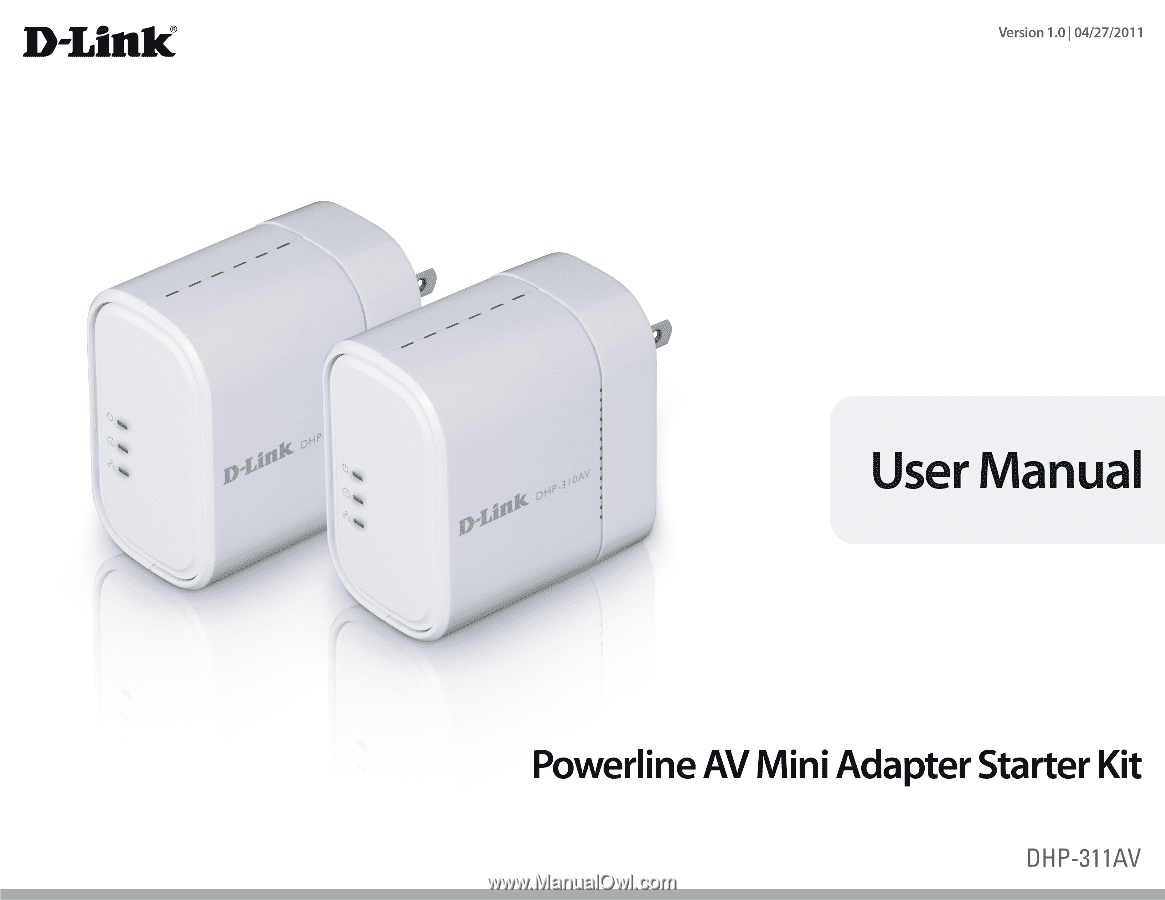
Overview Introduction D-Link announces a fast, 200Mbps* PowerLine AV Mini Adapter Kit that allows you to connect your home computers, networking devices and gaming devices through the most pervasive medium in your house - the electric power lines. With the DHP-310AV PowerLine AV Mini Adapters, you - D-Link DHP-311AV | Manual - Page 6
link rate is between 50 Mbps and 80 Mbps. • Red - The PowerLine link rate is less than 50 Mbps. • Solid - The Ethernet port is linked but there is no data traffic. 3 Ethernet LED • Blinking - The device is transmitting data. • Off - There is no Ethernet connection. D-Link DHP-311AV User Manual - D-Link DHP-311AV | Manual - Page 7
Section 1 - Product Overview Hardware Overview Connection 1 2 1 Reset Button Press and hold the button for 1 second to reset to factory default. 2 Ethernet Port Connect the CAT5 Ethernet cable to the DHP-310AV Ethernet port. D-Link DHP-311AV User Manual 7 - D-Link DHP-311AV | Manual - Page 8
Section 1 - Product Overview Hardware Overview Simple Connect Button 1 1 Simple Connect Button Press and hold the button for 2 seconds to secure your PowerLine network. Refer to page 10 for more information. D-Link DHP-311AV User Manual 8 - D-Link DHP-311AV | Manual - Page 9
router or switch) or PC. Network connectivity is confirmed when the PowerLine and Ethernet LEDs on the DHP-310AV are illuminated. Wireless Router 1 2 LAN 3 4 RESET INTERNET USB 5V - - - 3A Cable/DSL Modem INTERNET DHP-310AV (Included) DHP-310AV (Included) D-Link DHP-311AV User Manual 9 - D-Link DHP-311AV | Manual - Page 10
Connect Button Understanding PowerLine AV Network Security The PowerLine AV Network Starter Kit on the same network must use an identical encryption key. The default encryption key of each PowerLine AV Network Starter Kit is HomePlug AV. All PowerLine AV Network Starter Kits with default encryption - D-Link DHP-311AV | Manual - Page 11
you release the button. Then press the button of any adapter in your existing PowerLine network for no more than 2 seconds. The Power LED will start network security setup steps, your PowerLine network will be securely configured with the same network encryption key. D-Link DHP-311AV User Manual - D-Link DHP-311AV | Manual - Page 12
Follow the simple steps below to run the Setup Wizard to guide you quickly through the installation process. Insert the D-Link DHP-311 CD into your CD-ROM drive. If the CD Autorun function does If it does start, proceed to the next screen. Click on Install to begin. D-Link DHP-311AV User Manual 12 - D-Link DHP-311AV | Manual - Page 13
on your desktop to start the configuration of the DHP-311AV. Double-click the D-Link PowerLine AV Utility icon The D-Link PowerLine AV Utility provides you the option of setting your own PowerLine network and the network information of connected PowerLine devices. D-Link DHP-311AV User Manual 13 - D-Link DHP-311AV | Manual - Page 14
local or remote Quality: Shows the network connection quality of the connected device Link Rate: Shows the link rate of the connected device. MAC Address: Shows the MAC address of the connected device. Firmware Version: Shows the firmware version of the connected device. D-Link DHP-311AV User Manual - D-Link DHP-311AV | Manual - Page 15
OK. 3. Select the PowerLine devices that you would like to apply the encryption key setting. Then type your private encryption key into the Encryption Key Setting field and click Set Selected Devices. The utility will show a message once the setting been completed. D-Link DHP-311AV User Manual 15 - D-Link DHP-311AV | Manual - Page 16
key. 2. You can use PowerLine AV Utility to set all devices within existing PowerLine network and the new device back to PowerLine network will securely be configured with a customized encryption key and all devices can communicate with each other after your setting. D-Link DHP-311AV User Manual - D-Link DHP-311AV | Manual - Page 17
configuring the network with two or more PowerLine AV adapters, please make a reset to all of the adapters and start configuring the adapters again. To test whether the electrical wiring is contributing to the problem, plug the PowerLine adapters in the same room. D-Link DHP-311AV User Manual 17 - D-Link DHP-311AV | Manual - Page 18
Appendix C - Technical Specifications Network Ports • One 10/100 Ethernet port EMC • FCC Part 15 Class B • CE Class B • C-Tick AC % RH Power Consumption Compliance • EuP (Energy using Product Directive) • Code of Conduct on Energy Consumption of Broadband Equipment D-Link DHP-311AV User Manual 18 - D-Link DHP-311AV | Manual - Page 19
questions and answers to technical issues. For customers within the United States: Phone Support: (877) 453-5465 Internet Support: http://support.dlink.com For customers within Canada: Phone Support: (800) 361-5265 Internet Support: http://support.dlink.ca D-Link DHP-311AV User Manual 19 - D-Link DHP-311AV | Manual - Page 20
the defective Hardware will be refunded by D-Link upon return to D-Link of the defective Hardware. All Hardware or part thereof that is replaced by D-Link, or for which the purchase price is refunded, shall become the property of D-Link upon replacement or refund. D-Link DHP-311AV User Manual 20 - D-Link DHP-311AV | Manual - Page 21
Link determines in its sole discretion that it is not practical to replace the non-conforming Software, the price without any warranty whatsoever including, without limitation, obtain a Case ID Number from D-Link Technical Support at 1-877-453-5465, who dlink.com/. D-Link DHP-311AV User Manual 21 - D-Link DHP-311AV | Manual - Page 22
not include any manuals or accessories in the shipping package. DLink will firmware or other products or services provided by anyone other than D-Link; and Products that have been purchased from inventory clearance or liquidation sales or other sales in which D-Link Link DHP-311AV User Manual 22 - D-Link DHP-311AV | Manual - Page 23
notice. Copyright 2011 by D-Link Corporation/D-Link Systems, Inc. All rights reserved. CE Mark Warning: This is a Class B product. In a domestic environment, this product may cause radio interference, in which case the user may be required to take adequate measures. D-Link DHP-311AV User Manual 23 - D-Link DHP-311AV | Manual - Page 24
Warranty FCC Statement: This equipment has been tested and found to comply with the limits and, if not installed and used in accordance with the instructions, may cause harmful interference to radio communication. However, there corresponding local D-Link office. D-Link DHP-311AV User Manual 24 - D-Link DHP-311AV | Manual - Page 25
Appendix F - Registration Registration Product registration is entirely voluntary and failure to complete or return this form will not diminish your warranty rights. Version 1.0 April 27, 2010 D-Link DHP-311AV User Manual 25
-
 1
1 -
 2
2 -
 3
3 -
 4
4 -
 5
5 -
 6
6 -
 7
7 -
8
-
9
-
10
-
11
-
12
-
13
-
14
-
15
-
16
-
17
-
18
-
19
-
20
-
21
-
22
-
23
-
24
-
25
 |
 |