DIRECTV HR24 System Manual - Page 80
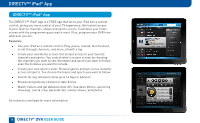
High-Definition Receivers - whole home setup
 |
View all DIRECTV HR24 manuals
Add to My Manuals
Save this manual to your list of manuals |
Page 80 highlights
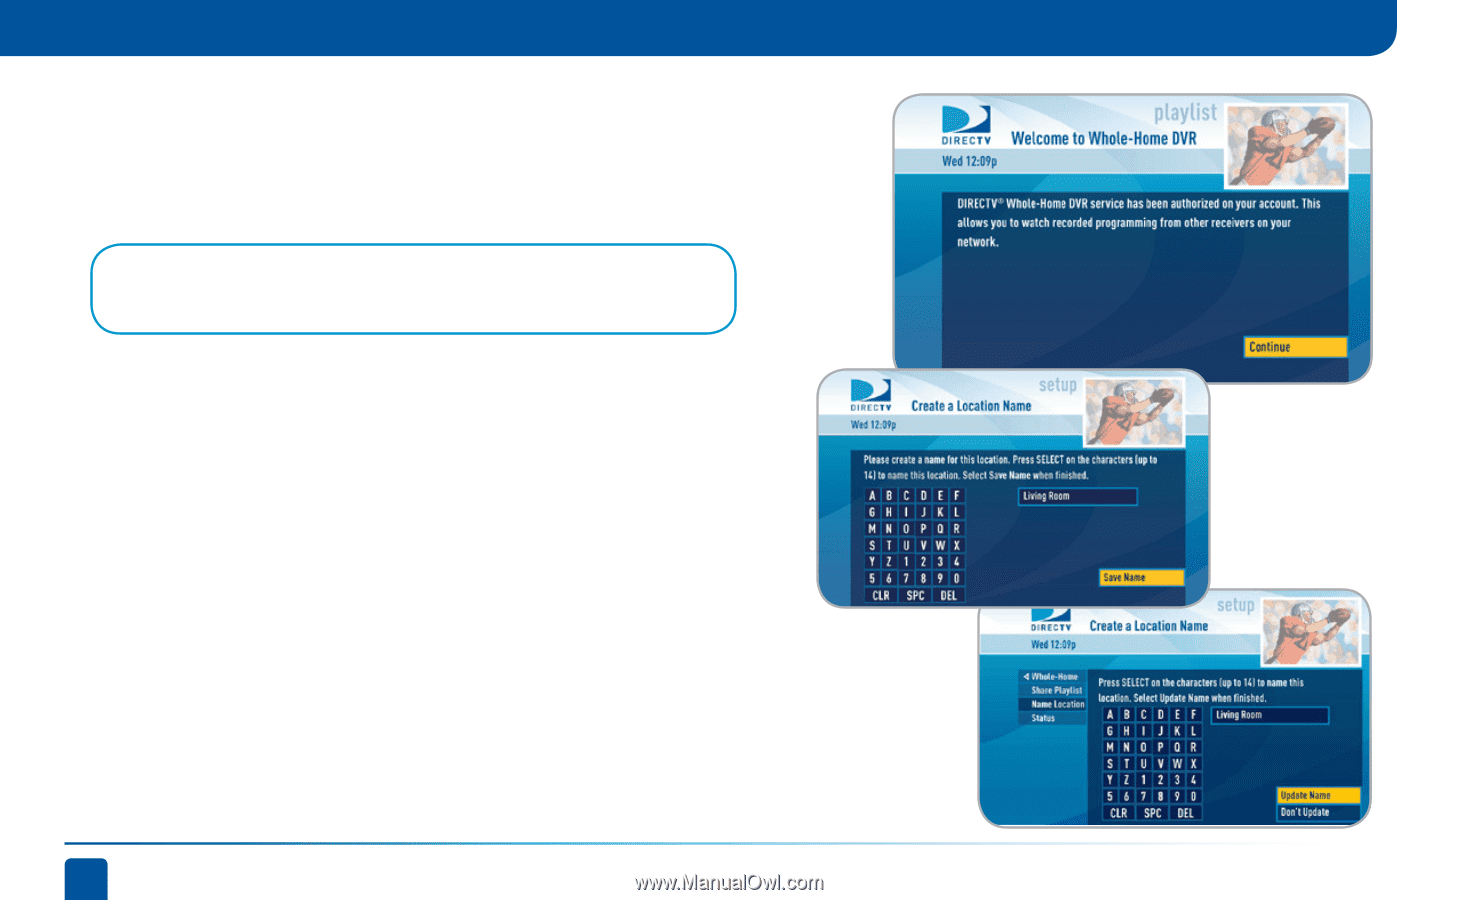
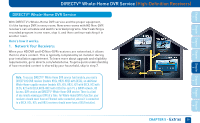
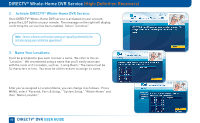
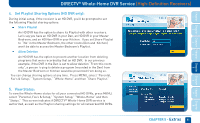
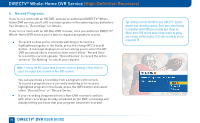
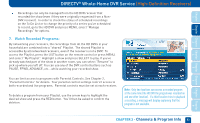
DIRECTV® Whole-Home DVR Service (High-Definition Receivers) 2. Activate DIRECTV® Whole-Home DVR Service: Once DIRECTV® Whole-Home DVR service is activated on your account, press the LIST button on your remote. The message on the right will display, confirming the service has been enabled. Select "Continue". Note: Service activation and location naming are typically performed by the installer during your installation appointment. 3. Name Your Locations: You'll be prompted to give each receiver a name. We refer to this as "Location." We recommend using a name that you'll easily associate with the room or it's location, such as, "Living Room." The name must be 14 characters or less. You must be at the receiver to assign its name. After you've assigned a Location Name, you can change it as follows: Press MENU, select "Parental, Fav's & Setup," "System Setup," "Whole-Home" and then "Name Location." 80 DIRECTV® DVR USER GUIDE
-
 1
1 -
2
-
3
-
4
-
5
-
6
-
7
-
8
-
9
-
10
-
11
-
12
-
13
-
14
-
15
-
16
-
17
-
18
-
19
-
20
-
21
-
22
-
23
-
24
-
25
-
26
-
27
-
28
-
29
-
30
-
31
-
32
-
33
-
34
-
35
-
36
-
37
-
38
-
39
-
40
-
41
-
42
-
43
-
44
-
45
-
46
-
47
-
48
-
49
-
50
-
51
-
52
-
53
-
54
-
55
-
56
-
57
-
58
-
59
-
60
-
61
-
62
-
63
-
64
-
65
-
66
-
67
-
68
-
69
-
70
-
71
-
72
-
73
-
74
-
 75
75 -
 76
76 -
 77
77 -
 78
78 -
 79
79 -
 80
80 -
 81
81 -
 82
82 -
 83
83 -
 84
84 -
 85
85 -
86
-
87
-
88
-
89
-
90
-
91
-
92
-
93
-
94
-
95
-
96
-
97
-
98
-
99
-
100
-
101
-
102
-
103
-
104
-
105
-
106
-
107
-
108
-
109
-
110
-
111
-
112
-
113
-
114
-
115
-
116
-
117
-
118
-
119
-
120
-
121
-
122
-
123
-
124
-
125
-
126
-
127
-
128
-
129
-
130
-
131
-
132
-
133
-
134
-
135
-
136
-
137
-
138
-
139
-
140
-
141
-
142
-
143
-
144
-
145
-
146
-
147
-
148
-
149
-
150
-
151
-
152
-
153
-
154
-
155
-
156
-
157
-
158
-
159
-
160
-
161
-
162
-
163
-
164
-
165
-
166
-
167
-
168
-
169
-
170
-
171
-
172
-
173
-
174
-
175
-
176
-
177
-
178
 |
 |