Dell 1320c User Guide - Page 15
Turn On the Printer, Print and Check the Printer Settings Assign an IP Address - network
 |
UPC - 662919013061
View all Dell 1320c manuals
Add to My Manuals
Save this manual to your list of manuals |
Page 15 highlights
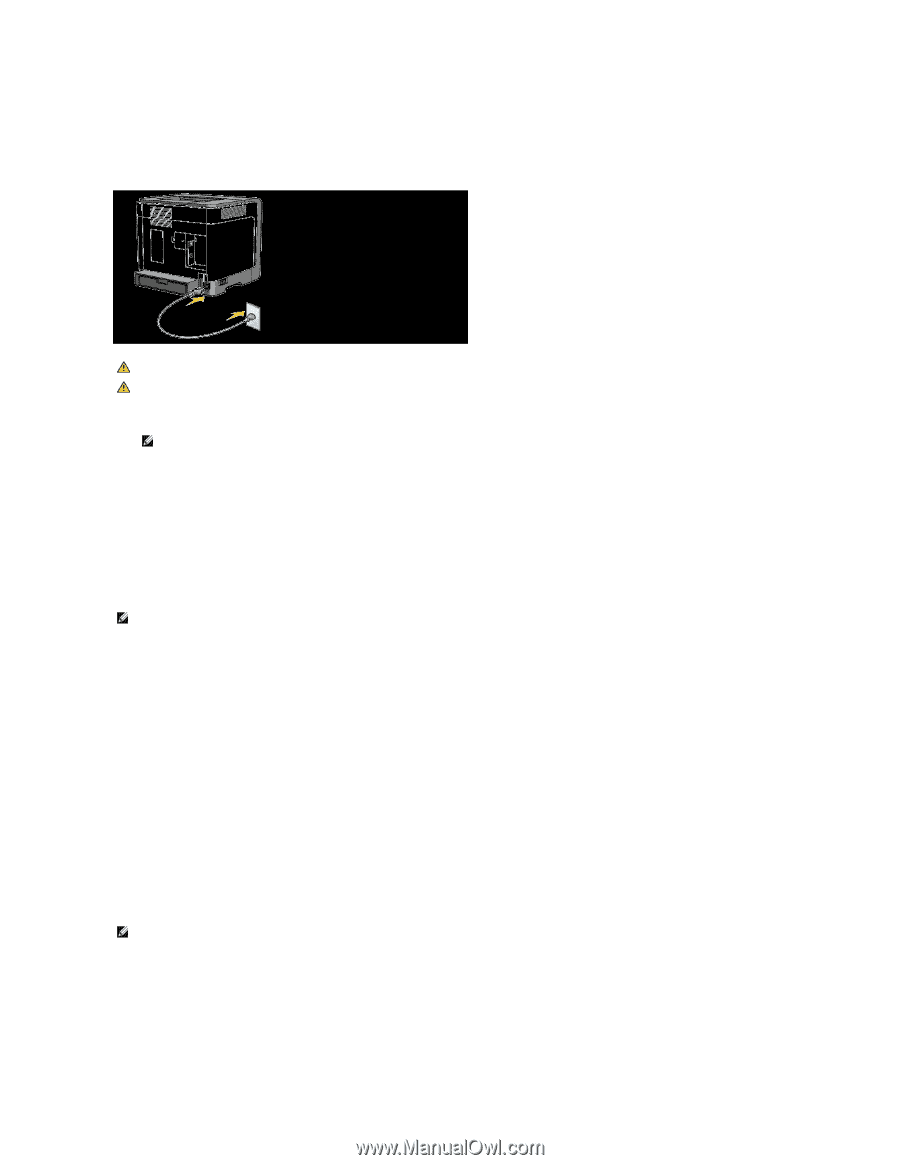
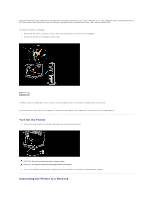
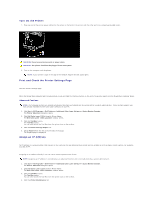
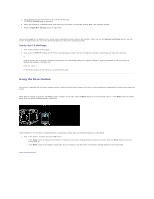
Turn On the Printer 1. Plug one end of the printer power cable into the socket at the back of the printer and the other end into a properly grounded outlet. CAUTION: Do not use extension cords or power strips. CAUTION: The printer should not be plugged into a UPS system. 2. Turn on the computer and the printer. NOTE: If your printer is type A, the LED of the Network Adapter for Dell 1320c lights. Print and Check the Printer Settings Page Print the Printer Settings page. When the Ready/Data indicator lights (ready status), press and hold the Continue button on the printer's operator panel until the Ready/Data indicator blinks. Advanced Funtions NOTE: The following sections are considered advaned functions and should only be carried out by a system administrator. These sections assume you have already installed the Dell Color Laser Software on your PC. 1. Click Start® All Programs® Dell Printers® Additional Color Laser Software® Status Monitor Console. The Printer Selection dialog box opens. 2. Click Dell Color Laser 1320c listed in Printer Name. The Dell Color Laser 1320c Launcher window opens. 3. Click the Tool Box button. The Tool Box opens. You can also launch the Tool Box from the printer icon on the taskbar. 4. Click the Printer Settings Report tab. 5. Select Reports from the list at the left side of the page. The Reports page is displayed. Assign an IP Address An IP address is a unique number that consists of four sections that are delimited by a period and can include up to three digits in each section, for example, 111.222.33.44. Assigning an IP address already in use can cause network performance issues. NOTE: Assigning an IP address is considered as an advanced function and is normally done by a system administrator. 1. Click Start® All Programs® Dell Printers® Additional Color Laser Software® Status Monitor Console. The Printer Selection dialog box opens. 2. Click Dell Color Laser 1320c listed in Printer Name. The Dell Color Laser 1320c Launcher window opens. 3. Click the Tool Box button. The Tool Box opens. You can also launch the Tool Box from the printer icon on the taskbar. 4. Click the Printer Maintenance tab.
-
 1
1 -
2
-
3
-
4
-
5
-
6
-
7
-
8
-
9
-
 10
10 -
 11
11 -
 12
12 -
 13
13 -
 14
14 -
 15
15 -
 16
16 -
 17
17 -
 18
18 -
 19
19 -
 20
20 -
21
-
22
-
23
-
24
-
25
-
26
-
27
-
28
-
29
-
30
-
31
-
32
-
33
-
34
-
35
-
36
-
37
-
38
-
39
-
40
-
41
-
42
-
43
-
44
-
45
-
46
-
47
-
48
-
49
-
50
-
51
-
52
-
53
-
54
-
55
-
56
-
57
-
58
-
59
-
60
-
61
-
62
-
63
-
64
-
65
-
66
-
67
-
68
-
69
-
70
-
71
-
72
-
73
-
74
-
75
-
76
-
77
-
78
-
79
-
80
-
81
-
82
-
83
-
84
-
85
-
86
-
87
-
88
-
89
-
90
-
91
-
92
-
93
-
94
-
95
-
96
-
97
-
98
-
99
-
100
-
101
-
102
-
103
-
104
-
105
-
106
-
107
-
108
-
109
-
110
-
111
-
112
-
113
-
114
-
115
-
116
-
117
-
118
-
119
-
120
-
121
-
122
-
123
-
124
-
125
-
126
-
127
-
128
-
129
-
130
-
131
-
132
-
133
-
134
-
135
-
136
-
137
 |
 |