Dell 1320c User Guide - Page 98
Auger mark, Abnormal noise
 |
UPC - 662919013061
View all Dell 1320c manuals
Add to My Manuals
Save this manual to your list of manuals |
Page 98 highlights
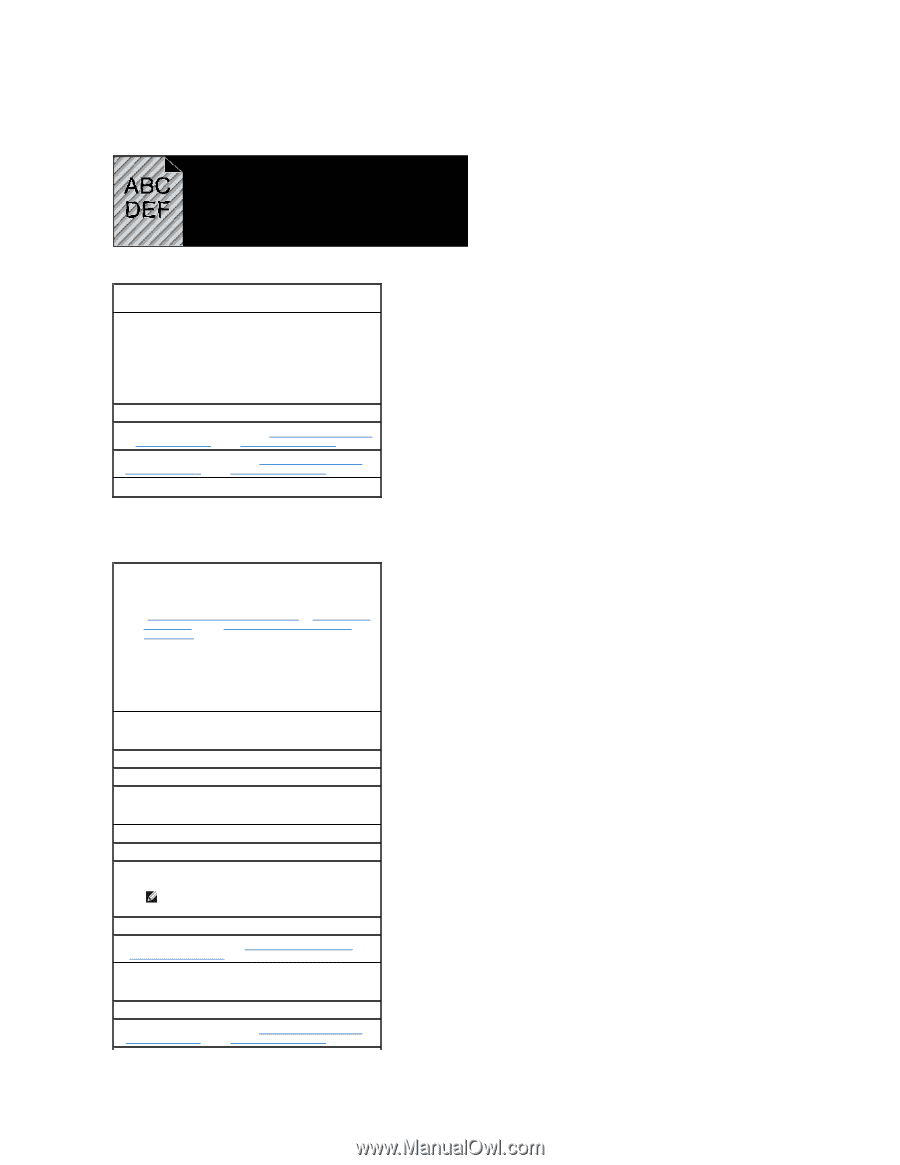
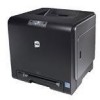
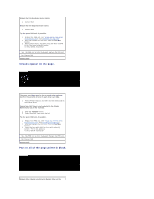
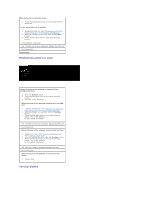
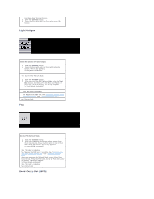
Auger mark Is the error print match with the pattern for the auger mark? Yes. Click the Tool Box button. 1. Press the Start button. 2. After you perform the Developer Stir Mode, click the Tool Box button, and then press Print with A4(1) or Print with Letter(A). "Printing" appears. Is the problem recovered? Yes. The task is complete. No. Replace the PHD unit. See "Replacing the PHD (Print Head Device) Unit" and "Installing the PHD Unit". No. Replace the PHD unit. See "Replacing the PHD (Print Head Device) Unit" and "Installing the PHD Unit". Contact Dell. Abnormal noise Locate the cause of the problem by removing the toner cartridges, fuser, and PHD unit. 1. Remove the toner cartridges, fuser, and PHD unit. See "Removing the Used Toner Cartridge", "Removing the Used Fuser", and "Replacing the PHD (Print Head Device) Unit". 2. Click the Tool Box button. 3. Press the Start button after selecting Main Motor Operation Check, Fuser Motor Operation Check, and Dispense Motor Check to identify the abnormal noise. Check if the noise from the Play of Sound button is matched with the abnormal noise. 1. Is the noise from Main Motor Operation Check matched? Yes. Contact Dell. No. Go to the next step. 2. Is the noise from Fuser Motor Operation Check matched? Yes. Contact Dell. No. Go to the next step. 3. Is the noise from Dispense Motor Check matched? NOTE: Do not check the operation of the dispense motor repeatedly. Yes. Contact Dell. No. Replace the fuser. See "Removing the Used Fuser" and "Installing a New Fuser". 4. Is the noise from Fuser Motor Operation Check matched? Yes. Contact Dell. No. Replace the PHD unit. See "Replacing the PHD (Print Head Device) Unit" and "Installing the PHD Unit".
-
 1
1 -
2
-
3
-
4
-
5
-
6
-
7
-
8
-
9
-
10
-
11
-
12
-
13
-
14
-
15
-
16
-
17
-
18
-
19
-
20
-
21
-
22
-
23
-
24
-
25
-
26
-
27
-
28
-
29
-
30
-
31
-
32
-
33
-
34
-
35
-
36
-
37
-
38
-
39
-
40
-
41
-
42
-
43
-
44
-
45
-
46
-
47
-
48
-
49
-
50
-
51
-
52
-
53
-
54
-
55
-
56
-
57
-
58
-
59
-
60
-
61
-
62
-
63
-
64
-
65
-
66
-
67
-
68
-
69
-
70
-
71
-
72
-
73
-
74
-
75
-
76
-
77
-
78
-
79
-
80
-
81
-
82
-
83
-
84
-
85
-
86
-
87
-
88
-
89
-
90
-
91
-
92
-
 93
93 -
 94
94 -
 95
95 -
 96
96 -
 97
97 -
 98
98 -
 99
99 -
 100
100 -
 101
101 -
 102
102 -
 103
103 -
104
-
105
-
106
-
107
-
108
-
109
-
110
-
111
-
112
-
113
-
114
-
115
-
116
-
117
-
118
-
119
-
120
-
121
-
122
-
123
-
124
-
125
-
126
-
127
-
128
-
129
-
130
-
131
-
132
-
133
-
134
-
135
-
136
-
137
 |
 |