Dell 966 All In One Photo Printer User Guide - Page 119
Scanning Multiple Photos
 |
View all Dell 966 All In One Photo Printer manuals
Add to My Manuals
Save this manual to your list of manuals |
Page 119 highlights
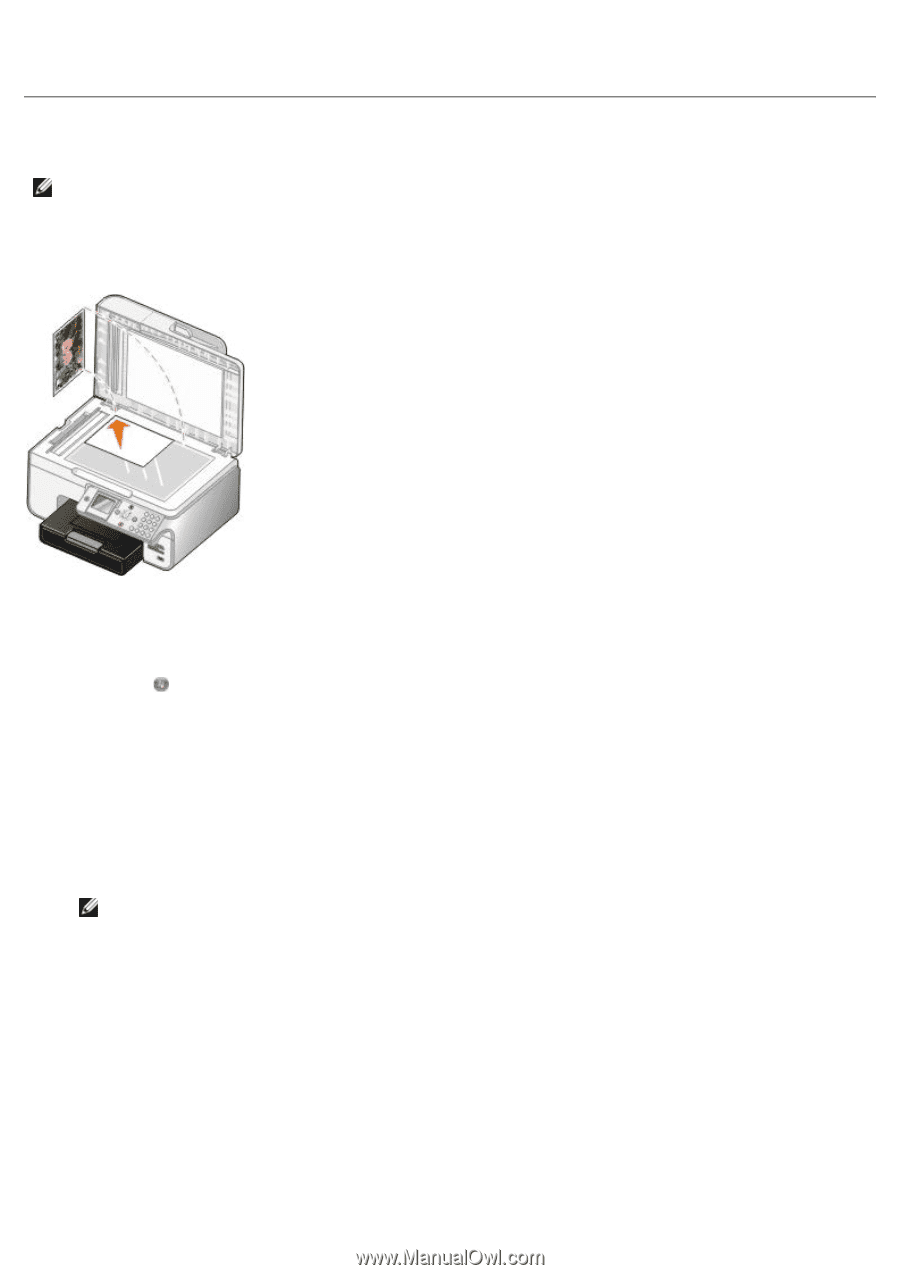
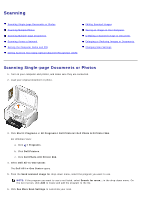
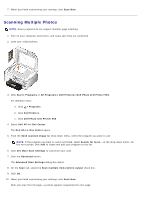
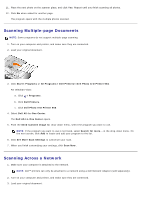
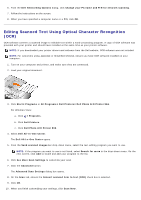
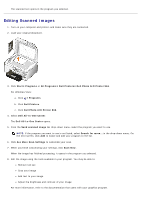
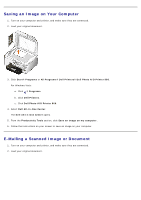
7. When you finish customizing your settings, click Scan Now. Scanning Multiple Photos NOTE: Some programs do not support multiple-page scanning. 1. Turn on your computer and printer, and make sure they are connected. 2. Load your original photo. 3. Click Start® Programs or All Programs® Dell Printers® Dell Photo AIO Printer 966. For Windows Vista: a. Click ® Programs. b. Click Dell Printers. c. Click Dell Photo AIO Printer 966. 4. Select Dell All-In-One Center. The Dell All-In-One Center opens. 5. From the Send scanned image to: drop-down menu, select the program you want to use. NOTE: If the program you want to use is not listed, select Search for more... in the drop-down menu. On the next screen, click Add to locate and add your program to the list. 6. Click See More Scan Settings to customize your scan. 7. Click the Advanced button. The Advanced Scan Settings dialog box opens. 8. On the Scan tab, select the Scan multiple items before output check box. 9. Click OK. 10. When you finish customizing your settings, click Scan Now. After you scan the first page, a prompt appears requesting the next page.
-
 1
1 -
2
-
3
-
4
-
5
-
6
-
7
-
8
-
9
-
10
-
11
-
12
-
13
-
14
-
15
-
16
-
17
-
18
-
19
-
20
-
21
-
22
-
23
-
24
-
25
-
26
-
27
-
28
-
29
-
30
-
31
-
32
-
33
-
34
-
35
-
36
-
37
-
38
-
39
-
40
-
41
-
42
-
43
-
44
-
45
-
46
-
47
-
48
-
49
-
50
-
51
-
52
-
53
-
54
-
55
-
56
-
57
-
58
-
59
-
60
-
61
-
62
-
63
-
64
-
65
-
66
-
67
-
68
-
69
-
70
-
71
-
72
-
73
-
74
-
75
-
76
-
77
-
78
-
79
-
80
-
81
-
82
-
83
-
84
-
85
-
86
-
87
-
88
-
89
-
90
-
91
-
92
-
93
-
94
-
95
-
96
-
97
-
98
-
99
-
100
-
101
-
102
-
103
-
104
-
105
-
106
-
107
-
108
-
109
-
110
-
111
-
112
-
113
-
 114
114 -
 115
115 -
 116
116 -
 117
117 -
 118
118 -
 119
119 -
 120
120 -
 121
121 -
 122
122 -
 123
123 -
 124
124 -
125
-
126
-
127
-
128
-
129
-
130
-
131
-
132
-
133
-
134
-
135
 |
 |