Dell 966 All In One Photo Printer User Guide - Page 126
Changing Scan Settings
 |
View all Dell 966 All In One Photo Printer manuals
Add to My Manuals
Save this manual to your list of manuals |
Page 126 highlights
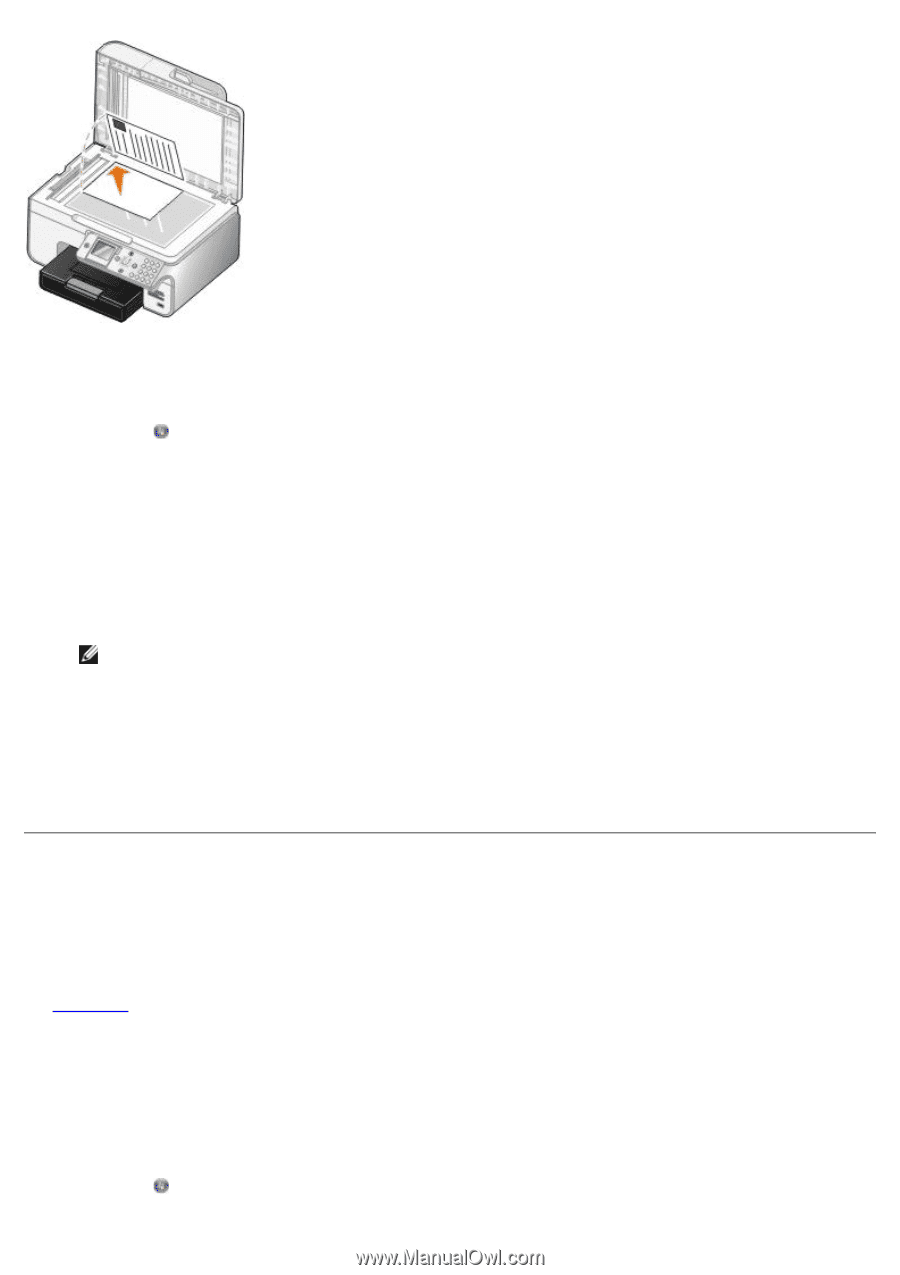
3. Click Start® Programs or All Programs® Dell Printers® Dell Photo AIO Printer 966. For Windows Vista: a. Click ® Programs. b. Click Dell Printers. c. Click Dell Photo AIO Printer 966. 4. Select Dell All-In-One Center. The Dell All-In-One Center opens. 5. Click Preview Now. NOTE: If the size of the scan (found in the upper right corner of the preview window) appears in red, you do not have the system resources available to perform the scan at the resolution or size you have selected. To correct this problem, reduce either your resolution or the size of your scan area. 6. From the Productivity Tools section, select Enlarge or reduce an image. 7. Follow the instructions on the screen to select the size of your new image. 8. When you finish customizing your image, click Scan Now. Changing Scan Settings Using the Operator Panel You can change the copy settings from the Scan Mode menu on the operator panel. For more information about settings, see Scan Mode. Using the Computer 1. Click Start® Programs or All Programs® Dell Printers® Dell Photo AIO Printer 966. For Windows Vista: a. Click ® Programs.
-
 1
1 -
2
-
3
-
4
-
5
-
6
-
7
-
8
-
9
-
10
-
11
-
12
-
13
-
14
-
15
-
16
-
17
-
18
-
19
-
20
-
21
-
22
-
23
-
24
-
25
-
26
-
27
-
28
-
29
-
30
-
31
-
32
-
33
-
34
-
35
-
36
-
37
-
38
-
39
-
40
-
41
-
42
-
43
-
44
-
45
-
46
-
47
-
48
-
49
-
50
-
51
-
52
-
53
-
54
-
55
-
56
-
57
-
58
-
59
-
60
-
61
-
62
-
63
-
64
-
65
-
66
-
67
-
68
-
69
-
70
-
71
-
72
-
73
-
74
-
75
-
76
-
77
-
78
-
79
-
80
-
81
-
82
-
83
-
84
-
85
-
86
-
87
-
88
-
89
-
90
-
91
-
92
-
93
-
94
-
95
-
96
-
97
-
98
-
99
-
100
-
101
-
102
-
103
-
104
-
105
-
106
-
107
-
108
-
109
-
110
-
111
-
112
-
113
-
114
-
115
-
116
-
117
-
118
-
119
-
120
-
 121
121 -
 122
122 -
 123
123 -
 124
124 -
 125
125 -
 126
126 -
 127
127 -
 128
128 -
 129
129 -
 130
130 -
 131
131 -
132
-
133
-
134
-
135
 |
 |