Dell 966 All In One Photo Printer User Guide - Page 67
Understanding Tray Linking
 |
View all Dell 966 All In One Photo Printer manuals
Add to My Manuals
Save this manual to your list of manuals |
Page 67 highlights
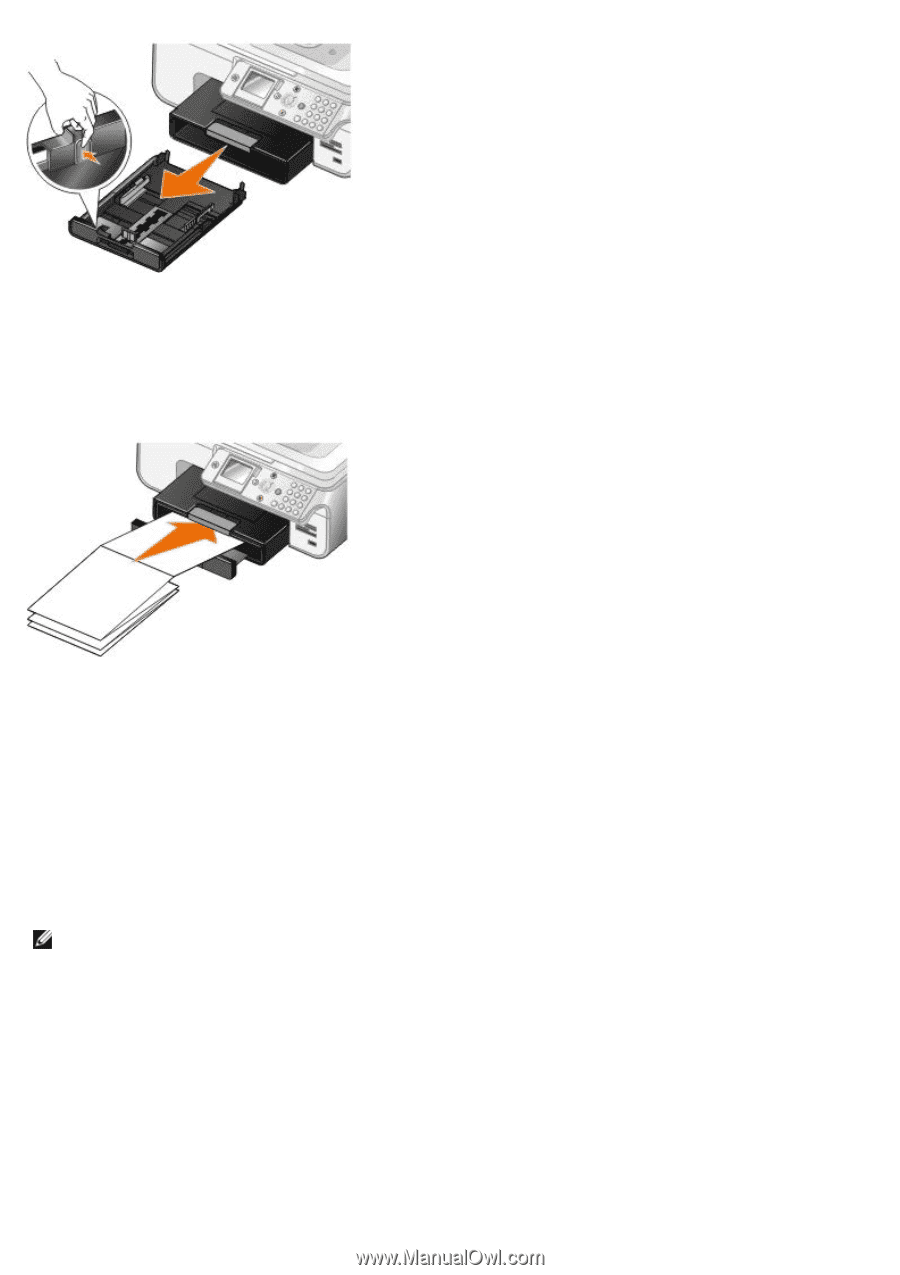
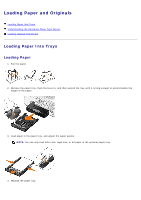
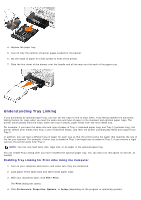
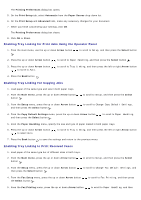
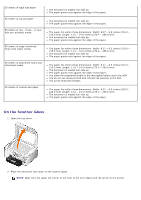
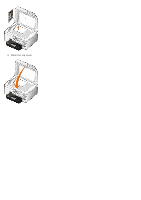
4. Replace the paper tray. 5. Tear off only the number of banner pages needed for the banner. 6. Set the stack of paper on a flat surface in front of the printer. 7. Slide the first sheet of the banner over the handle and all the way into the back of the paper tray. Understanding Tray Linking If you purchased an optional paper tray, you can set the trays to link to each other. Tray linking enables the automatic linking feature for trays when you load the same size and type of paper in the standard and optional paper trays. The printer automatically links the trays; when one tray is empty, paper feeds from the next linked tray. For example, if you have the same size and type of paper in Tray 1 (standard paper tray) and Tray 2 (optional tray), the printer selects print media from Tray 1 until it becomes empty, and then the printer automatically feeds print paper from Tray 2. In addition, you can load a different size of paper for each tray so that the printer picks the paper that matches the size of the fax you received. For example, if letter size is loaded in Tray 1 and legal size is loaded in Tray 2, if you receive a legal size fax, the printer picks from Tray 2. NOTE: You can only load letter size, legal size, or A4 paper in the optional paper tray. You can enable Tray Linking after you have installed the optional paper tray. You can also turn this option on and off, as needed. Enabling Tray Linking for Print Jobs Using the Computer 1. Turn on your computer and printer, and make sure they are connected. 2. Load paper of the same type and size in both paper trays. 3. With your document open, click File® Print. The Print dialog box opens. 4. Click Preferences, Properties, Options, or Setup (depending on the program or operating system).
-
 1
1 -
2
-
3
-
4
-
5
-
6
-
7
-
8
-
9
-
10
-
11
-
12
-
13
-
14
-
15
-
16
-
17
-
18
-
19
-
20
-
21
-
22
-
23
-
24
-
25
-
26
-
27
-
28
-
29
-
30
-
31
-
32
-
33
-
34
-
35
-
36
-
37
-
38
-
39
-
40
-
41
-
42
-
43
-
44
-
45
-
46
-
47
-
48
-
49
-
50
-
51
-
52
-
53
-
54
-
55
-
56
-
57
-
58
-
59
-
60
-
61
-
 62
62 -
 63
63 -
 64
64 -
 65
65 -
 66
66 -
 67
67 -
 68
68 -
 69
69 -
 70
70 -
 71
71 -
 72
72 -
73
-
74
-
75
-
76
-
77
-
78
-
79
-
80
-
81
-
82
-
83
-
84
-
85
-
86
-
87
-
88
-
89
-
90
-
91
-
92
-
93
-
94
-
95
-
96
-
97
-
98
-
99
-
100
-
101
-
102
-
103
-
104
-
105
-
106
-
107
-
108
-
109
-
110
-
111
-
112
-
113
-
114
-
115
-
116
-
117
-
118
-
119
-
120
-
121
-
122
-
123
-
124
-
125
-
126
-
127
-
128
-
129
-
130
-
131
-
132
-
133
-
134
-
135
 |
 |