Dell 966 All In One Photo Printer User Guide - Page 78
Printing
 |
View all Dell 966 All In One Photo Printer manuals
Add to My Manuals
Save this manual to your list of manuals |
Page 78 highlights
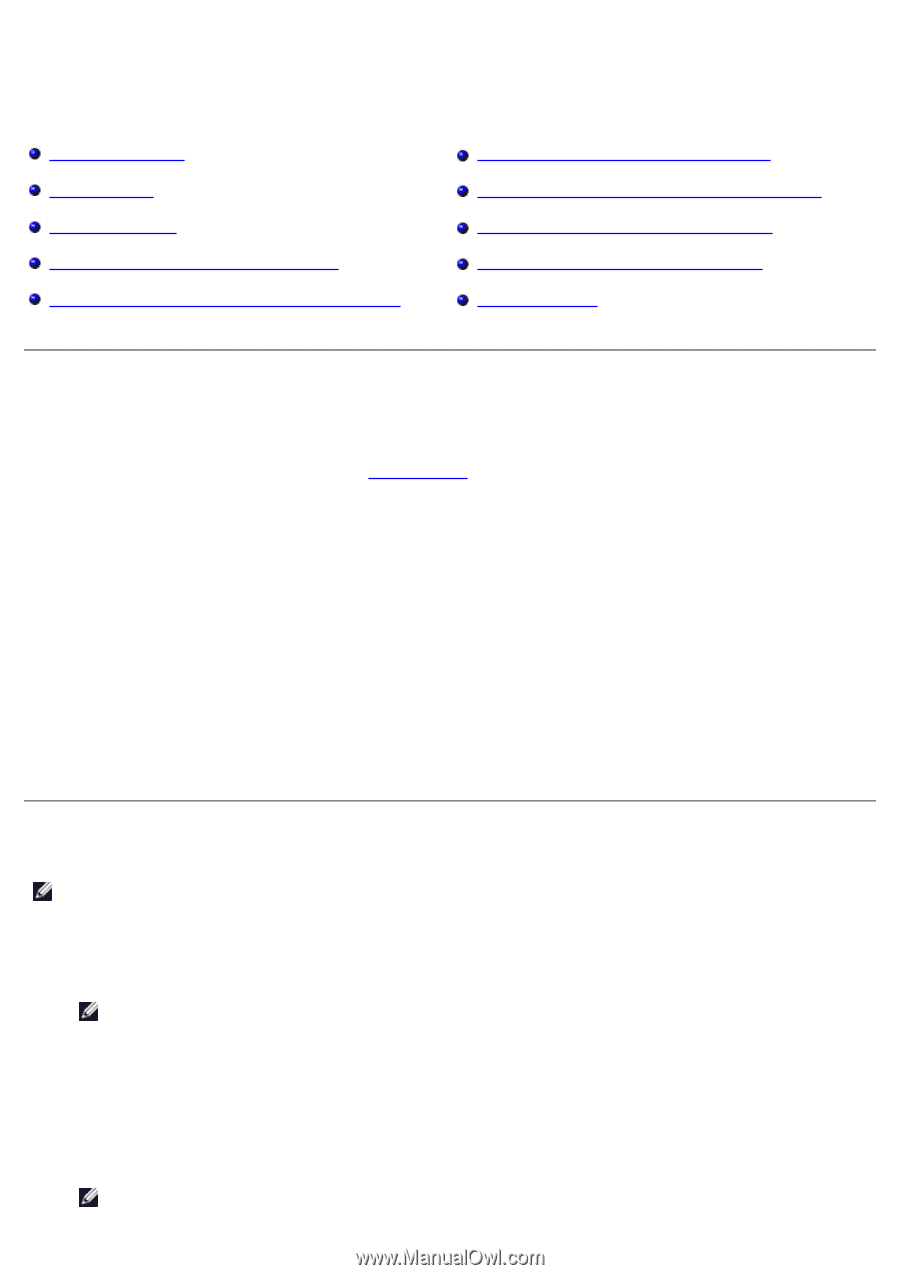
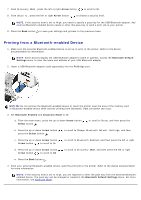
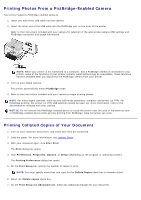
Printing Printing Documents Printing Photos Printing Envelopes Printing From a Bluetooth-enabled Device Printing Photos From a PictBridge-Enabled Camera Printing Collated Copies of Your Document Printing More Than One Page on a Sheet of Paper Duplexing a Print Job (Two-Sided Printing) Printing an Image as a Multi-page Poster Printing a Banner Printing Documents 1. Turn on your computer and printer, and make sure they are connected. 2. Load the paper. For more information, see Loading Paper. 3. With your document open, click File® Print. The Print dialog box opens. 4. Click Preferences, Properties, Options, or Setup (depending on the program or operating system). The Printing Preferences dialog box opens. 5. On the Print Setup and Advanced tabs, make any necessary changes for your document. 6. When you finish customizing your settings, click OK. The Printing Preferences dialog box closes. 7. Click OK or Print. Printing Photos NOTE: Dell recommends you use a color cartridge and a photo cartridge for printing photos. 1. Turn on your computer and printer, and make sure they are connected. 2. Load photo/glossy paper with the print side facing up. NOTE: Photo/glossy paper is recommended for printing photos. 3. With your document open, click File® Print. The Print dialog box opens. 4. Click Preferences, Properties, Options, or Setup (depending on the program or operating system). The Printing Preferences dialog box opens. NOTE: If you are using Dell Photo Suite™, select Printer Settings to view Printing Preferences.
-
 1
1 -
2
-
3
-
4
-
5
-
6
-
7
-
8
-
9
-
10
-
11
-
12
-
13
-
14
-
15
-
16
-
17
-
18
-
19
-
20
-
21
-
22
-
23
-
24
-
25
-
26
-
27
-
28
-
29
-
30
-
31
-
32
-
33
-
34
-
35
-
36
-
37
-
38
-
39
-
40
-
41
-
42
-
43
-
44
-
45
-
46
-
47
-
48
-
49
-
50
-
51
-
52
-
53
-
54
-
55
-
56
-
57
-
58
-
59
-
60
-
61
-
62
-
63
-
64
-
65
-
66
-
67
-
68
-
69
-
70
-
71
-
72
-
 73
73 -
 74
74 -
 75
75 -
 76
76 -
 77
77 -
 78
78 -
 79
79 -
 80
80 -
 81
81 -
 82
82 -
 83
83 -
84
-
85
-
86
-
87
-
88
-
89
-
90
-
91
-
92
-
93
-
94
-
95
-
96
-
97
-
98
-
99
-
100
-
101
-
102
-
103
-
104
-
105
-
106
-
107
-
108
-
109
-
110
-
111
-
112
-
113
-
114
-
115
-
116
-
117
-
118
-
119
-
120
-
121
-
122
-
123
-
124
-
125
-
126
-
127
-
128
-
129
-
130
-
131
-
132
-
133
-
134
-
135
 |
 |