Dell Dimension 9200 Owner's Manual - Page 118
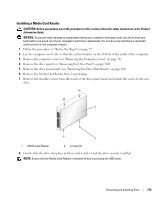
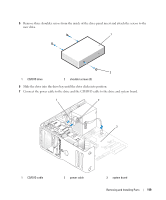
Installing a CD/DVD Drive, Remove the computer cover see Removing the Computer Cover
 |
View all Dell Dimension 9200 manuals
Add to My Manuals
Save this manual to your list of manuals |
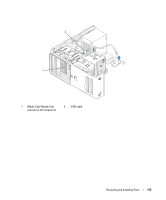
Page 118 highlights
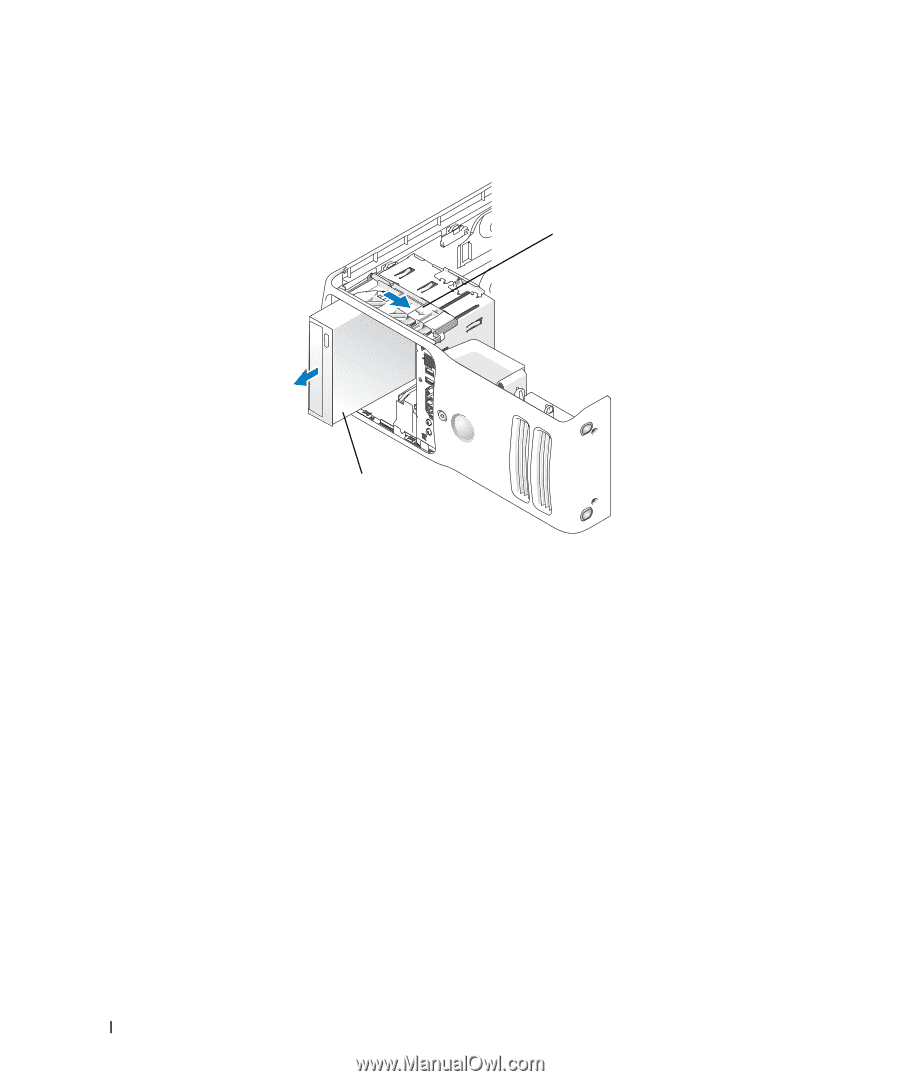
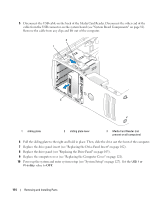
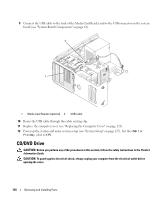
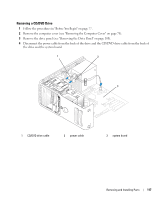
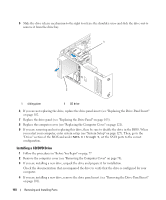
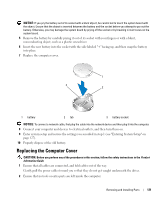
5 Slide the drive release mechanism to the right to release the shoulder screw and slide the drive out to remove it from the drive bay. 1 2 1 sliding plate 2 CD drive 6 If you are not replacing the drive, replace the drive panel insert (see "Replacing the Drive-Panel Insert" on page 102. 7 Replace the drive panel (see "Replacing the Drive Panel" on page 103). 8 Replace the computer cover (see "Replacing the Computer Cover" on page 121). 9 If you are removing and not replacing this drive, then be sure to disable the drive in the BIOS. When you restart your computer, enter system setup (see "System Setup" on page 127). Then, go to the "Drives" section of the BIOS and under SATA 0 through 5, set the SATA ports to the correct configuration. Installing a CD/DVD Drive 1 Follow the procedures in "Before You Begin" on page 77 2 Remove the computer cover (see "Removing the Computer Cover" on page 78). 3 If you are installing a new drive, unpack the drive and prepare it for installation. Check the documentation that accompanied the drive to verify that the drive is configured for your computer. 4 If you are installing a new drive, remove the drive panel insert (see "Removing the Drive-Panel Insert" on page 101). 118 Removing and Installing Parts
-
 1
1 -
2
-
3
-
4
-
5
-
6
-
7
-
8
-
9
-
10
-
11
-
12
-
13
-
14
-
15
-
16
-
17
-
18
-
19
-
20
-
21
-
22
-
23
-
24
-
25
-
26
-
27
-
28
-
29
-
30
-
31
-
32
-
33
-
34
-
35
-
36
-
37
-
38
-
39
-
40
-
41
-
42
-
43
-
44
-
45
-
46
-
47
-
48
-
49
-
50
-
51
-
52
-
53
-
54
-
55
-
56
-
57
-
58
-
59
-
60
-
61
-
62
-
63
-
64
-
65
-
66
-
67
-
68
-
69
-
70
-
71
-
72
-
73
-
74
-
75
-
76
-
77
-
78
-
79
-
80
-
81
-
82
-
83
-
84
-
85
-
86
-
87
-
88
-
89
-
90
-
91
-
92
-
93
-
94
-
95
-
96
-
97
-
98
-
99
-
100
-
101
-
102
-
103
-
104
-
105
-
106
-
107
-
108
-
109
-
110
-
111
-
112
-
 113
113 -
 114
114 -
 115
115 -
 116
116 -
 117
117 -
 118
118 -
 119
119 -
 120
120 -
 121
121 -
 122
122 -
 123
123 -
124
-
125
-
126
-
127
-
128
-
129
-
130
-
131
-
132
-
133
-
134
-
135
-
136
-
137
-
138
-
139
-
140
-
141
-
142
-
143
-
144
-
145
-
146
-
147
-
148
-
149
-
150
-
151
-
152
-
153
-
154
-
155
-
156
-
157
-
158
-
159
-
160
-
161
-
162
-
163
-
164
-
165
-
166
-
167
-
168
-
169
-
170
-
171
-
172
 |
 |