Dell P1500 Personal Mono Laser Printer Dell™ Laser Printer P1500 Use - Page 85
Clearing jams, Hex Trace, Reset, Factory Defaults
 |
View all Dell P1500 Personal Mono Laser Printer manuals
Add to My Manuals
Save this manual to your list of manuals |
Page 85 highlights
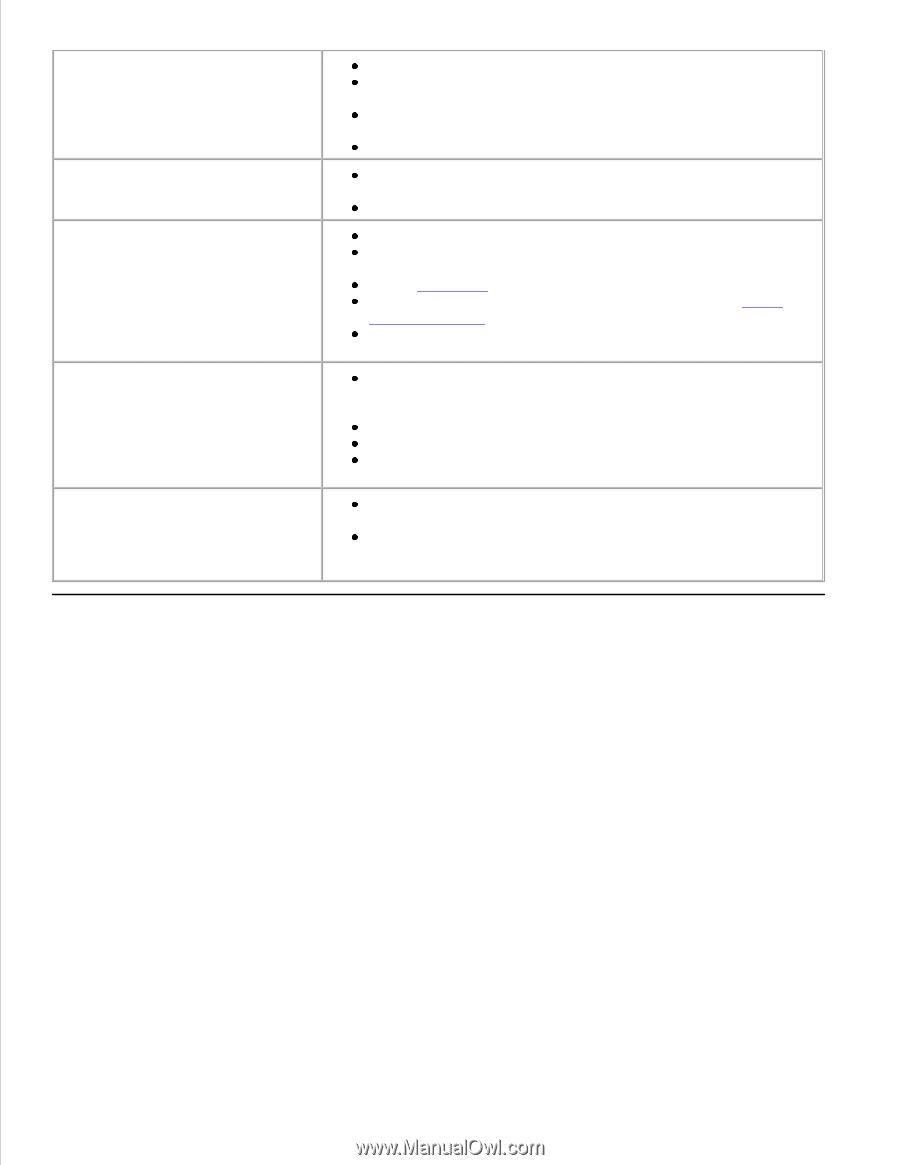
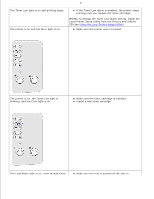
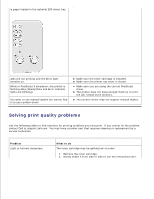
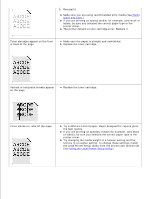
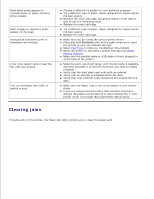
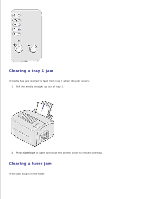
Solid black areas appear on transparencies or paper contains white streaks. Faint images or repetitive spots appear on the page. Unexpected characters print or characters are missing. A bar code reader cannot read the bar code you printed. Text on envelopes has voids, or quality is poor. Choose a different fill pattern in your software program. Try a different type of paper. Paper designed for copiers gives the best quality. Remove the toner cartridge and gently shake it from side to side to use the remaining toner. Replace the toner cartridge. Try a different type of paper. Paper designed for copiers gives the best quality. Replace the toner cartridge. Make sure you are using the correct printer driver. Press and hold Continue until all the lights come on to reset the printer to your user default settings. Select Hex Trace to help you troubleshoot the problem. Reset the printer to the factory default settings (see Reset Factory Defaults. Make sure the parallel cable or USB cable is firmly plugged in at the back of the printer. Make the point size much larger until the bar code is readable, and then decrease it to find the minimum size that is reliably readable. Verify that the data starts and ends with an asterisk. Verify that no asterisk is included within the data. Verify that only valid bar code characters are used within the data. Make sure the Paper Type is set to Envelopes in your printer driver. If you are using textured (rather than smooth) envelopes, change the paper texture setting to Cus 6-Rough Env in your printer driver or through the Local Printer Setup Utility. Clearing jams If media jams in the printer, the Paper Jam light prompts you to clear the paper path.
-
 1
1 -
2
-
3
-
4
-
5
-
6
-
7
-
8
-
9
-
10
-
11
-
12
-
13
-
14
-
15
-
16
-
17
-
18
-
19
-
20
-
21
-
22
-
23
-
24
-
25
-
26
-
27
-
28
-
29
-
30
-
31
-
32
-
33
-
34
-
35
-
36
-
37
-
38
-
39
-
40
-
41
-
42
-
43
-
44
-
45
-
46
-
47
-
48
-
49
-
50
-
51
-
52
-
53
-
54
-
55
-
56
-
57
-
58
-
59
-
60
-
61
-
62
-
63
-
64
-
65
-
66
-
67
-
68
-
69
-
70
-
71
-
72
-
73
-
74
-
75
-
76
-
77
-
78
-
79
-
 80
80 -
 81
81 -
 82
82 -
 83
83 -
 84
84 -
 85
85 -
 86
86 -
 87
87 -
 88
88 -
 89
89 -
 90
90 -
91
-
92
-
93
-
94
-
95
-
96
-
97
-
98
-
99
-
100
-
101
-
102
-
103
-
104
-
105
 |
 |