Dell Precision T3600 Owner's Manual - Page 32
Installing the Front Input/Output (I/O) Panel, Removing the Speaker - usb 3
 |
View all Dell Precision T3600 manuals
Add to My Manuals
Save this manual to your list of manuals |
Page 32 highlights
Figure 4. 6. Remove the screws which secure the front I/O panel to the chassis. 7. Remove the front I/O panel from the chassis. Installing the Front Input/Output (I/O) Panel 1. Replace the front I/O panel in its slot. 2. Tighten the screws securing the front I/O panel to the chassis 3. Attach the cables to the I/O panel. 4. Slide the USB 3.0 module in its slot. 5. Tighten the screws securing the USB 3.0 module to the front I/O panel. 6. Install: a) front bezel b) cover 7. Follow the procedures in After Working Inside Your Computer. Removing the Speaker 1. Follow the procedures in Before Working On Your Computer. 2. Remove the cover. 3. Disconnect the speaker cable from the system board. 32
-
 1
1 -
2
-
3
-
4
-
5
-
6
-
7
-
8
-
9
-
10
-
11
-
12
-
13
-
14
-
15
-
16
-
17
-
18
-
19
-
20
-
21
-
22
-
23
-
24
-
25
-
26
-
 27
27 -
 28
28 -
 29
29 -
 30
30 -
 31
31 -
 32
32 -
 33
33 -
 34
34 -
 35
35 -
 36
36 -
 37
37 -
38
-
39
-
40
-
41
-
42
-
43
-
44
-
45
-
46
-
47
-
48
-
49
-
50
-
51
-
52
-
53
-
54
-
55
-
56
-
57
-
58
-
59
-
60
-
61
-
62
-
63
-
64
-
65
 |
 |
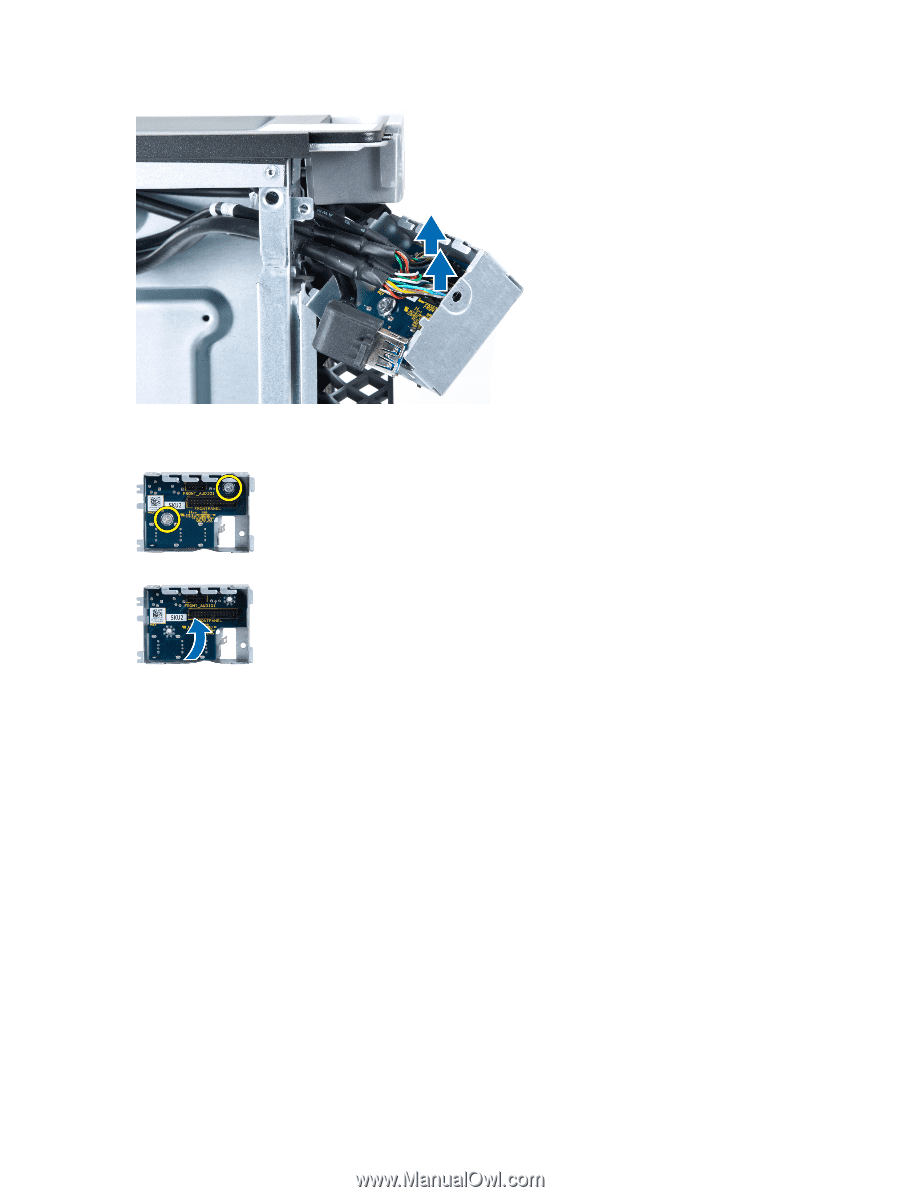
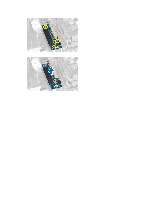
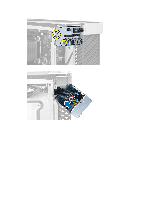
Figure 4.
6.
Remove the screws which secure the front I/O panel to the chassis.
7.
Remove the front I/O panel from the chassis.
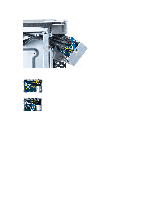
Installing the Front Input/Output (I/O) Panel
1.
Replace the front I/O panel in its slot.
2.
Tighten the screws securing the front I/O panel to the chassis
3.
Attach the cables to the I/O panel.
4.
Slide the USB 3.0 module in its slot.
5.
Tighten the screws securing the USB 3.0 module to the front I/O panel.
6.
Install:
a)
front bezel
b)
cover
7.
Follow the procedures in
After Working Inside Your Computer
.
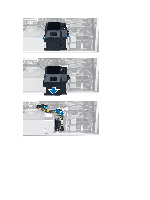
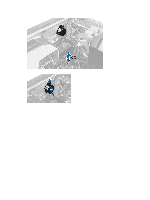
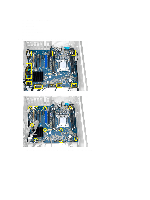
Removing the Speaker
1.
Follow the procedures in
Before Working On Your Computer
.
2.
Remove the cover.
3.
Disconnect the speaker cable from the system board.
32