Denon AVR-1705 Owners Manual - Page 38
Playback using the external input EXT. IN jacks, Recording the program source recording the source
 |
View all Denon AVR-1705 manuals
Add to My Manuals
Save this manual to your list of manuals |
Page 38 highlights
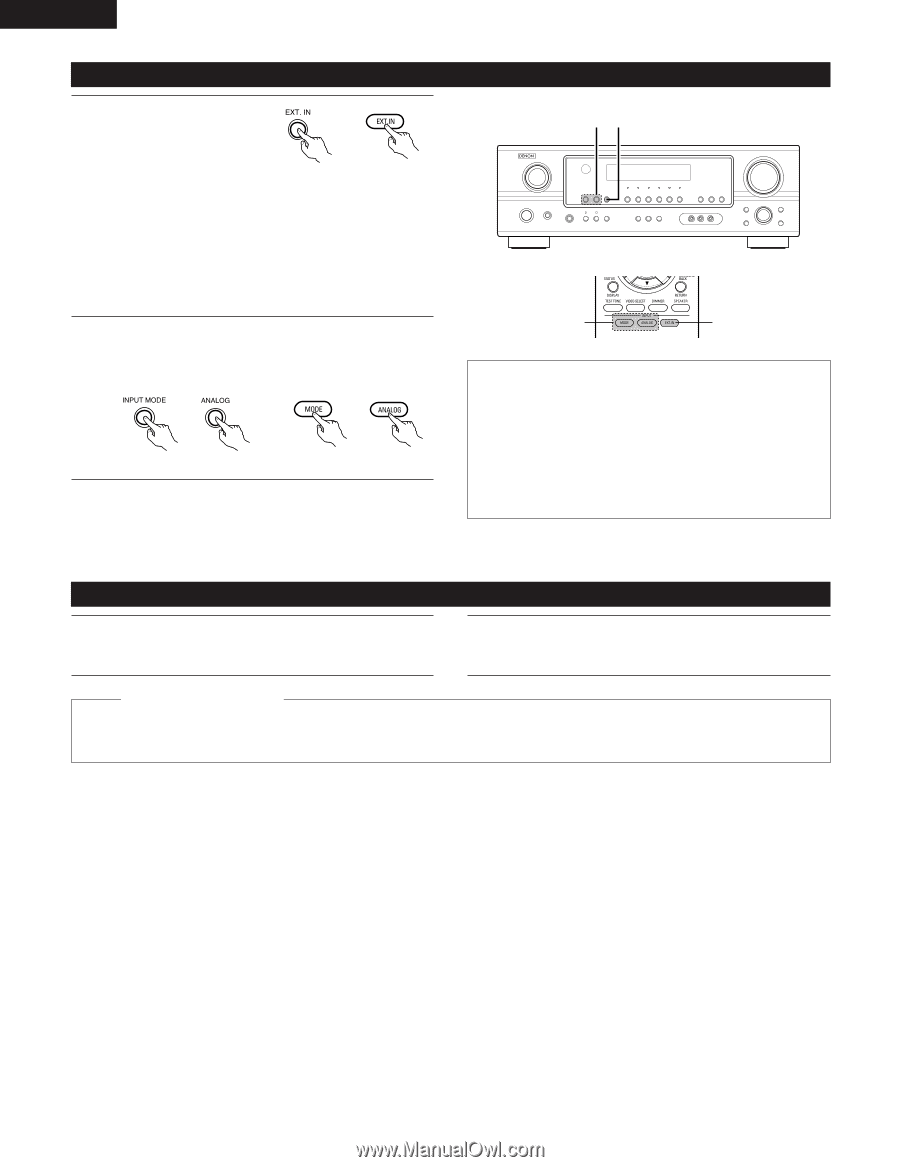
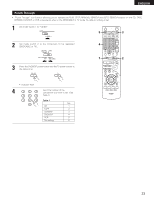
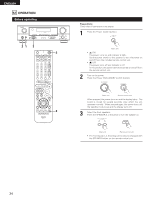
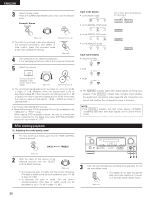
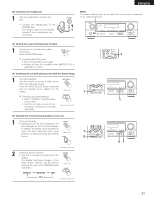
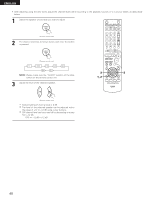
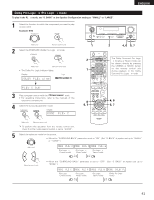
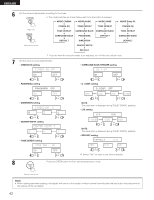
ENGLISH Playback using the external input (EXT. IN) jacks 1 Set the external input (EXT. IN) mode. Press the EXT. IN to switch the external input. (Main unit) (Remote control unit) Once this is selected, the input signals connected to the FL (front left), FR (front right), C (center), SL (surround left), and SR (surround right) channels of the EXT. IN jacks are output directly to the front (left and right), center, surround (left and right) speaker systems without passing through the surround circuitry. In addition, the signal input to the SW (subwoofer) jack is output to the PRE OUT SUBWOOFER jack. 2 Cancelling the external input mode To cancel the external input (EXT. IN) setting, press the INPUT MODE (AUTO, PCM, DTS) or ANALOG button to switch to the desired input mode. (See page 35.) (Main unit) (Remote control unit) • When the input mode is set to the external input (EXT. IN), the play mode (DIRECT, STEREO, STANDARD, 5/6CH STEREO or DSP SIMULATION) cannot be selected. 21 2 1 NOTES: • In play modes other than the external input mode, the signals connected to EXT. IN jacks cannot be played. In addition, signals cannot be output from channels not connected to the input jacks. • The external input mode can be set for any input source. To watch video while listening to sound, select the input source to which the video signal is connected, then set this mode. • If the subwoofer output level seems to high, set the "SW ATT." surround parameter to "ON". Recording the program source (recording the source currently being monitored) 1 Follow step 1 to 3 under "Playing the input source". 2 Start recording on the tape or video deck. For instructions, refer to the component's operating instructions. Simultaneous recording The signals of the source selected with the function selector button are output simultaneously to the CDR/TAPE and VCR REC OUT jacks. If a total of two tape and/or video decks are connected and set to the recording mode, the same source can be recorded simultaneously on every decks. NOTE: • The AUDIO IN's signal selected with the input selector knob are output to the CDR/TAPE and VCR AUDIO OUT jacks. 38
-
 1
1 -
2
-
3
-
4
-
5
-
6
-
7
-
8
-
9
-
10
-
11
-
12
-
13
-
14
-
15
-
16
-
17
-
18
-
19
-
20
-
21
-
22
-
23
-
24
-
25
-
26
-
27
-
28
-
29
-
30
-
31
-
32
-
 33
33 -
 34
34 -
 35
35 -
 36
36 -
 37
37 -
 38
38 -
 39
39 -
 40
40 -
 41
41 -
 42
42 -
 43
43 -
44
-
45
-
46
-
47
-
48
-
49
-
50
-
51
-
52
-
53
-
54
-
55
-
56
-
57
-
58
-
59
-
60
-
61
-
62
-
63
-
64
-
65
-
66
-
67
-
68
-
69
-
70
-
71
-
72
-
73
-
74
-
75
 |
 |