Denon AVR 1707 Owners Manual - English - Page 46
Setting the Power Amplifier Assignment, Front Bi-Amp connections, Setting the Auto Preset Memory
 |
UPC - 081757507127
View all Denon AVR 1707 manuals
Add to My Manuals
Save this manual to your list of manuals |
Page 46 highlights
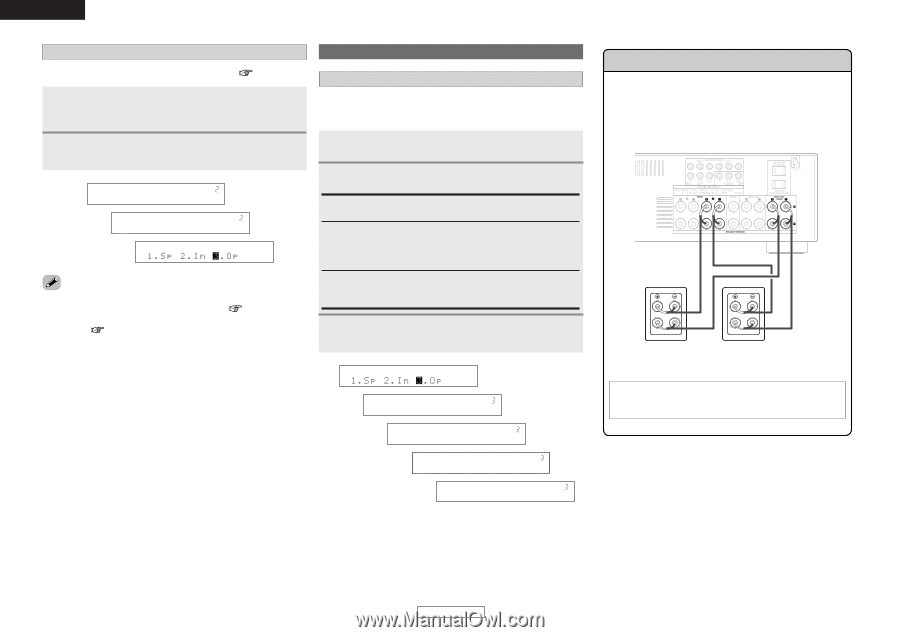
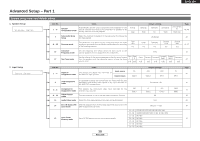
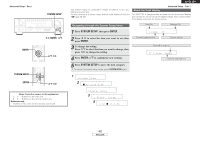
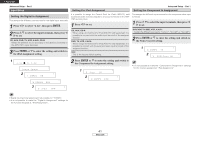
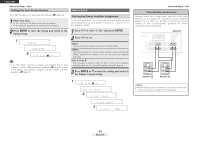
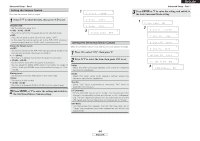
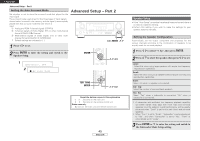
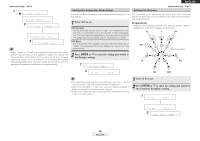
ENGLISH Advanced Setup - Part 1 Setting the Auto Preset Memory Option Setup Up to 56 FM stations can be preset automatically ( page 30). 1 Press F to start. • "CH" blinks on the display and searching begins. • "Completed" appears once searching is completed. Setting the Power Amplifier Assignment To suit your preference, a surround back channel's power amplifier can be assigned to the front channel ("Front A" or "Front B") for biamp playback, ZONE2. 2 Press ENTER to enter the setting and switch to the Option Setup. 1 S e a r c h C O M P L E T E D 2 • If an FM station cannot be preset automatically due to poor reception, use the "Manual tuning" operation ( page 31) to tune in the station, then preset it using the manual "Preset memory" operation ( page 31). 1 Press F G to select "3. Op", then press ENTER. 2 Press F G to set. S.Back: The surround back speakers are used in MAIN ZONE. ZONE2: This mode assigns the surround back amplifier channels to provide ZONE2 speaker-level outputs from the surround back speaker terminals. Front A, Front B: This provides a bi-amp mode for the 2 main front speakers, replicating the front A or front B amplifier channel's outputs. 3 Press ENTER or H to enter the setting and switch to the Volume Control setting. 1 Option Setup 2 1 P.Amp S.Back 1 P.Amp ZONE2 3 2 Limit 0 d B Advanced Setup - Part 1 Front Bi-Amp connections Dynamic sound with a range wider than that of full range systems can be played by connecting bi-amp compatible speakers to the AVR-1707. Be sure to consult the owner's manual of your bi-amp-capable speakers for further information before proceeding. AVR-1707 Speaker [R] Speaker [L] NOTE: • When making bi-amp connections, be sure to remove the short-circuiting bar included with the speaker. 43 ENGLISH
-
 1
1 -
2
-
3
-
4
-
5
-
6
-
7
-
8
-
9
-
10
-
11
-
12
-
13
-
14
-
15
-
16
-
17
-
18
-
19
-
20
-
21
-
22
-
23
-
24
-
25
-
26
-
27
-
28
-
29
-
30
-
31
-
32
-
33
-
34
-
35
-
36
-
37
-
38
-
39
-
40
-
 41
41 -
 42
42 -
 43
43 -
 44
44 -
 45
45 -
 46
46 -
 47
47 -
 48
48 -
 49
49 -
 50
50 -
 51
51 -
52
-
53
-
54
-
55
-
56
-
57
-
58
-
59
-
60
-
61
-
62
-
63
-
64
 |
 |