Denon AVR 2807 Owners Manual - English - Page 62
Setting the Channel Level
 |
UPC - 081757507059
View all Denon AVR 2807 manuals
Add to My Manuals
Save this manual to your list of manuals |
Page 62 highlights
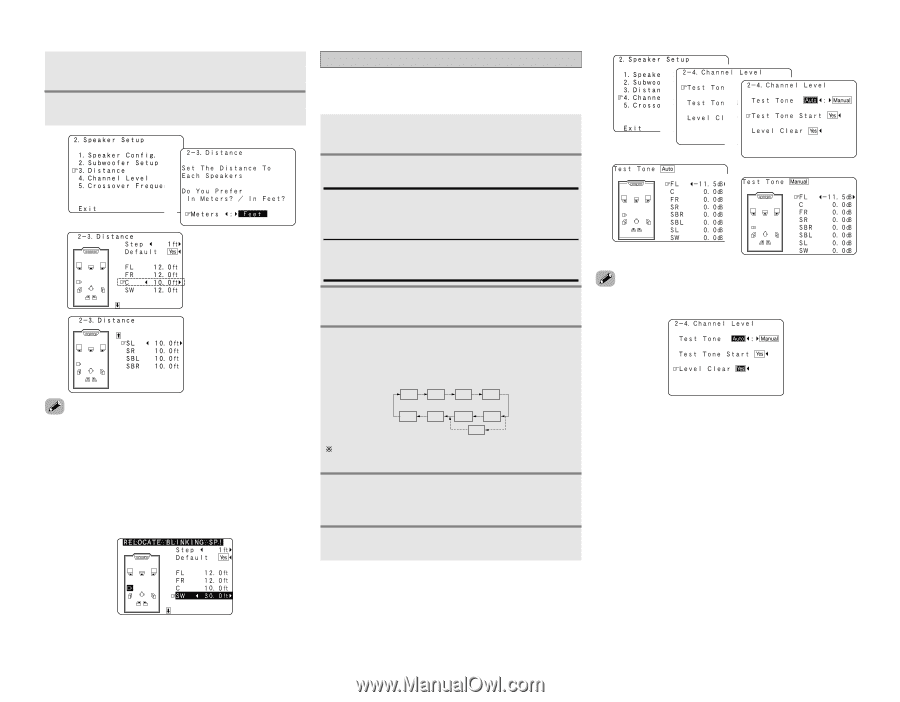
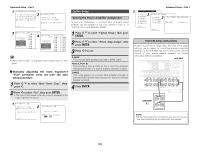
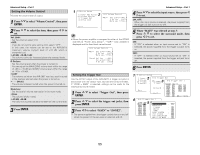
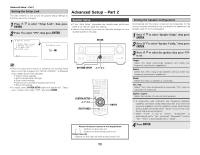
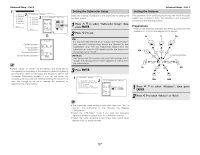
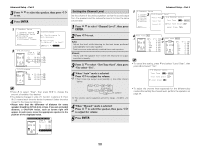
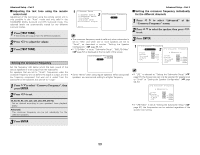
Advanced Setup - Part 2 3 Press D H to select the speaker, then press F G to set. 4 Press ENTER. 1 2 3 ..... L1 ..... L2 ..... L3 ..... L4 Advanced Setup - Part 2 Setting the Channel Level 1 Set the volume of the various speakers so that the sound output from the speakers and the subwoofer seems to have the same 2 3 volume level. 1 Press D H to select "Channel Level", then press ENTER. 2 Press F G to set. 4 -1 4 Auto: -2 Adjust the level while listening to the test tones produced automatically from each speaker. Test tones are automatically emitted from each speaker. Manual: Adjust with the speaker from which the test tone is output switched manually. 3 Press D H to select "Test Tone Start", then press F to select "Yes". • To cancel the setting, press H and select "Level Clear", then press F and select "Yes". ..... L5 ..... L6 ..... L7 ..... L8 • Press D to select "Step", then press F G to change the amount of variation if so desired. • The distance changes in units of 1 foot (0.1 meters) or 0.1 foot (0.01 meters) each time the button is pressed. Select the value closest to the measured distance. • Please note that the difference of distance for every speaker should be 20 ft (6.0 m) or less. If you set an invalid distance, a CAUTION notice, such as screen right will appear. In such cases, move the appropriate speaker to the position of the displayed value. 4 When "Auto" mode is selected: Press F G to adjust the volume. -1 • Test tones are output automatically, in the order shown below. FL C FR SR (2 speakers) SW SL SBL SBR SB (1 speaker) The volume can be adjusted within the range -12 dB to +12 dB. 4 When "Manual" mode is selected: Press D H to select the speaker, then press F G -2 to adjust the volume. 5 Press ENTER. • To adjust the channel level separately for the different play modes after setting the channel level, perform the operation on page 34. 58
-
 1
1 -
2
-
3
-
4
-
5
-
6
-
7
-
8
-
9
-
10
-
11
-
12
-
13
-
14
-
15
-
16
-
17
-
18
-
19
-
20
-
21
-
22
-
23
-
24
-
25
-
26
-
27
-
28
-
29
-
30
-
31
-
32
-
33
-
34
-
35
-
36
-
37
-
38
-
39
-
40
-
41
-
42
-
43
-
44
-
45
-
46
-
47
-
48
-
49
-
50
-
51
-
52
-
53
-
54
-
55
-
56
-
 57
57 -
 58
58 -
 59
59 -
 60
60 -
 61
61 -
 62
62 -
 63
63 -
 64
64 -
 65
65 -
 66
66 -
 67
67 -
68
-
69
-
70
-
71
-
72
-
73
-
74
-
75
-
76
-
77
-
78
-
79
-
80
-
81
-
82
-
83
-
84
-
85
-
86
-
87
-
88
 |
 |