Dymo 18126 User Guide
Dymo 18126 Manual
 |
View all Dymo 18126 manuals
Add to My Manuals
Save this manual to your list of manuals |
Dymo 18126 manual content summary:
- Dymo 18126 | User Guide - Page 1
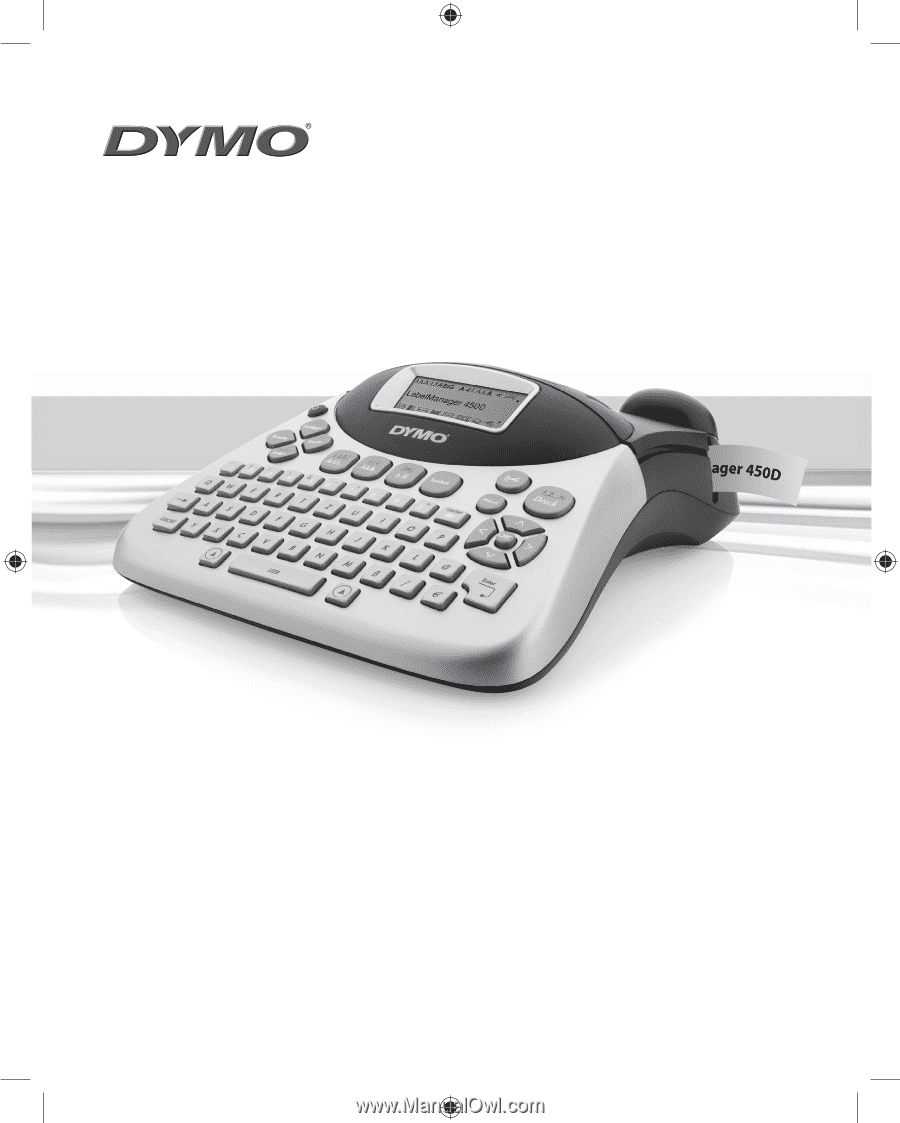
LabelManager 450D Create any label you need, stand-alone or from your PC/Mac User Guide LM450D_manual_UK_WEU.indd 1 www.dymo.com 13-08-2007 13:26:59 - Dymo 18126 | User Guide - Page 2
Selecting a Language 6 Setting the Current Date 7 Setting the Current Time 7 Selecting Units of Measure 7 Printing Your First Label 7 Getting to Know the Label Maker 7 Power 7 LCD Display 7 CAPS Mode 8 Shift Key 8 Space Bar 8 Clear/Delete 8 Cancel 8 Navigation Keys 8 Connecting to Your - Dymo 18126 | User Guide - Page 3
Barcodes to Labels 14 Previewing Your Label 15 Aligning the Text 15 Changing the Cutting Option 15 Adjusting the Print Contrast 16 Using Label Maker Memory 16 Storing Label Text 16 Storing Formats 16 Recalling Stored Labels and Formats 16 Caring for Your Label Maker 17 Troubleshooting 18 - Dymo 18126 | User Guide - Page 4
Settings Memory Language Preview/Insert Tab CAPS www.dymo.c om Label Exit Font Size/Style Font/Fixed Length Underline- . $ Shift SPAC E Shift Space Bar Shift Figure 1 LabelManager 450D Professional Label Maker Manual Cutter Print Cancel Navigation Arrows & OK Clear/Delete Return/Enter - Dymo 18126 | User Guide - Page 5
card and return it to the appropriate Customer Support address within seven days of purchase. Visit www.dymo.com/registration for details. Getting Started Follow the instructions in this section to print your first label. Connecting the Power The label maker can operate on AC or battery power. To - Dymo 18126 | User Guide - Page 6
Inserting the Label Cassette Your label maker comes with one DYMO D1 label cassette. Visit www.dymo.com for information about purchasing additional label cassettes. To insert the label cassette 1. Press and release the label cassette cover to open the label compartment. See Figure 3. CLICK! Figure - Dymo 18126 | User Guide - Page 7
4. When finished, press . Setting the Current Time The default time format depends upon the language selection for the label maker. You can change the default time format by following the instructions in Changing the Time Format on page 13. To set the time 1. Press Settings. 2. Select Set Time, and - Dymo 18126 | User Guide - Page 8
items, and then press to accept the selection. Connecting to Your Computer Your label maker can be used as a standalone label printer or you can print labels from your computer using DYMO Label Software. Your label maker connects to your computer using the USB connection located on the top of the - Dymo 18126 | User Guide - Page 9
LabelManager 450 Quick Start card for installation instructions and the DYMO Label Software User Guide for information about designing and printing labels. Formatting Your Label You can choose from a number of formatting options to enhance the appearance of your labels. x The label maker remembers - Dymo 18126 | User Guide - Page 10
the stored text you wish to use as a background and press . DYMO Underline DYMO Square Box DYMO DYMO DYMO Pointed Box Rounded Box Crocodile Box DYMO DYMO DYMO Scroll Box 3D Box Dots Wood Grain Bricks Checkers Parquet Diamonds Weave DYMO LabelManager 450D Text Background Figure 9 10 - Dymo 18126 | User Guide - Page 11
line, and press Enter. A new line character is placed at the end of the first line in the display, but will not print on the label. 2. Type the text for the second line. The display shows the line on which you are currently entering text. The example below indicates that the - Dymo 18126 | User Guide - Page 12
corresponding to the row you want. 3. When you locate the desired symbol, press to add the symbol to your label text. Adding International Characters The label maker supports the extended Latin character set using RACE technology. Similar to using a mobile phone keypad, if you type a letter multiple - Dymo 18126 | User Guide - Page 13
(month, day, year) and press after each part. Adding the Date to Your Label The date can be added as fixed text (the date remains the same) or as time (hours and minutes) and press after each part. Adding the Time to your Label The time can be added as fixed text (the current time) or as variable - Dymo 18126 | User Guide - Page 14
specify a fixed length for a label in 0.1"(2 mm) increments between 1.5" (40 mm) and 15.0" (400 mm). The preset fixed length label, you must reset the fixedlength label setting to OFF; otherwise, all your subsequent labels will print with this fixed length. Adding Barcodes to Labels The label maker - Dymo 18126 | User Guide - Page 15
until you reset the alignment. Changing the Cutting Option You can choose to have each label automatically cut after printing or you can manually cut the labels using the key. By default, labels are cut automatically. When manual cutting is selected and you print multiple copies or serialized - Dymo 18126 | User Guide - Page 16
printed. • Allows you to store the text of up to ten labels you use frequently. • Allows you to name and store up to ten commonly used label formats. Storing Label Text The label maker automatically keeps the last fifteen labels printed in a text buffer. In addition, you can store up to ten specific - Dymo 18126 | User Guide - Page 17
Caring for Your Label Maker Your label maker is designed to give you long and trouble-free service, while requiring very little maintenance. Clean your label maker from time to time to keep it working properly. Clean the cutter blade each time you replace the label cassette. To clean the cutter - Dymo 18126 | User Guide - Page 18
Troubleshooting Review the following possible solutions if you encounter a problem while using your label maker. Problem/Error Message Solution No display • Ensure the label maker is turned on. • Replace discharged batteries. Poor Print Quality • Replace discharged batteries or attach power - Dymo 18126 | User Guide - Page 19
Guide page number • Brief description of content (instructions dymo.com Please keep in mind that this email address is only for documentation feedback. If you have a technical question, please contact Customer Support ) Plastic components of this printer have been marked to enable final disposal - Dymo 18126 | User Guide - Page 20
931764 LM350D manual UK_WEU.indd 20 ©2007 DYMO A Newell Rubbermaid Company Produced by: DYMO Stamford CT 06902 800-426-7827: www.dymo.com 03-08-2007 11:56:36
-
 1
1 -
 2
2 -
 3
3 -
 4
4 -
 5
5 -
 6
6 -
 7
7 -
8
-
9
-
10
-
11
-
12
-
13
-
14
-
15
-
16
-
17
-
18
-
19
-
20
 |
 |
www.dymo.com
User Guide
LabelManager
450D
Create any label you need, stand-alone or from your PC/Mac
LM450D_manual_UK_WEU.indd
1
13-08-2007
13:26:59