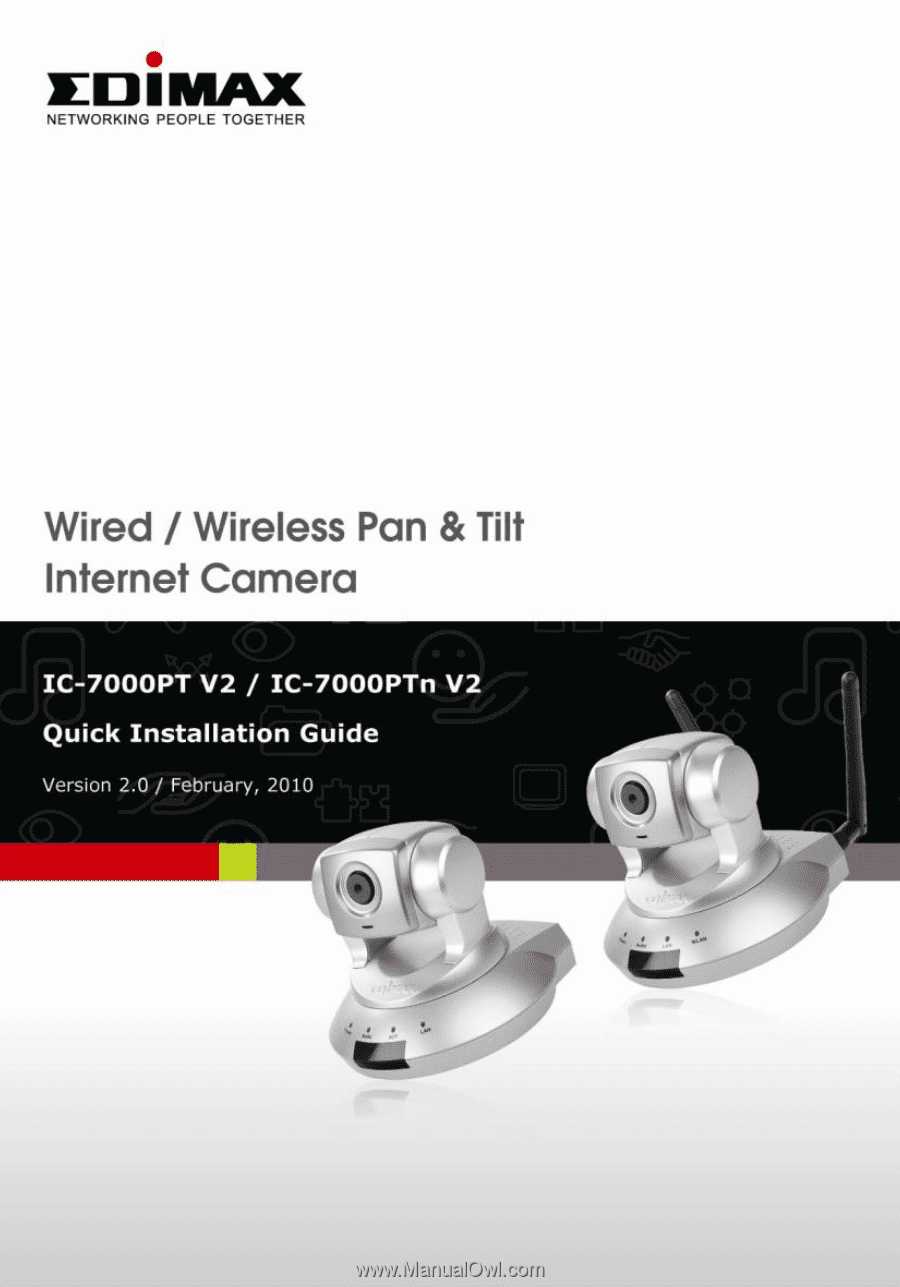
Edimax IC-7000PT V2 Quick Install Guide
Edimax IC-7000PT V2 Manual
 |
View all Edimax IC-7000PT V2 manuals
Add to My Manuals
Save this manual to your list of manuals |
Edimax IC-7000PT V2 manual content summary:
- Edimax IC-7000PT V2 | Quick Install Guide - Page 1
- Edimax IC-7000PT V2 | Quick Install Guide - Page 2
Multi-Languages QIG in Driver CD Český: Českého průvodce rychlou instalací naleznete na přiloženém CD s ovladači Deutsch: Finden Sie bitte das deutsche QIG beiliegend in der Treiber CD Españ ol: Incluido en el CD el QIG en Español Français: Veuillez trouver l‟français QIG ci-joint dans le CD - Edimax IC-7000PT V2 | Quick Install Guide - Page 3
form or by any means, electronic, mechanical, magnetic, optical, chemical, manual or otherwise, without the prior setup screen may appear slightly different from those shown in this QIG. For more detailed information about this product, please refer to the User's Manual on the CD-ROM. The software - Edimax IC-7000PT V2 | Quick Install Guide - Page 4
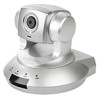
Cable One Quick Installation Guide One CD (Including Manual/Utility/Multi-Language QIG) Two Antenna (IC-7000PTn V2 only) If any of the above items are missing, please contact your supplier. 3. System Requirement System requirement for PC, MAC or Notebook PC to access the IP Camera as following - Edimax IC-7000PT V2 | Quick Install Guide - Page 5
Hardware Installation Please follow the following instructions to set the camera up: 1. Connect the Ethernet cable to your local area network, and connect the other end to the LAN jack of this IP camera. NOTE: Skip this step if you use IC-7000PTn V2 with wireless LAN only. 2. Plug the power adapter - Edimax IC-7000PT V2 | Quick Install Guide - Page 6
3. Connect the antennas to the antenna base (for IC-7000PTn V2 only) located at the back of the IP camera. 4. Place the IP camera at a secure place, and point the camera to the place you wish to monitor. If you wish to hang the camera on the ceiling or wall, please use the tripod connector (located - Edimax IC-7000PT V2 | Quick Install Guide - Page 7
in Windows XP and 2000 are similar. 1. Insert the CD shipped along with the IP Internet Camera into your CD-ROM drive. The "Autorun.exe" program should be executed automatically. If not, run "Autorun.exe" manually from "Autorun" folder in the CD. 2. The Install Wizard will show four selections - Edimax IC-7000PT V2 | Quick Install Guide - Page 8
3. The system will start the installation procedures. Click „Next‟ to continue installation. 4. If you wish to install the software program in an alternate location, click „Browse‟; otherwise click „Next‟ to move on to the next step. - Edimax IC-7000PT V2 | Quick Install Guide - Page 9
5. Click „Next‟ to move on to the next step. 6. Click „Install‟ to start installing the program, the system will install the program automatically. - Edimax IC-7000PT V2 | Quick Install Guide - Page 10
7. Click „Finish‟ to complete the software installation. 8. If you have Windows Defender or other 3rd party firewall software, you may see the following or similar message, Please click „Unblock‟ to let IP camera Utility pass the firewall, or the IP camera utility may not be able to function - Edimax IC-7000PT V2 | Quick Install Guide - Page 11
‟ in „All Programs‟ will be created: Admin Utility and Uninstall. You can use these 2 utilities to connect to the IP camera and use the functions of the camera without web browser. 10. When the installation is completed, the system will auto run the „Administrator Utility‟. On the first page, the - Edimax IC-7000PT V2 | Quick Install Guide - Page 12
11. You‟ll be prompted to input user name and password. The default user name is „admin‟ (you can not change it), and the default password is „1234‟, and then click „OK‟ to continue. 12. IP Camera is working through the network (TCP/IP Protocol). The IP address setting must be correct, or you cannot - Edimax IC-7000PT V2 | Quick Install Guide - Page 13
Use WEB browser (Internet Explorer 5.5 or above) to connect to the IP you get by the wizard (type the address in the address bar of web browser) You‟ll be prompted to input user name and password: User name: admin / Password: 1234 After logged on, you should see the following messages appear at - Edimax IC-7000PT V2 | Quick Install Guide - Page 14
When you see this message, click ‟Install‟ to install required ActiveX control. You should be able to see the images captured by the IP camera now. For advanced functions, please refer to instructions given in user manual (on supplied CD-ROM) - Edimax IC-7000PT V2 | Quick Install Guide - Page 15
R&TTE Compliance Statement This equipment complies with all the requirements of DIRECTIVE 1999/5/EC OF THE EUROPEAN PARLIAMENT AND THE COUNCIL of March 9, 1999 on radio equipment and telecommunication terminal Equipment and the mutual recognition of their conformity (R&TTE) The R&TTE Directive - Edimax IC-7000PT V2 | Quick Install Guide - Page 16
-
 1
1 -
 2
2 -
 3
3 -
 4
4 -
 5
5 -
 6
6 -
 7
7 -
8
-
9
-
10
-
11
-
12
-
13
-
14
-
15
-
16
 |
 |