Epson 821p Quick Start
Epson 821p - PowerLite XGA LCD Projector Manual
 |
UPC - 010343852020
View all Epson 821p manuals
Add to My Manuals
Save this manual to your list of manuals |
Epson 821p manual content summary:
- Epson 821p | Quick Start - Page 1
to your notebook 1 Locate the required cables: Power cord Computer cable 2 Connect the computer cable to the Computer 1/Component Video 1 port on the projector. Epson® PowerLite® 821p Quick Setup 3 Connect the other end to your notebook's video-out or monitor port. NOTE: If your notebook - Epson 821p | Quick Start - Page 2
on general use of the remote control, see your User's Guide. NOTE: Put your remote in a safe place. You'll need it if you use a password with the projector. See the User's Guide for details. Where to get help Telephone Support Services To use the Epson PrivateLine® Support service, call (800) 637
-
 1
1 -
 2
2
 |
 |
1
Turn on your notebook.
2
Remove the projector’s lens cap.
3
Make sure the
Power
light
is orange and not flashing.
4
Press the
Power
button
to turn on the projector.
The projector beeps and
the
Power
light flashes
as the projector warms up.
S
T
A
R
T
H
E
R
E
T
urn on your equipment
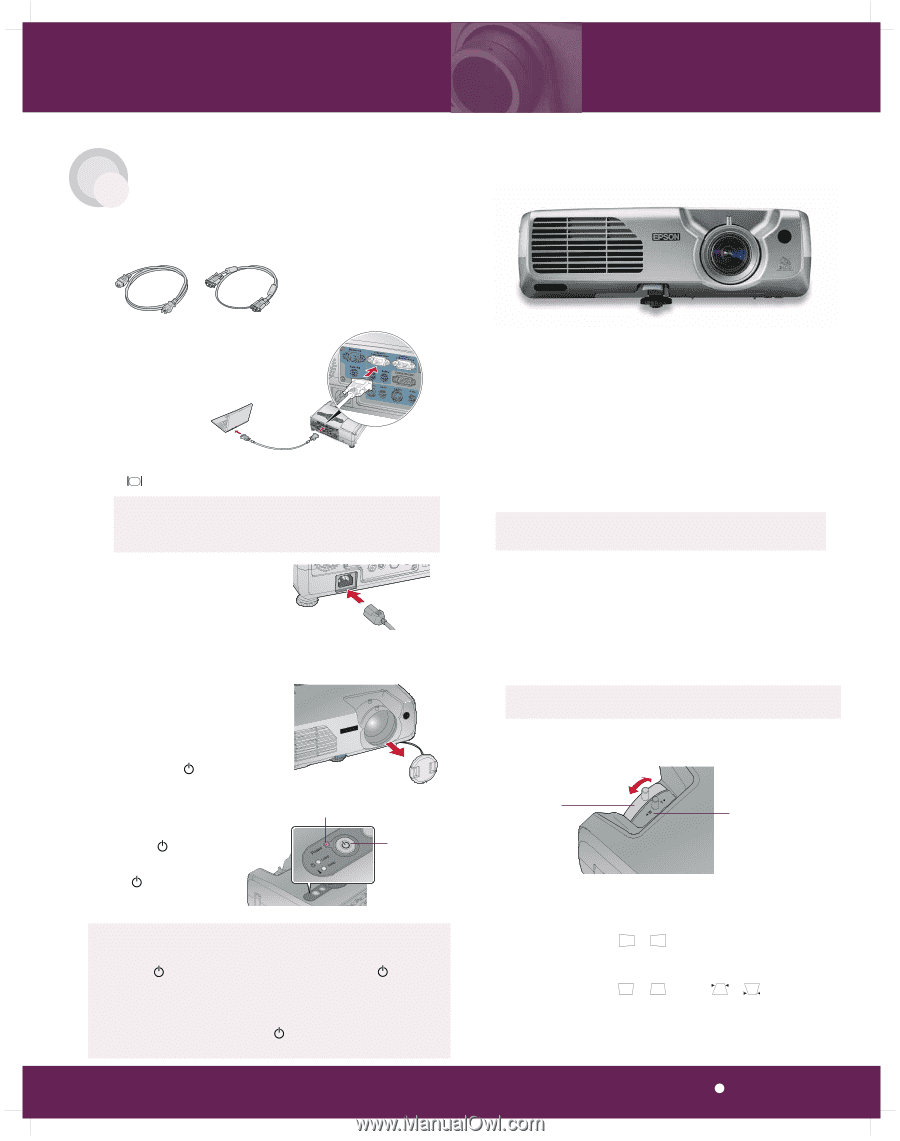
C
onnect the projector
to your notebook
Follow these instructions to connect the projector to your
notebook. For other setup options, see your
User’s Guide
.
Epson
®
PowerLite
®
821p
Quick Setup
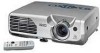
1
Locate the required cables:
2
Connect the computer cable to the
Computer 1/Component Video 1
port on the projector.
3
Connect the other end to your notebook’s video-out
or
monitor port.
NOTE:
If your notebook has a DVI connector, you need to either
connect a DVI-to-VGA adapter to the included computer cable (see
your computer’s documentation), or purchase an optional DVI to
VGA cable (for a higher-quality image). See your
User’s Guide
.
4
Connect the power cord to the
projector, then plug the other end
into a grounded electrical outlet.
Power cord
Computer cable
Power light is orange
and not flashing
1
If you’ve turned on your notebook and you don’t see an image, press
the
Source Search
button on the projector repeatedly until you see
your image.
NOTE:
If you still see a blank screen or have other display problems,
see the troubleshooting tips on the back of this sheet.
2
Rotate the focus ring to sharpen the image.
3
Rotate the zoom ring to reduce or enlarge the image. (You can also
move the projector closer to or farther from the screen.)
4
If your image looks like
or
, you’ve placed the projector off to
one side of the screen at an angle. Place it directly in front of the
center of the screen, facing the screen squarely.
5
If your image looks like
or
, use the
or
buttons to
square up the image.
Zoom ring
to adjust the
image size
Focus ring
to sharpen
the image
A
djust the image
CAUTION:
Before unplugging the projector...
Shut down the projector properly:
1
.
Press the
Power
button twice. The lamp turns off, the
Power
light flashes orange (about 20 seconds), and the projector beeps
twice to signal power is off.
2
.
Once the projector beeps, it’s safe to unplug it.
Never unplug the projector when the
Power
light is green or
flashing orange.
Power
button