Epson NX515 Network Installation Guide - Page 5
see Connect Wirelessly Using Advanced Setup on button, then - install
 |
UPC - 010343871823
View all Epson NX515 manuals
Add to My Manuals
Save this manual to your list of manuals |
Page 5 highlights
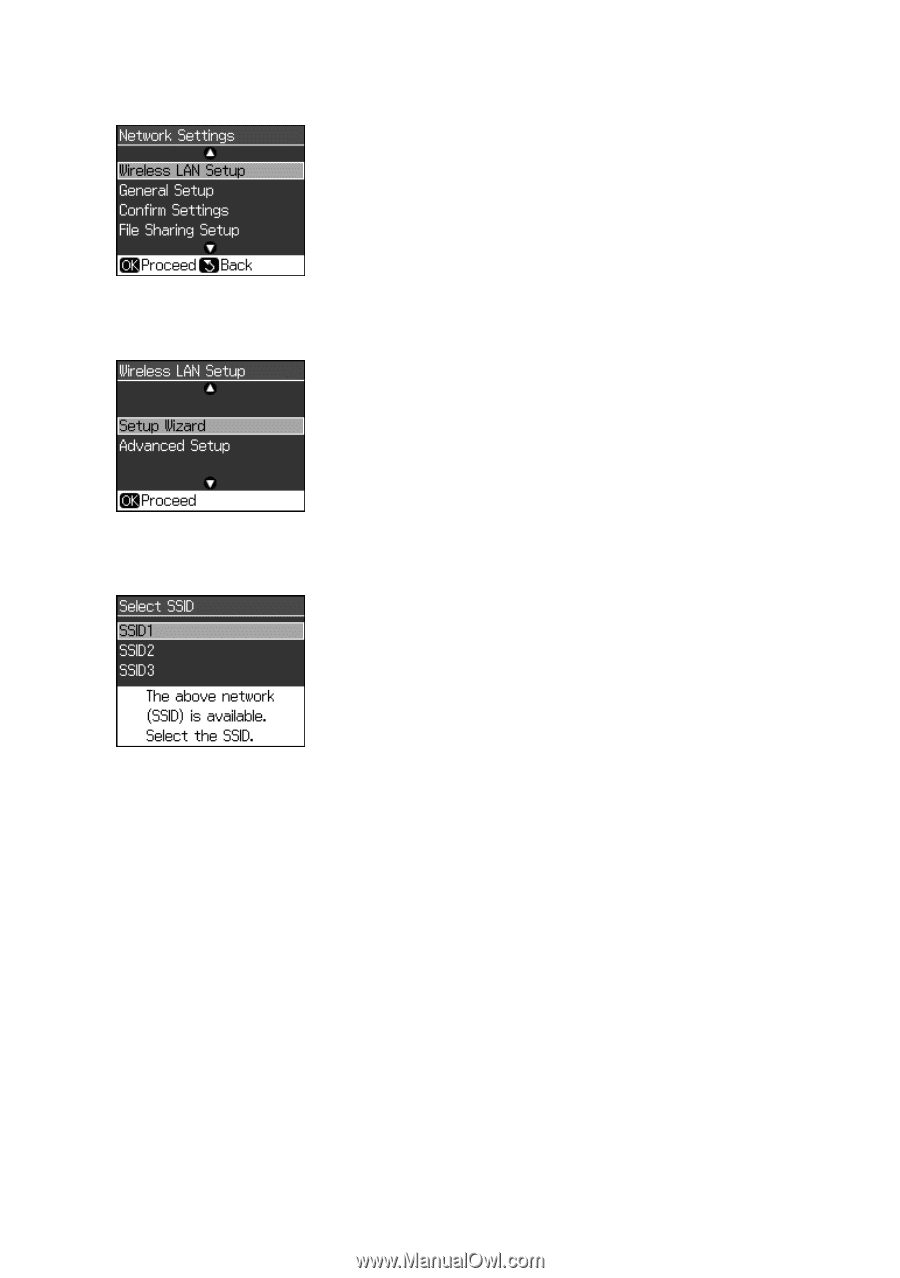
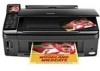
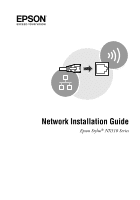
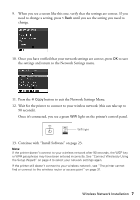
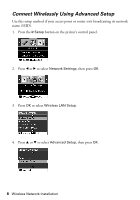
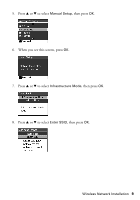
3. Press OK to select Wireless LAN Setup. 4. Press OK to select Setup Wizard. 5. Press u or d to select the name of your wireless network, then press OK. If your network name isn't listed, try the following: ■ Make sure that your wireless router or access point is turned on and working correctly. Press the y Back button to return to the previous screen, press OK to select Setup Wizard, then repeat step 5. ■ If you still can't find the network name in the list, your router or access point is not broadcasting its network name. Press the y Back button, then see "Connect Wirelessly Using Advanced Setup" on page 8. 6. Do one of the following: ■ If your wireless network doesn't have security enabled, continue with step 9. ■ If your wireless network has security enabled, continue with step 7. Wireless Network Installation 5
-
 1
1 -
 2
2 -
 3
3 -
 4
4 -
 5
5 -
 6
6 -
 7
7 -
 8
8 -
 9
9 -
 10
10 -
 11
11 -
12
-
13
-
14
-
15
-
16
-
17
-
18
-
19
-
20
-
21
-
22
-
23
-
24
-
25
-
26
-
27
-
28
-
29
-
30
-
31
-
32
-
33
-
34
-
35
-
36
 |
 |