Epson XP-310 User Manual - Page 119
Mac OS X icon next to the Target Size, Customize, Scale
 |
View all Epson XP-310 manuals
Add to My Manuals
Save this manual to your list of manuals |
Page 119 highlights
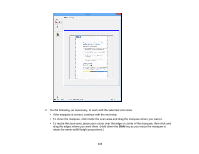
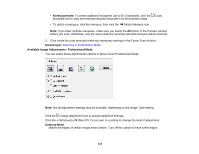
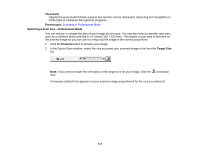
4. To create a scanned image size that is not available in the Target Size list, click the Customize option. 5. Name the custom size, enter the size, click Save, and click OK. Then create a scan area on the preview image. The marquee is automatically proportioned for your custom scan size. 6. To use additional sizing tools, click the + (Windows) or (Mac OS X) icon next to the Target Size setting and select options as desired. • Scale: Reduces or enlarges your image by the percentage you enter. 119
-
 1
1 -
2
-
3
-
4
-
5
-
6
-
7
-
8
-
9
-
10
-
11
-
12
-
13
-
14
-
15
-
16
-
17
-
18
-
19
-
20
-
21
-
22
-
23
-
24
-
25
-
26
-
27
-
28
-
29
-
30
-
31
-
32
-
33
-
34
-
35
-
36
-
37
-
38
-
39
-
40
-
41
-
42
-
43
-
44
-
45
-
46
-
47
-
48
-
49
-
50
-
51
-
52
-
53
-
54
-
55
-
56
-
57
-
58
-
59
-
60
-
61
-
62
-
63
-
64
-
65
-
66
-
67
-
68
-
69
-
70
-
71
-
72
-
73
-
74
-
75
-
76
-
77
-
78
-
79
-
80
-
81
-
82
-
83
-
84
-
85
-
86
-
87
-
88
-
89
-
90
-
91
-
92
-
93
-
94
-
95
-
96
-
97
-
98
-
99
-
100
-
101
-
102
-
103
-
104
-
105
-
106
-
107
-
108
-
109
-
110
-
111
-
112
-
113
-
 114
114 -
 115
115 -
 116
116 -
 117
117 -
 118
118 -
 119
119 -
 120
120 -
 121
121 -
 122
122 -
 123
123 -
 124
124 -
125
-
126
-
127
-
128
-
129
-
130
-
131
-
132
-
133
-
134
-
135
-
136
-
137
-
138
-
139
-
140
-
141
-
142
-
143
-
144
-
145
-
146
-
147
-
148
-
149
-
150
-
151
-
152
-
153
-
154
-
155
-
156
-
157
-
158
-
159
-
160
-
161
-
162
-
163
-
164
-
165
-
166
-
167
-
168
-
169
-
170
-
171
-
172
-
173
-
174
-
175
-
176
-
177
-
178
-
179
-
180
-
181
-
182
-
183
-
184
-
185
-
186
-
187
-
188
-
189
-
190
-
191
-
192
-
193
-
194
-
195
-
196
-
197
-
198
-
199
-
200
-
201
-
202
-
203
-
204
-
205
-
206
-
207
-
208
-
209
-
210
-
211
-
212
-
213
-
214
-
215
-
216
-
217
-
218
-
219
-
220
-
221
-
222
-
223
-
224
-
225
-
226
-
227
-
228
-
229
-
230
-
231
-
232
-
233
-
234
 |
 |
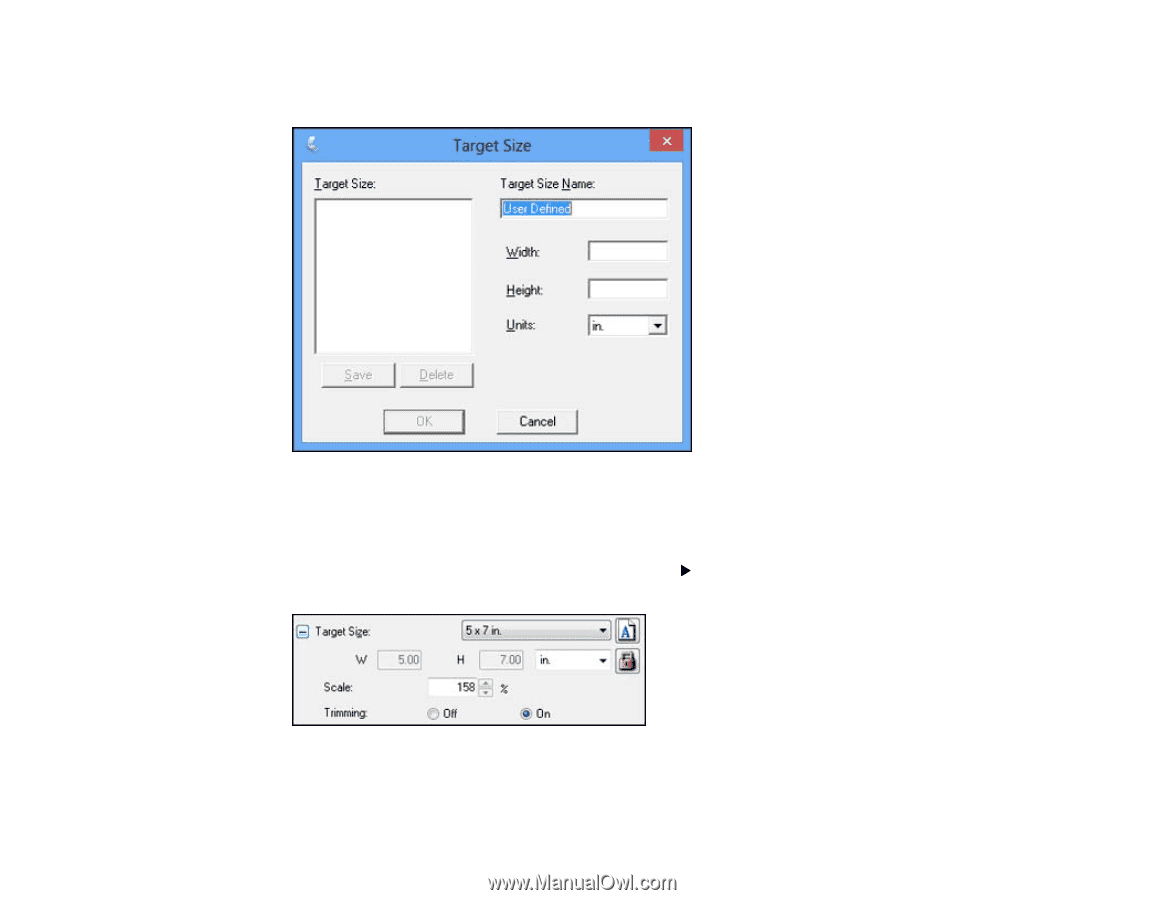
4.
To create a scanned image size that is not available in the Target Size list, click the
Customize
option.
5.
Name the custom size, enter the size, click
Save
, and click
OK
. Then create a scan area on the
preview image.
The marquee is automatically proportioned for your custom scan size.
6.
To use additional sizing tools, click the
+
(Windows) or
(Mac OS X) icon next to the Target Size
setting and select options as desired.
•
Scale
: Reduces or enlarges your image by the percentage you enter.
119