Epson XP-310 User Manual - Page 87
Changing Default Scan Button Settings, Starting a Scan Using the Epson Scan Icon, Starting a Scan - driver download
 |
View all Epson XP-310 manuals
Add to My Manuals
Save this manual to your list of manuals |
Page 87 highlights
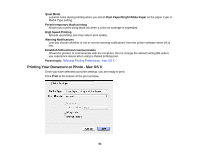
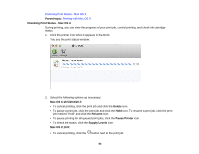
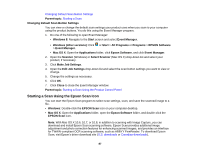
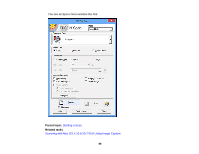
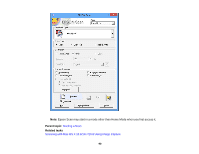
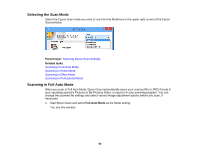
Changing Default Scan Button Settings Parent topic: Starting a Scan Changing Default Scan Button Settings You can view or change the default scan settings your product uses when you scan to your computer using the product buttons. You do this using the Event Manager program. 1. Do one of the following to open Event Manager: • Windows 8: Navigate to the Start screen and select Event Manager. • Windows (other versions): Click or Start > All Programs or Programs > EPSON Software > Event Manager. • Mac OS X: Open the Applications folder, click Epson Software, and click Event Manager. 2. Open the Scanner (Windows) or Select Scanner (Mac OS X) drop-down list and select your product, if necessary. 3. Click Make Job Settings. 4. Open the Edit Job Settings drop-down list and select the scan button settings you want to view or change. 5. Change the settings as necessary. 6. Click OK. 7. Click Close to close the Event Manager window. Parent topic: Starting a Scan Using the Product Control Panel Starting a Scan Using the Epson Scan Icon You can start the Epson Scan program to select scan settings, scan, and save the scanned image to a file. • Windows: Double-click the EPSON Scan icon on your computer desktop. • Mac OS X: Open the Applications folder, open the Epson Software folder, and double-click the EPSON Scan icon. Note: With Mac OS X 10.6, 10.7, or 10.8, in addition to scanning with Image Capture, you can download and install Epson Scan scanning software. Epson Scan provides additional image adjustment and photo correction features for enhancing scanned images, and provides an interface for TWAIN-compliant OCR scanning software, such as ABBYY FineReader. To download Epson Scan, visit Epson's driver download site (U.S. downloads or Canadian downloads). 87
-
 1
1 -
2
-
3
-
4
-
5
-
6
-
7
-
8
-
9
-
10
-
11
-
12
-
13
-
14
-
15
-
16
-
17
-
18
-
19
-
20
-
21
-
22
-
23
-
24
-
25
-
26
-
27
-
28
-
29
-
30
-
31
-
32
-
33
-
34
-
35
-
36
-
37
-
38
-
39
-
40
-
41
-
42
-
43
-
44
-
45
-
46
-
47
-
48
-
49
-
50
-
51
-
52
-
53
-
54
-
55
-
56
-
57
-
58
-
59
-
60
-
61
-
62
-
63
-
64
-
65
-
66
-
67
-
68
-
69
-
70
-
71
-
72
-
73
-
74
-
75
-
76
-
77
-
78
-
79
-
80
-
81
-
 82
82 -
 83
83 -
 84
84 -
 85
85 -
 86
86 -
 87
87 -
 88
88 -
 89
89 -
 90
90 -
 91
91 -
 92
92 -
93
-
94
-
95
-
96
-
97
-
98
-
99
-
100
-
101
-
102
-
103
-
104
-
105
-
106
-
107
-
108
-
109
-
110
-
111
-
112
-
113
-
114
-
115
-
116
-
117
-
118
-
119
-
120
-
121
-
122
-
123
-
124
-
125
-
126
-
127
-
128
-
129
-
130
-
131
-
132
-
133
-
134
-
135
-
136
-
137
-
138
-
139
-
140
-
141
-
142
-
143
-
144
-
145
-
146
-
147
-
148
-
149
-
150
-
151
-
152
-
153
-
154
-
155
-
156
-
157
-
158
-
159
-
160
-
161
-
162
-
163
-
164
-
165
-
166
-
167
-
168
-
169
-
170
-
171
-
172
-
173
-
174
-
175
-
176
-
177
-
178
-
179
-
180
-
181
-
182
-
183
-
184
-
185
-
186
-
187
-
188
-
189
-
190
-
191
-
192
-
193
-
194
-
195
-
196
-
197
-
198
-
199
-
200
-
201
-
202
-
203
-
204
-
205
-
206
-
207
-
208
-
209
-
210
-
211
-
212
-
213
-
214
-
215
-
216
-
217
-
218
-
219
-
220
-
221
-
222
-
223
-
224
-
225
-
226
-
227
-
228
-
229
-
230
-
231
-
232
-
233
-
234
 |
 |
