Epson XP-600 Epson Connect Guide - Page 17
Registering an additional printer, Setting up using Web Config, To open Web Config - instructions
 |
View all Epson XP-600 manuals
Add to My Manuals
Save this manual to your list of manuals |
Page 17 highlights
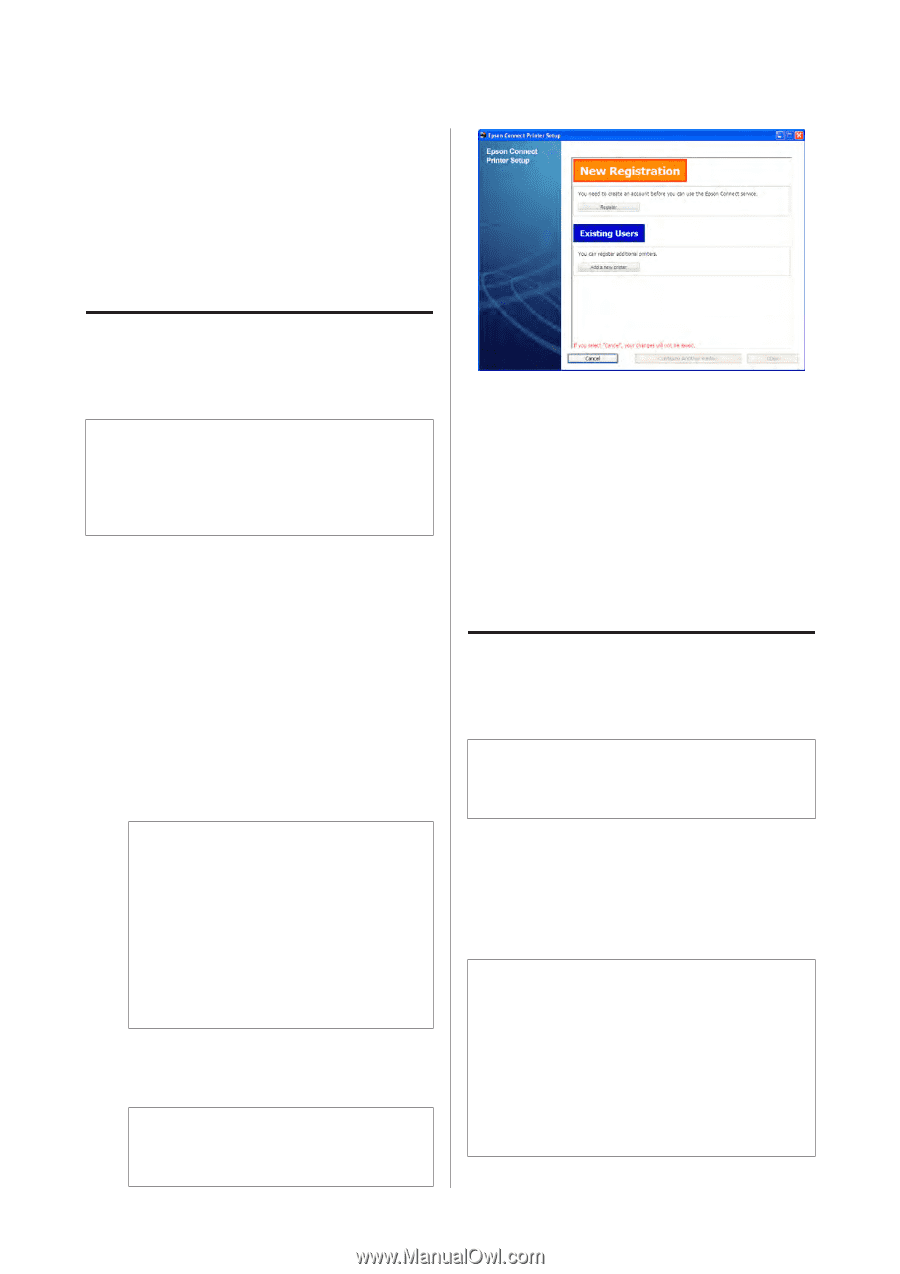
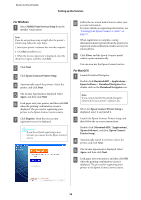
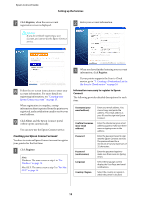
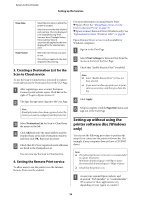
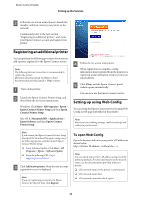
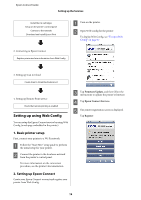
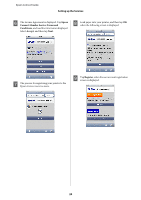
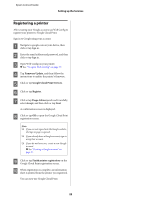
Epson Connect Guide Setting up the Services B Follow the on-screen instructions to launch the installer, and then connect your printer to the network. Continuously refer to the next section "Registering an additional printer", and create your Epson Connect account and register your printer. Registering an additional printer You can perform the following procedure if you want to add a printer registered to the Epson Connect service. Note: The following Internet connection is recommended to register the printer. Minimum download speed: 512 Kbps or faster Recommended download speed: 1 Mbps or faster A Turn on the printer. B Launch the Epson Connect Printer Setup, and then follow the on-screen instructions. Windows: Click Start > All Programs > Epson > Epson Connect Printer Setup and then Epson Connect Printer Setup. Mac OS X: Macintosh HD > Applications > Epson Software and then Epson Connect Printer Setup. D Follow the on-screen instructions. When registration is complete, a setup information sheet is printed from the printer you registered, and a notification email is sent to your email address. E Click Close, and the Epson Connect portal website opens automatically. You can now use the Epson Connect service. Setting up using Web Config You can setup the Epson Connect service by using Web Config (a web page embedded in the printer). Note: Before you start making settings, enable JavaScript and cookies in your browser. Note: If you cannot find Epson Connect Printer Setup, download the Download Navigator using one of the following options, and then launch Epson Connect Printer Setup. ❏ From Software Update: Click Start > All Programs > Epson > Software Update ❏ From the following URL: http:// support.epson.net/dnavi/ C Click Add a new printer, when the user account registration screen is displayed. Note: If you are registering your printer to Epson Connect for the first time, click Register. To open Web Config Open the browser and enter your printer's IP address as shown below. http:// (without the < >) Note: You can check your printer's IP address using one of the following methods. For more information on the network status, see the documentation provided with your printer. ❏ The network status on the printer's control panel ❏ The network status sheet ❏ The network connection check report 17
-
 1
1 -
2
-
3
-
4
-
5
-
6
-
7
-
8
-
9
-
10
-
11
-
 12
12 -
 13
13 -
 14
14 -
 15
15 -
 16
16 -
 17
17 -
 18
18 -
 19
19 -
 20
20 -
 21
21 -
 22
22 -
23
-
24
-
25
-
26
-
27
-
28
-
29
-
30
-
31
-
32
-
33
-
34
-
35
-
36
-
37
-
38
-
39
-
40
-
41
-
42
-
43
-
44
-
45
-
46
 |
 |