Epson XP-600 Epson Connect Guide - Page 25
Enabling and editing the Approved Senders List, Print Log, Cancel, Approved Senders List, Recommended
 |
View all Epson XP-600 manuals
Add to My Manuals
Save this manual to your list of manuals |
Page 25 highlights
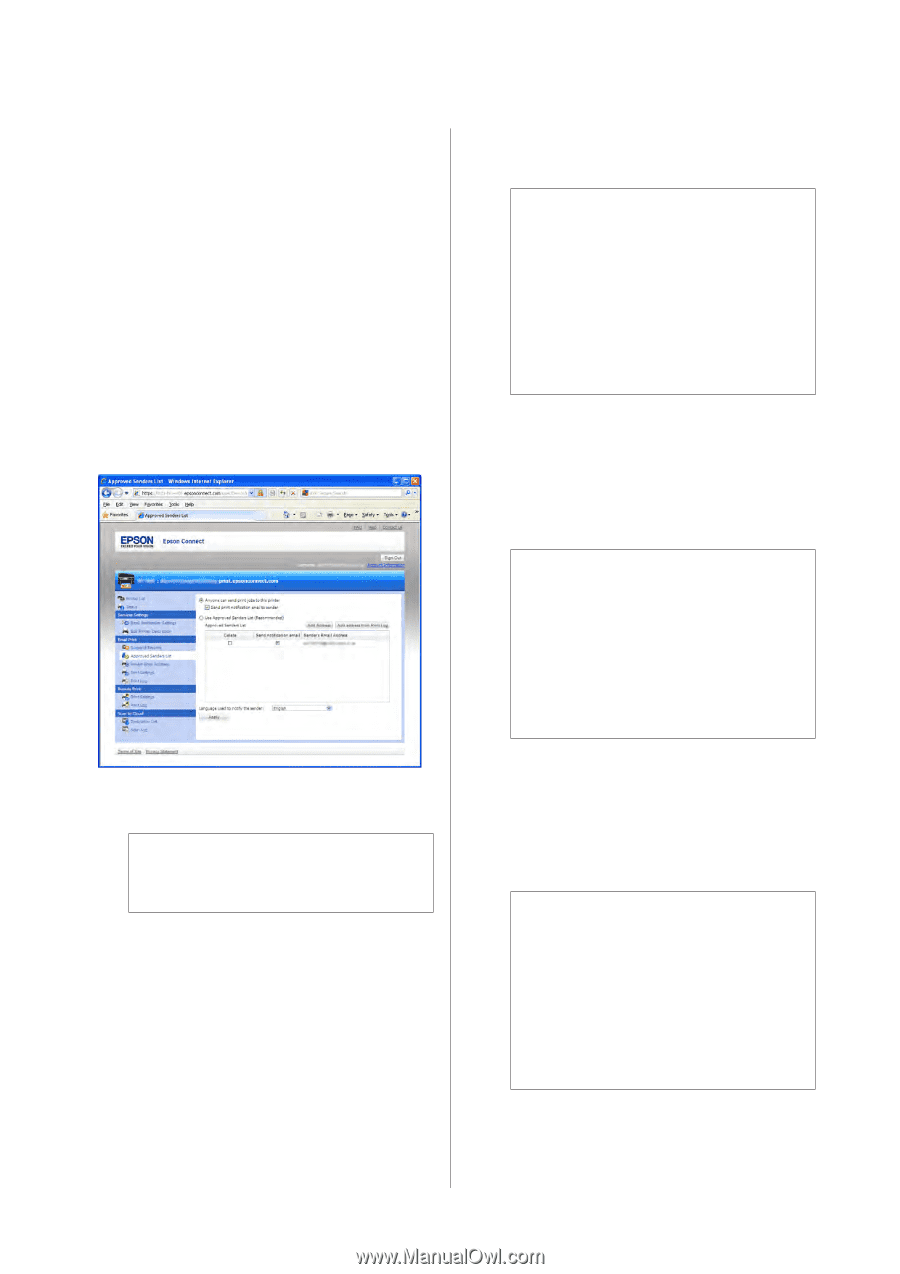
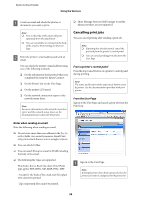
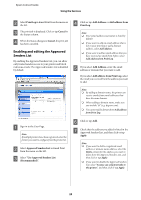
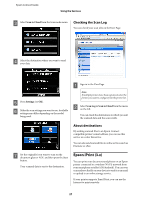
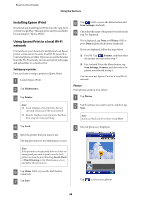
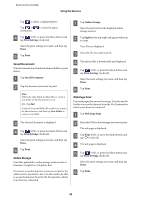
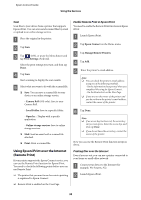
Epson Connect Guide Using the Services B Select Print Log in Email Print from the menu on the left. C The print job is displayed. Click or tap Cancel in the Status column. D When the Status changes to Cancel, the print job has been canceled. Enabling and editing the Approved Senders List By enabling the Approved Senders List, you can allow only trusted senders access to your printer and block malicious emails. The Approved Senders List is disabled by default. D Click or tap Add Address or Add address from Print Log. Note: ❏ Your email address (username) is listed by default. ❏ If you want to add an email address that is not in your print log or add a domain address, select Add Address. ❏ If you want to add an email address that you have received an email from before, select Add address from Print Log. E If you select Add Address, enter the email address or domain that you want to add. If you select Add address from Print Log, select the email you received from the address you want to add. Note: ❏ By adding a domain name, the printer can receive emails from email addresses that have the same domain. ❏ When adding a domain name, make sure you include "@" (e.g. @epson.com). ❏ You cannot add a domain from Add address from Print Log. A Sign in to the User Page. Note: If multiple printers have been registered, select the printer you want to configure from the printer list. B Select Approved Senders List in Email Print from the menu on the left. C Select "Use Approved Senders List (Recommended)". F Click or tap Add. G Check that the address you added is listed in the Approved Senders List, and then click or tap Apply. Note: ❏ If you want to delete a registered email address or domain name address, select the Delete column for the address you want to delete from the Approved Senders List, and then click or tap Apply. ❏ If you want to disable the Approved Senders List, select "Anyone can send print jobs to this printer", and then click or tap Apply. 25
-
 1
1 -
2
-
3
-
4
-
5
-
6
-
7
-
8
-
9
-
10
-
11
-
12
-
13
-
14
-
15
-
16
-
17
-
18
-
19
-
 20
20 -
 21
21 -
 22
22 -
 23
23 -
 24
24 -
 25
25 -
 26
26 -
 27
27 -
 28
28 -
 29
29 -
 30
30 -
31
-
32
-
33
-
34
-
35
-
36
-
37
-
38
-
39
-
40
-
41
-
42
-
43
-
44
-
45
-
46
 |
 |