Epson XP-600 Epson Connect Guide - Page 26
Change Print Settings, Scan to Cloud, Creating the Destination List - user guide scanning documents
 |
View all Epson XP-600 manuals
Add to My Manuals
Save this manual to your list of manuals |
Page 26 highlights
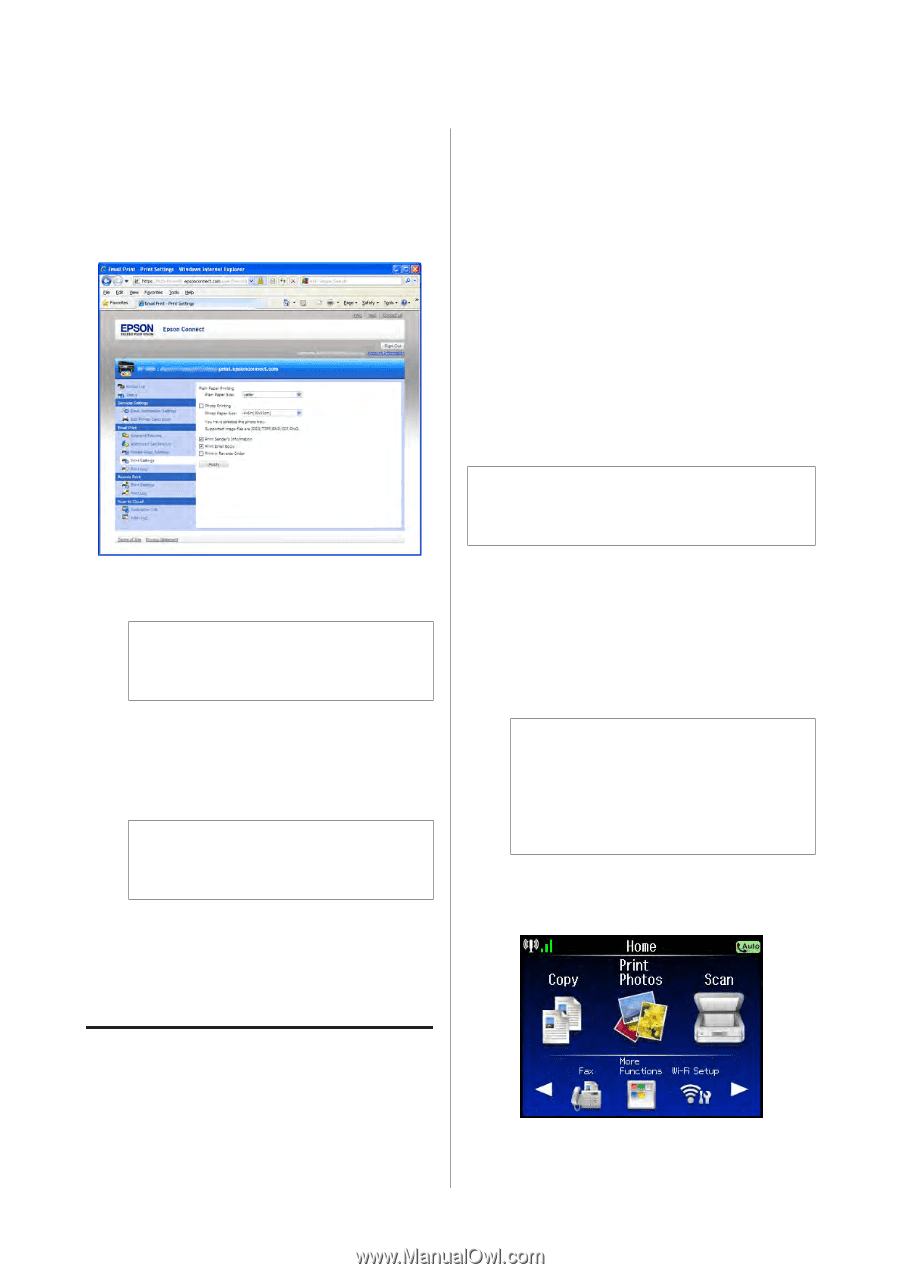
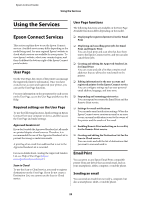
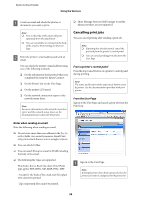
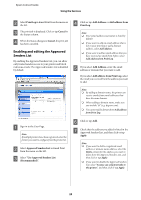
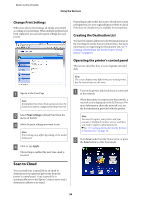
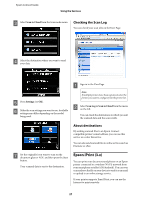
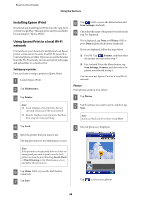
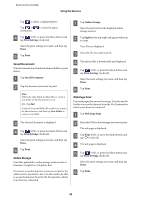
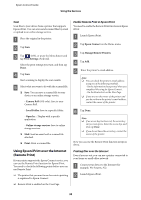
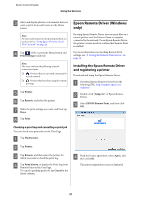
Epson Connect Guide Using the Services Change Print Settings When you select print settings, all emails are printed according to your settings. When multiple printers have been registered, you can select print settings for each printer. Depending on the model, the Scan to Cloud service may not supported. See your regional Epson website to check if the Scan to Cloud service is available for your printer. Creating the Destination List You need to register addresses to the Destination List on the User Page to use the Scan to Cloud service. For more information on registering the Destination List, see "3. Creating a Destination List for the Scan to Cloud service" on page 16. Operating the printer's control panel This section describes how to scan originals and send data. Note: The screen displays may differ from your actual printer, but the instructions are the same. A Sign in to the User Page. Note: If multiple printers have been registered, select the printer you want to configure from the printer list. B Select Print Settings in Email Print from the menu on the left. C Select the print settings you want to use. Note: Print settings may differ depending on the model being used. D Click or tap Apply. This setting is enabled the next time email is received. A Turn on the printer and check that it is connected to the network When the printer is connected to the network, a network icon is displayed on the LCD screen. For more information about the network icon, see the documentation provided with the printer. Note: You need to register your printer and your account to the Epson Connect service, and then you need to register a Destination List. & See "3. Creating a Destination List for the Scan to Cloud service" on page 16. B Enter Scan mode from the Home menu, or press the Scan button to enter Scan mode. Scan to Cloud You can send your scanned file as an email to destinations you registered previously from the printer's control panel. Your scanned file is automatically sent to the Epson Connect server and a destination address as an email. 26
-
 1
1 -
2
-
3
-
4
-
5
-
6
-
7
-
8
-
9
-
10
-
11
-
12
-
13
-
14
-
15
-
16
-
17
-
18
-
19
-
20
-
 21
21 -
 22
22 -
 23
23 -
 24
24 -
 25
25 -
 26
26 -
 27
27 -
 28
28 -
 29
29 -
 30
30 -
 31
31 -
32
-
33
-
34
-
35
-
36
-
37
-
38
-
39
-
40
-
41
-
42
-
43
-
44
-
45
-
46
 |
 |