Frigidaire FPGF3081KF Complete Owner's Guide (English) - Page 13
Setting Oven Controls - 30
 |
UPC - 012505500800
View all Frigidaire FPGF3081KF manuals
Add to My Manuals
Save this manual to your list of manuals |
Page 13 highlights
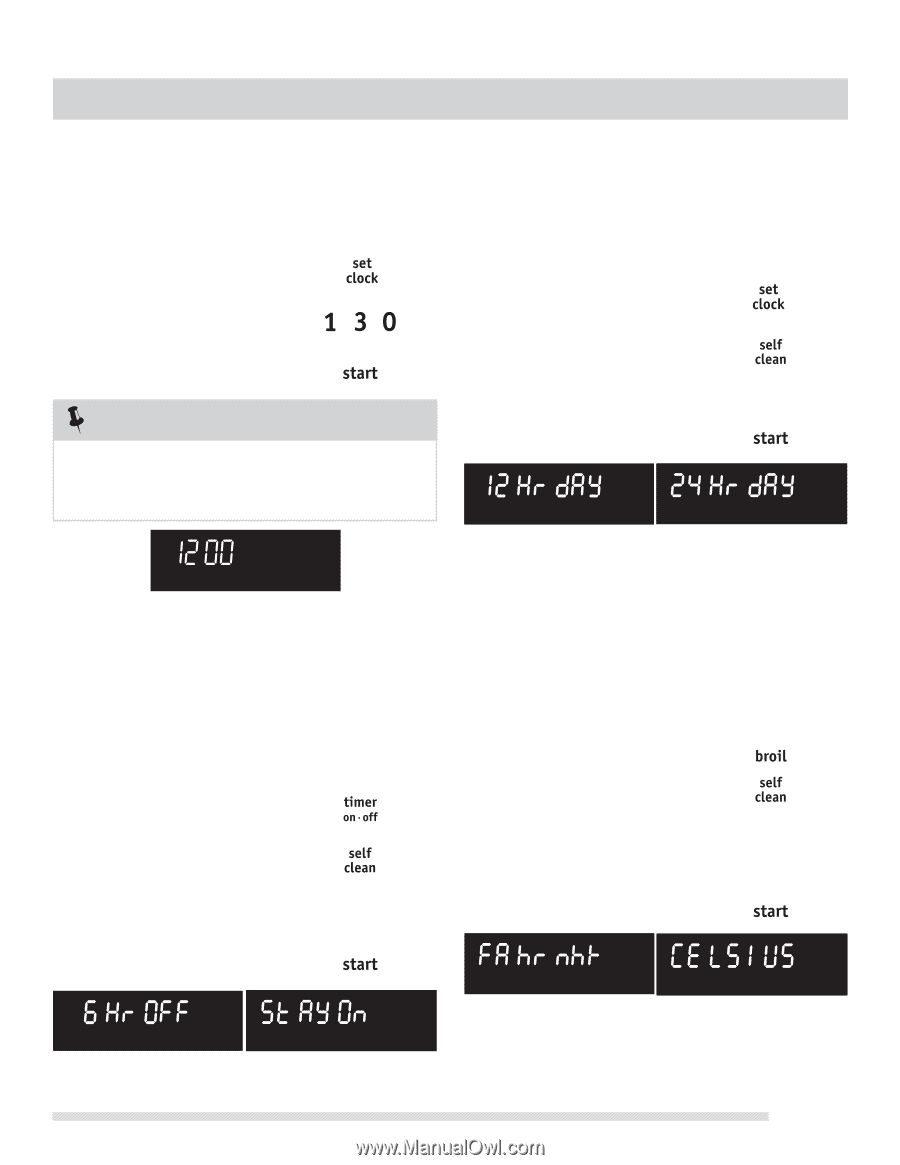
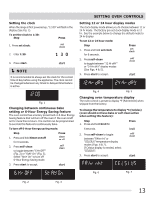
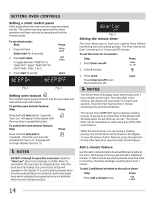
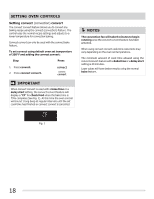
Setting the clock When the range is first powered up, "12:00" will flash in the display (See Fig. 1). To set the clock to 1:30: Step Press 1. Press set clock. 2. Enter 1:30. 3. Press start. NOTE It is recommended to always set the clock for the correct time of day before using the appliance. The clock cannot be changed whenever any timed or delayed time feature is active. Fig. 1 Changing between continuous bake setting or 6-Hour Energy Saving feature The oven control has a factory preset built-in 6 Hour Energy Saving feature that will turn off the oven if the oven is left on for more than 6 hours. The control can be programmed to override this feature to continuously bake. To turn off 6-Hour Energy saving mode: Step Press 1. Press and hold timer on•off for 6 seconds. 2. Press self-clean to toggle between "6 Hr OFF" (Fig. 2) or "StAY On" (Fig. 3). Select "StAY On" to turn off 6-Hour Energy Saving mode. 3. Press start to accept. SETTING OVEN CONTROLS Setting 12 or 24 hour display modes The clock display mode allows you to choose between 12 or 24 hr mode. The factory pre-set clock display mode is 12 hr. See the example below to change the default mode to 24 hr display. To set 12 or 24 hour mode: Step Press 1. Press and hold set clock for 6 seconds. 2. Press self-clean to toggle between "12 Hr dAY" or "24 Hr dAY" display modes (See Figs. 4 & 5). 3. Press start to accept. Fig. 4 Fig. 5 Changing oven temperature display The oven control is preset to display °F (Fahrenheit) when shipped from the factory. To change the temperature to display °C (Celsius) (oven should not have bake or self-clean active when setting this feature): Step 1. Press and hold broil for Press 6 seconds. 2. Press self-clean to toggle between "FAhrn ht" or "CELSIUS" temperature display modes (Figs. 6 & 7). If Celsius display is needed, select "CELSIUS". 3. Press start to accept. Fig. 6 Fig. 7 Fig. 2 Fig. 3 13
-
 1
1 -
2
-
3
-
4
-
5
-
6
-
7
-
 8
8 -
 9
9 -
 10
10 -
 11
11 -
 12
12 -
 13
13 -
 14
14 -
 15
15 -
 16
16 -
 17
17 -
 18
18 -
19
-
20
-
21
-
22
-
23
-
24
-
25
-
26
-
27
-
28
-
29
-
30
-
31
-
32
-
33
-
34
-
35
-
36
 |
 |