Garmin Approach S4 Owner's Manual
Garmin Approach S4 Manual
 |
View all Garmin Approach S4 manuals
Add to My Manuals
Save this manual to your list of manuals |
Garmin Approach S4 manual content summary:
- Garmin Approach S4 | Owner's Manual - Page 1
Battery is low. Odometer is measuring distance and time. Alarm is on. Bluetooth is on. 3 Charge the device completely. Turning on the Approach NOTE: The time of day and date are set automatically when you are outdoors. You can also set it manually (page 3). 1 Hold . 2 Go play a game of golf - Garmin Approach S4 | Owner's Manual - Page 2
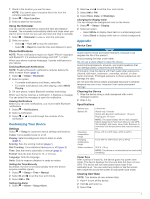
updated. À 4 Hold to view a list of the scores for all holes. From this list, Computer You can view all saved scorecards on your computer. 1 Connect the device to a USB port on your computer using the charging cradle. 2 The device appears as a removable drive in My Computer on Windows® computers - Garmin Approach S4 | Owner's Manual - Page 3
Battery type Battery life Operating temperature range Charging temperature range Water resistance Lithium-ion Watch only: 6 weeks Watch with Bluetooth notifications: 15 hours Playing golf: 10 hours NOTE: The actual battery life of a fully charged battery depends on how much time you use GPS - Garmin Approach S4 | Owner's Manual - Page 4
sales receipt, or a photocopy, in a safe place. Updating Software and Courses Before you can update your device software, you must download and install Garmin CourseView Updater on your computer. Go to www.garmin.com/ courses for more information. 1 Connect the device to the charging cradle
-
 1
1 -
 2
2 -
 3
3 -
 4
4
 |
 |
Approach
®
S4 Owner's Manual
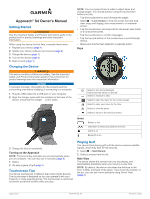
Getting Started
WARNING
See the
Important Safety and Product Information
guide in the
product box for product warnings and other important
information.
When using the device the first time, complete these tasks.
1
Register your device (
page 4
).
2
Update your device software and courses (
page 4
).
3
Charge the device (
page 1
).
4
Turn on the device (
page 1
).
5
Start a round (
page 1
).
Charging the Device
WARNING
This device contains a lithium-ion battery. See the
Important
Safety and Product Information
guide in the product box for
product warnings and other important information.
NOTICE
To prevent corrosion, thoroughly dry the contacts and the
surrounding area before charging or connecting to a computer.
1
Plug the USB cable into a USB port on your computer.
2
Align the charger posts with the contacts on the back of the
device, and press the charger
À
until it clicks.
3
Charge the device completely.
Turning on the Approach
NOTE:
The time of day and date are set automatically when
you are outdoors. You can also set it manually (
page 3
).
1
Hold
.
2
Go play a game of golf (
page 1
).
Touchscreen Tips
The device touchscreen is different than most mobile devices.
The touchscreen is designed so you can operate it with your
finger tip or while wearing gloves. The touchscreen is optimized
to prevent accidental touches while you play.
NOTE:
You must press firmly in order to select items and
change pages. You should practice using the touchscreen
before you play.
•
Tap the touchscreen to scroll through the pages.
•
Select
>
Lock Screen
to lock the screen from the hole
view, layup and dogleg, shot measurement, or odometer
screen.
•
Tap the touchscreen and swipe left to exit power save mode
or to unlock the screen.
•
Tap the touchscreen to confirm messages.
•
Tap the top and bottom of the touchscreen to scroll through
menus.
•
Make each touchscreen selection a separate action.
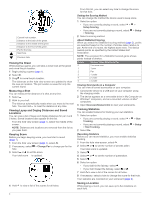
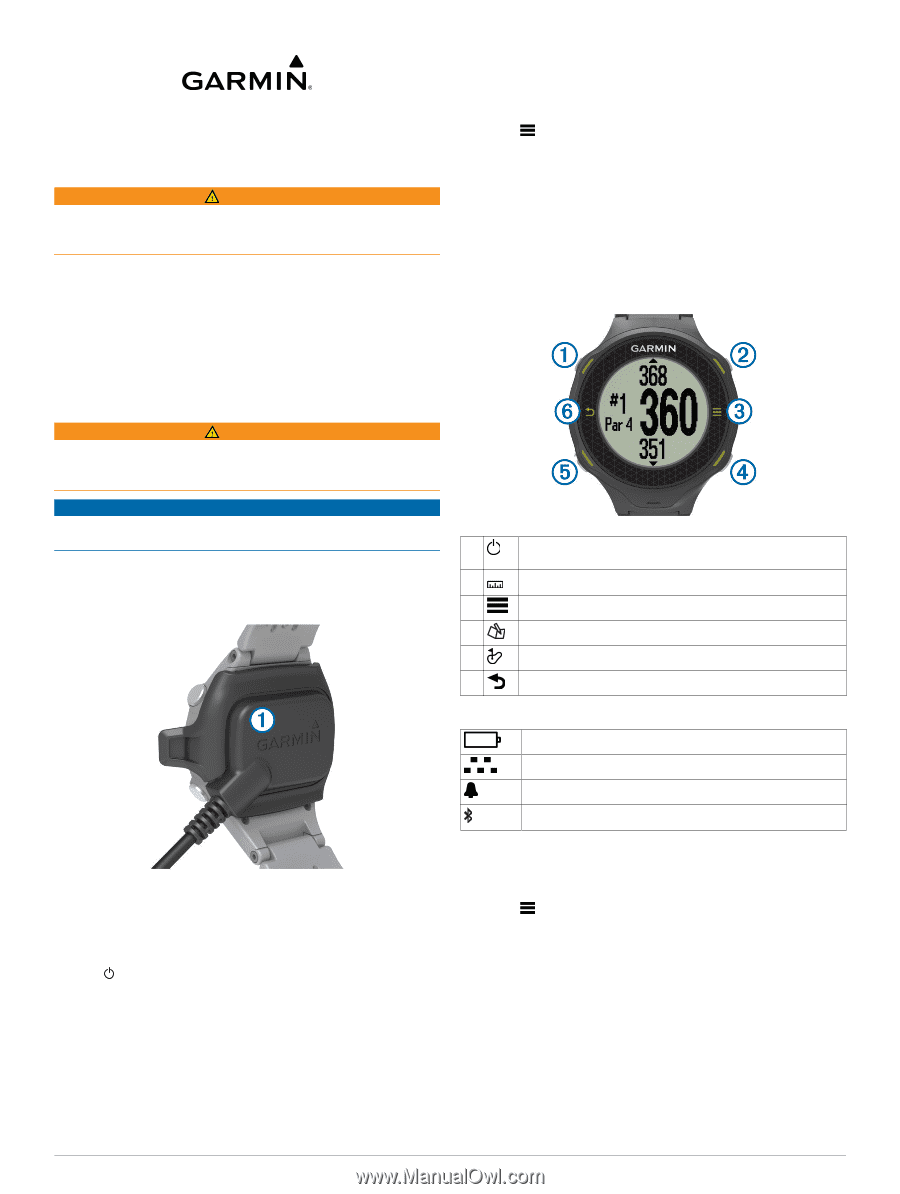
Keys
À
Select to turn on the backlight.
Hold to turn the device on and off.
Á
Select to measure a shot.
Â
Select to open the menu for the current screen.
Ã
Select to enter your score for the hole.
Ä
Select to view the green.
Å
Select to return to the previous screen.
Icons
Battery is low.
Odometer is measuring distance and time.
Alarm is on.
Bluetooth is on.
Playing Golf
You cannot start playing golf until the device acquires satellite
signals, which may take 30–60 seconds.
1
Select
>
Start Round
.
2
Select a course from the list.
Hole View
The device shows the current hole you are playing, and
automatically transitions when you move to a new hole.
NOTE:
By default, the device calculates the distance to the
front, middle, and back of the green. If you know the location of
the pin, you can set it more precisely using Green View
(
page 2
).
August 2013
190-01640-00_0A
Printed in Taiwan