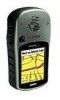
Garmin eTrex Vista Cx Quick Reference Guide
Garmin eTrex Vista Cx Manual
 |
UPC - 753759049188
View all Garmin eTrex Vista Cx manuals
Add to My Manuals
Save this manual to your list of manuals |
Garmin eTrex Vista Cx manual content summary:
- Garmin eTrex Vista Cx | Quick Reference Guide - Page 1
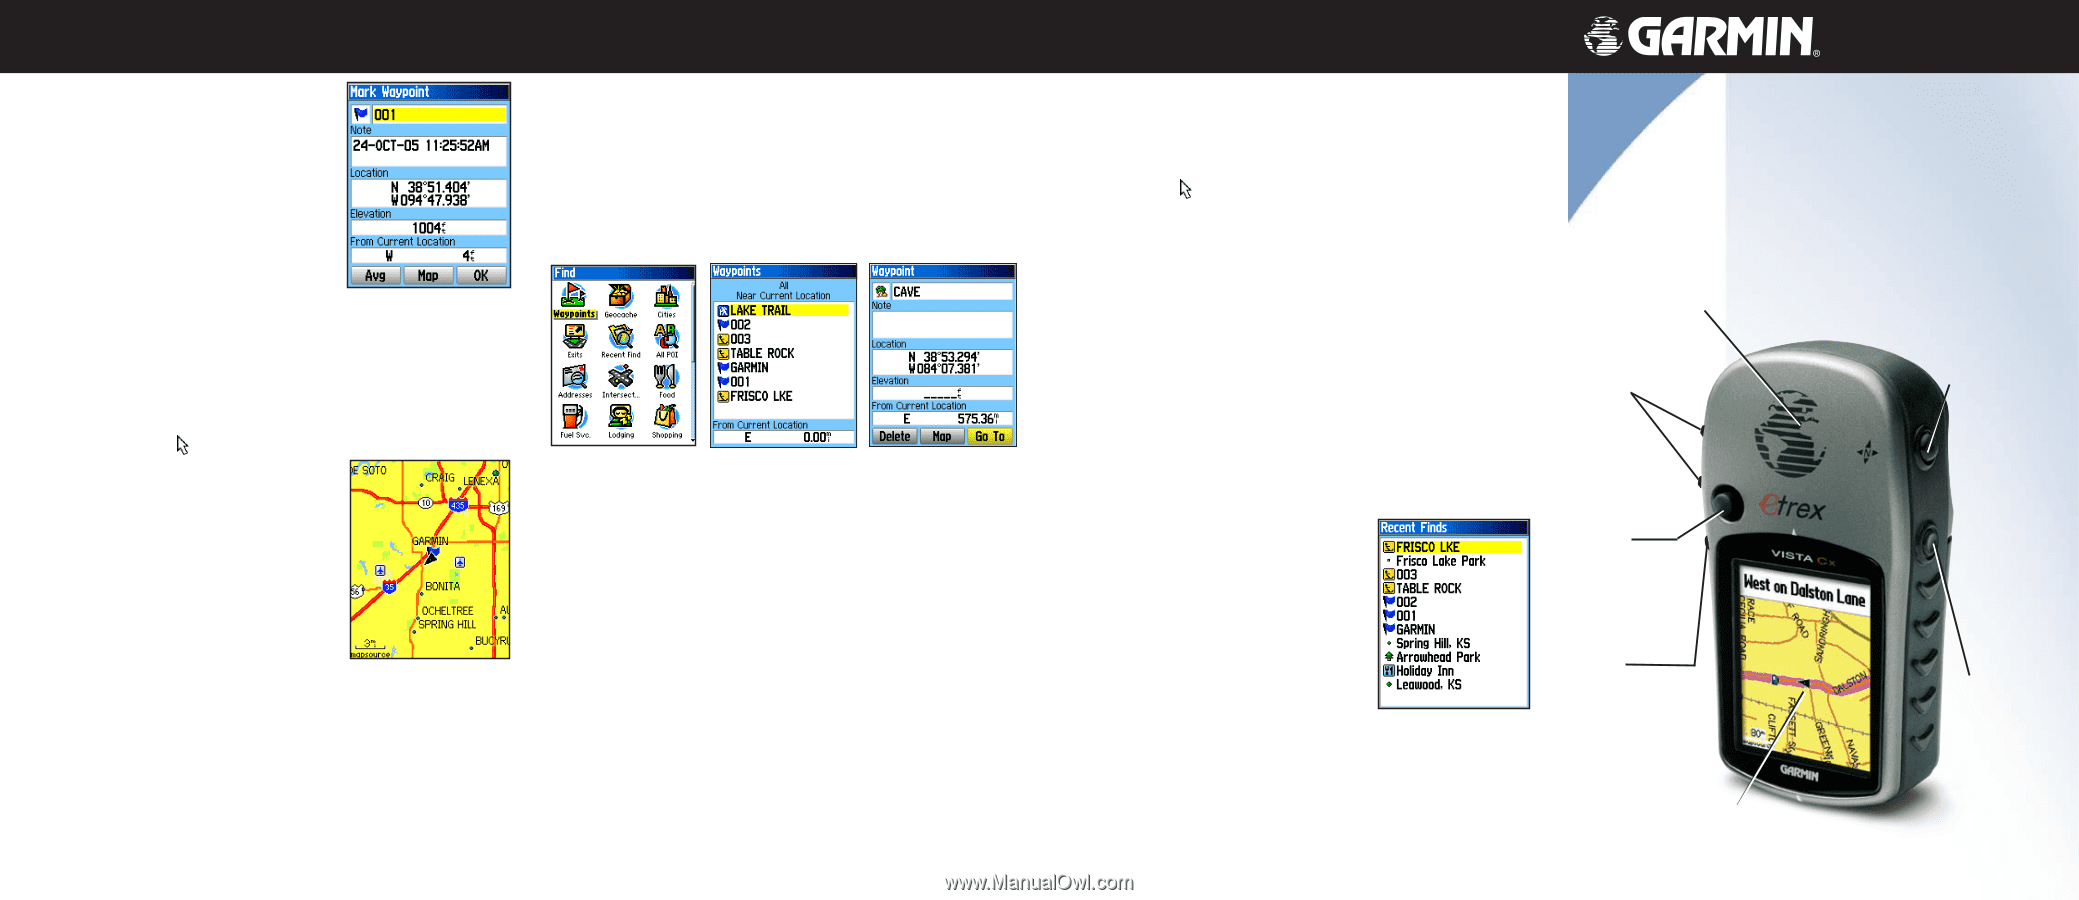
map data must be downloaded to the microSD™ or TransFlash™ card. (Refer to the owner's manual for Garmin Ltd. or its subsidiaries Printed in Taiwan eTrex® Vista Cx hiking companion quick reference guide GPS antenna In/Out (Zoom) keys Quit/ Compass Key Enter/Rocker key Menu/Find key Color - Garmin eTrex Vista Cx | Quick Reference Guide - Page 2
on or off. The eTrex Vista Cx has four recurring main pages and one that displays only with each start-up. Press and release the Quit key to cycle through the page sequence. Satellite Page Map Page Satellite Page-appears only at start-up and shows the GPS receiver status, satellite locations
-
 1
1 -
 2
2
 |
 |
Quit/
Compass
Key
Power/
Backlight
key
hiking companion
quick reference guide
eTrex
®
Vista Cx
Marking a Waypoint
To mark your current location:
1.
Press and hold
Enter
to open the
Mark Waypoint Page.
2.
To accept the waypoint with the
default information, highlight
OK
,
and press
Enter
.
OR
To change any information on the
Mark Waypoint Page, highlight the
appropriate field, and press
Enter
to open the on-screen
keypad. After entering and confirming your changes,
highlight
OK
, and press
Enter
.
To create a new waypoint using the Map Page:
1.
Open the Map Page, and use the
Rocker
to move
the pointer (
) to the map item you want to mark as a
waypoint.
2.
Press and quickly release
Enter
to
capture the pointer location.
If you highlighted a map feature,
an information page appears.
Highlight
Save
, and press
Enter
to
save the item as a waypoint.
OR
If the map item selected contains
no information, a “No map information at this point. Do you
want to create a user waypoint here?” message appears.
Highlight
Yes
, and press
Enter
.
Finding Map Items
To find an item from your current location:
1.
Press and hold the
Menu
key to open the Find Menu.
2.
Highlight a category icon (
Waypoints
,
Cities
,
Exits
, for
example), and press
Enter
.
3.
Use the
Rocker
to highlight an item, and press
Enter
to
open the information page for the selected item.
Going to a Destination
To Go To a highlighted map item:
1.
Use the
Rocker
to highlight the item you want to navigate
to on the Map Page.
2.
Press and quickly release
Enter
to capture the pointer
location (
) and open the information page.
3.
Highlight
Go To
, and press
Enter
to begin navigation.
4.
Follow the magenta route created on the Map Page. You
can also use the Compass Page to help you navigate to
the point.
To initiate a Go To from the Find Menu:
1.
Press the
Find
key to open the Find Menu.
2.
Highlight the
Waypoint
icon, and press
Enter
to open the
Waypoints Page.
3.
Use the
Rocker
to select a waypoint, and press
Enter
.
The Waypoint Page opens.
4.
Highlight
Go To
, and press
Enter
to begin navigation.
To go to a recently found item:
1.
Press the
Find
key to open the Find
Menu.
2.
Highlight the
Recent Finds
icon,
and press
Enter
to open the Recent
Finds Page.
3.
Use the
Rocker
to select an item to
go to, and press
Enter
to open the
information page for the item.
4.
Highlight
Go To
, and press
Enter
to begin navigation.
190-00514-01 Rev. A
© Copyright 2006 Garmin Ltd. or its subsidiaries
Printed in Taiwan
To find an item from another location using the Find
Menu:
1.
Press the
Find
key to open the Find Menu.
2.
Highlight a category icon (
Waypoints
,
Cities
,
Exits
, for
example), and press
Enter
.
3.
Press the
Menu
key to open the Options Menu.
4.
Highlight
Change Reference
, and press
Enter
.
5.
Use the
Rocker
to select a reference point on the map,
and press
Enter
. The list changes to show items nearest
to the new map location.
Waypoints List
Find Menu
Information Page
GPS antenna
In/Out (Zoom)
keys
Enter/Rocker
key
Menu/Find
key
Color LCD display
NOTE:
For the Find Menu to display all of the categories shown above, MapSource detailed map
data must be downloaded to the microSD
™
or TransFlash
™
card. (Refer to the owner’s manual for
detailed information.)