Garmin eTrex Quick Start Guide
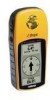
Garmin eTrex - Hiking GPS Receiver Manual
 |
UPC - 753759046019
View all Garmin eTrex manuals
Add to My Manuals
Save this manual to your list of manuals |
Garmin eTrex manual content summary:
- Garmin eTrex | Quick Start Guide - Page 1
If the eTrex does not display your local time (bottom of the Menu Page), follow the instructions in the Getting Started section of your Owner's Manual to set PAGE PAGE PAGE SkyView Map Pointer Trip Computer Menu Welcome Page SkyView Page "Ready To Navigate" 6 Backlighting and Contrast - Garmin eTrex | Quick Start Guide - Page 2
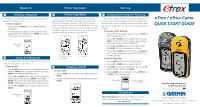
CLEAR or SAVE and press ENTER Important Note More Information: Visit the Garmin Web site for current updates and details about eTrex operation and accessories. www.garmin.com eTrex / eTrex Camo QUICK START GUIDE Step-by-Step Instructions to Get You Started (Turn this page and begin with Step
-
 1
1 -
 2
2
 |
 |
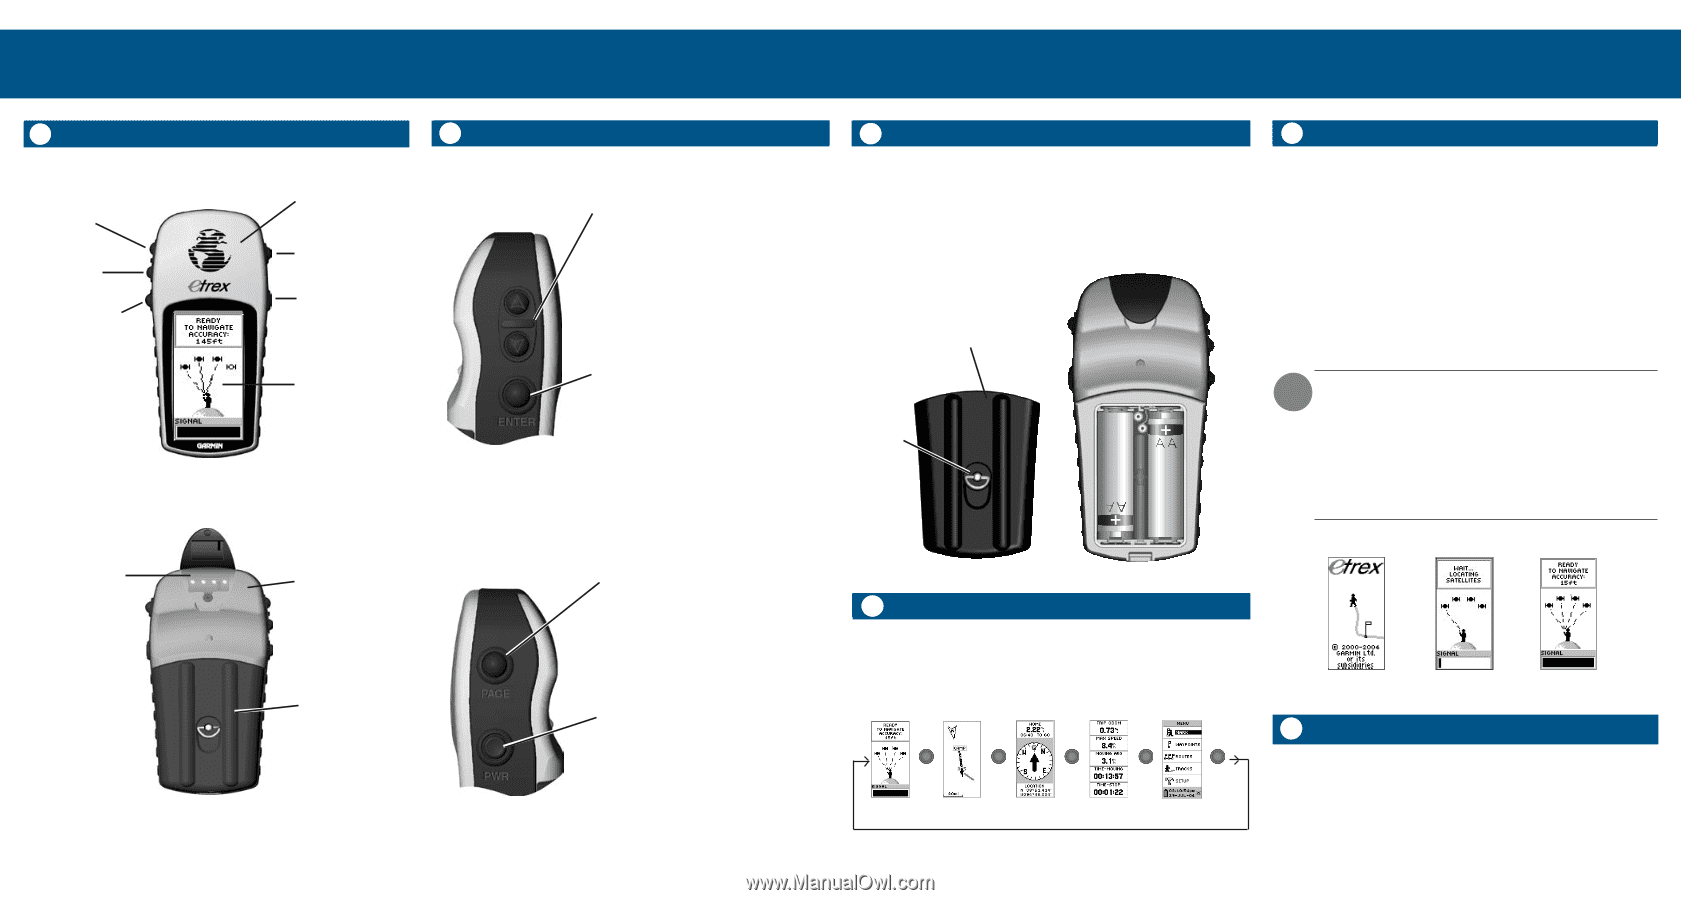
Backlighting and Contrast
6
To turn the backlighting on, press and release the
POWER
button from any screen. The backlight is timed to stay on for 30
seconds to save battery power.
To adjust the screen contrast, press
the
PAGE
button until you see the SkyView Page. Press the
UP
button to make the screen darker, press the
DOWN
button to
make the screen lighter.
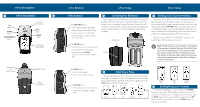
eTrex Buttons
2
eTrex Buttons
eTrex Description
eTrex Setup
eTrex Description
1
eTrex Setup
Before you can actually use your eTrex for navigation, you must
first obtain a fix on your current position. To do this, take your
eTrex outside and find a large, open area that has a clear view of the
sky. Press and hold the
POWER
button to turn the unit on. You’ll
see the Welcome Page for a few seconds while the eTrex performs a
self-test, followed by the SkyView Page. The eTrex needs to receive
at least three strong satellite signals to find your location.
When you see the “READY TO NAVIGATE” message on the
Satellite Page, eTrex has found your location.
NOTE
: The first time you use your eTrex, it could take up
to five minutes to find your location. After the first time
use, eTrex only needs about 15 to 45 seconds to find
your location. If the eTrex does not display your local
time (bottom of the Menu Page), follow the instructions
in the Getting Started section of your Owner’s Manual
to set the correct time.
DOWN
Button
UP
Button
Installing the Batteries
3
Finding Your Current Position
5
All of the information needed to operate the eTrex is found on five
main “pages” (or display screens). These pages are the SkyView, Map,
Pointer, Trip Computer, and Menu. Once power is applied, press the
PAGE
button to switch between pages.
Selecting a Page
4
“Ready To
Navigate”
Welcome
Page
SkyView
Page
ENTER/MARK
Button
Internal
GPS Antenna
LCD Display
(with backlight)
POWER
Button
PAGE
Button
External Power
and
Data Connector
Battery
Compartment
Waterproof Case
The
PAGE
Button:
•
Switches display pages
•
Allows you to exit/quit a function
The
POWER
Button:
•
Press and hold to turn the unit on/off.
•
Press to turn the display backlight
on/off.
The eTrex operates on two AA batteries (not included), which are
installed at the back of the unit. To install the batteries, remove the
battery cover by turning the D-ring at the back of the unit 1/4 turn
counter-clockwise. Insert the batteries into position observing proper
polarity.
Attach the battery cover by turning the D-ring 1/4 turn
clockwise.
D-ring
Battery Cover
The
ENTER
Button:
• Confirms data entry or menu selections
• Displays Options on main pages
•
Press and hold the
ENTER
button to activate the Mark Waypoint
Page
The
UP/DOWN
Buttons:
• Select options on pages and menus
• Adjust Contrast on the SkyView Page
• Zoom in and out on the Map Page
• Cycle through trip computer data on
the Pointer Page
Map
Pointer
Menu
SkyView
PAGE
PAGE
Trip Computer
PAGE
PAGE
PAGE
PAGE
PAGE
PAGE
PAGE
PAGE