GE NX475 Installation Instructions
GE NX475 - ITI, Caddx Wireless Panic Pendant Manual
 |
UPC - 782136401813
View all GE NX475 manuals
Add to My Manuals
Save this manual to your list of manuals |
GE NX475 manual content summary:
- GE NX475 | Installation Instructions - Page 1
Installation Instructions for programming procedures. 1) Set the system to the test mode or contact the central monitoring service and inform front and back plastic. WARNING: You must be free of all static electricity before handling the transmitter circuit board. Touch a grounded, bare metal - GE NX475 | Installation Instructions - Page 2
(L x W x D): 2-1/4"x 1-3/4"x 3/4" Notices This device complies with part 15 of the FCC rules. Operation is subject to the following two conditions . US Patents 4,855,713, 4,864,636, and others pending. Page 2 Caddx Controls, Inc. 1420 North Main Street Gladewater, Texas 75647 Toll Free: 1-800-727
-
 1
1 -
 2
2
 |
 |
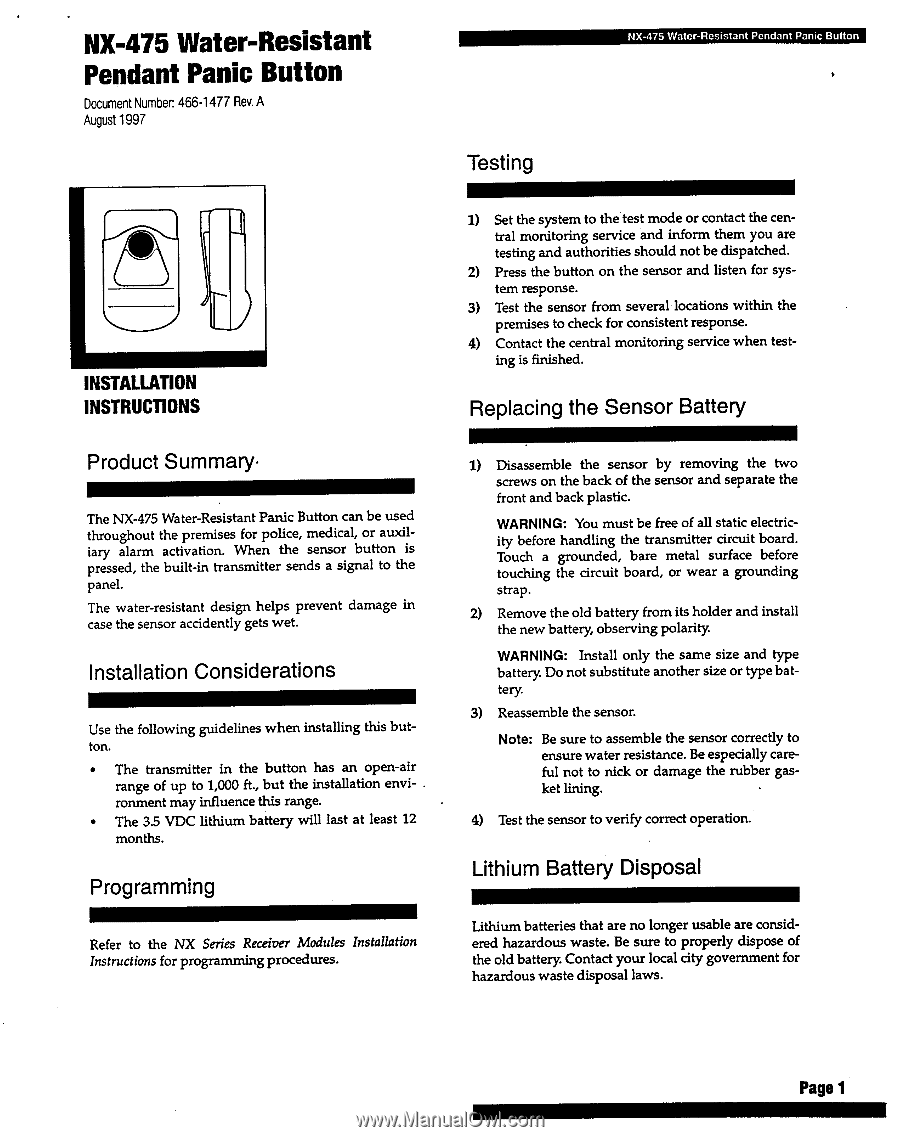
NX-475
Water
-Resistant
Pendant
Panic
Button
Document
Number:
466-1477
Rev.
A
August
1997
INSTALLATION
INSTRUCTIONS
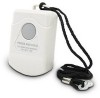
Product
Summary.
The
NX-475
Water
-Resistant
Panic
Button
can
be
used
throughout
the
premises
for
police,
medical,
or
awdi-
iary
alarm
activation.
When
the
sensor
button
is
pressed,
the
built-in
transmitter
sends
a
signal
to
the
panel.
The
water-resistant
design
helps
prevent
damage
in
case
the
sensor
accidently
gets
wet.
Installation
Considerations
Use
the
following
guidelines
when
installing
this
but-
ton.
•
The
transmitter
in
the
button
has
an
open-air
range
of
up
to
1,000
ft
.,
but
the
installation
envi-
.
ronment
may
influence
this
range.
•
The
3.5
VDC
lithium
battery
will
last
at
least
12
months.
Programming
Refer
to
the
NX
Series
Receiver
Modules
Installation
Instructions
for
programming
procedures.
NX-475
Water
-Resistant
Pendant
Panic
Button
Testing
1)
Set
the
system
to
the
test
mode
or
contact
the
cen-
tral
monitoring
service
and
inform
them
you
are
testing
and
authorities
should
not
be
dispatched.
2)
Press
the
button
on
the
sensor
and
listen
for
sys-
tem
response.
3)
Test
the
sensor
from
several
locations
within
the
premises
to
check
for
consistent
response.
4)
Contact
the
central
monitoring
service
when
test-
ing
is
finished.
Replacing
the
Sensor
Battery
1)
Disassemble
the
sensor
by
removing
the
two
screws
on
the
back
of
the
sensor
and
separate
the
front
and
back
plastic.
WARNING:
You
must
be
free
of
all
static
electric-
ity
before
handling
the
transmitter
circuit
board.
Touch
a
grounded,
bare
metal
surface
before
touching
the
circuit
board,
or
wear
a
grounding
strap.
2)
Remove
the
old
battery
from
its
holder
and
install
the
new
battery,
observing
polarity.
WARNING:
Install
only
the
same
size
and
type
battery.
Do
not
substitute
another
size
or
type
bat-
tery.
3)
Reassemble
the
sensor.
Note:
Be
sure
to
assemble
the
sensor
correctly
to
ensure
water
resistance.
Be
especially
care-
ful
not
to
nick
or
damage
the
rubber
gas-
ket
lining.
4)
Test
the
sensor
to
verify
correct
operation.
Lithium
Battery
Disposal
Lithium
batteries
that
are
no
longer
usable
are
consid-
ered
hazardous
waste.
Be
sure
to
properly
dispose
of
the
old
battery.
Contact
your
local
city
government
for
hazardous
waste
disposal
laws.
Page
1