GE E1680W User Manual (English) - Page 74
Using the PictBridge Menu
 |
View all GE E1680W manuals
Add to My Manuals
Save this manual to your list of manuals |
Page 74 highlights
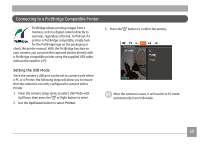
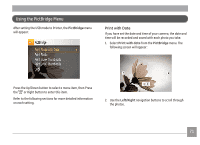
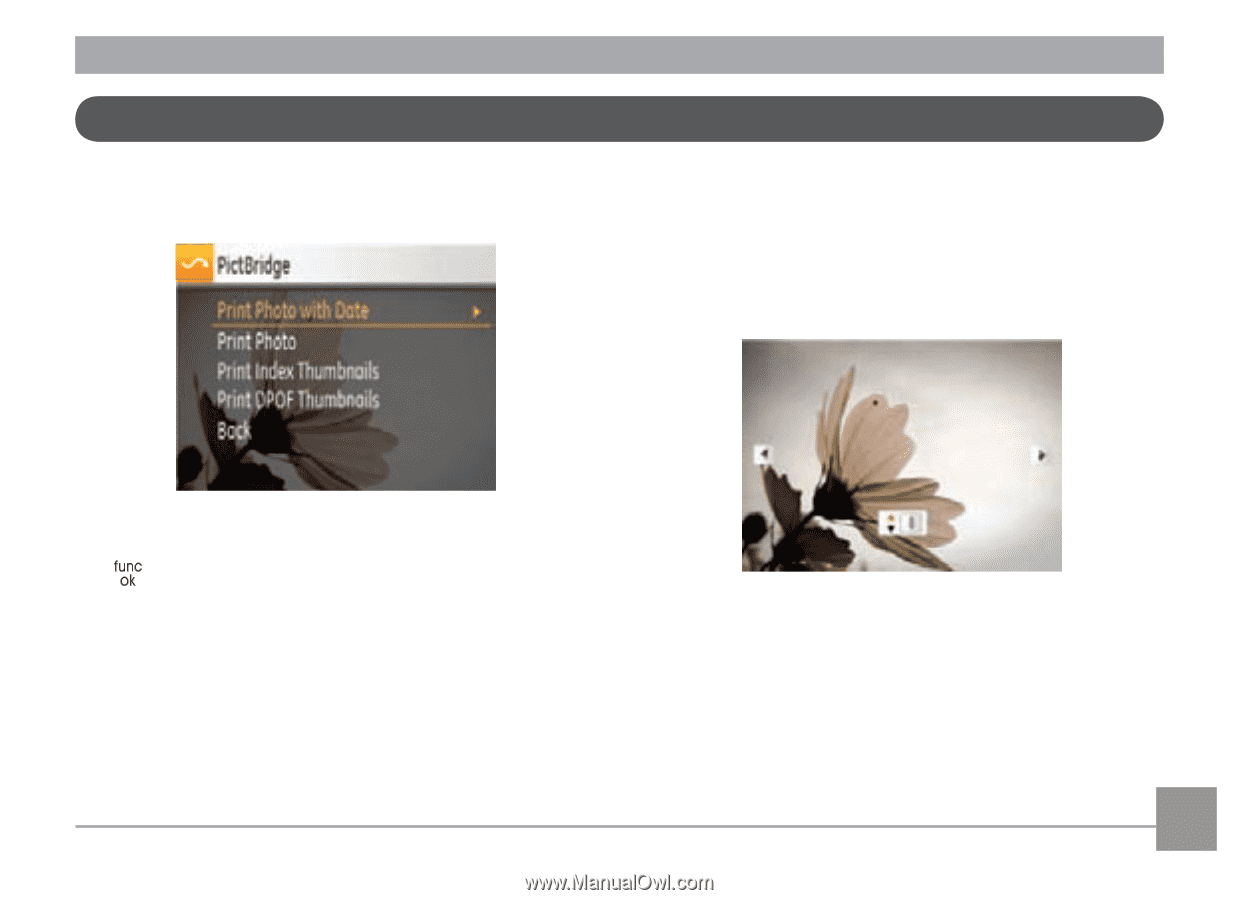
Using the PictBridge Menu After setting the USB mode to Printer, the PictBridge menu will appear: Print with Date If you have set the date and time of your camera, the date and time will be recorded and saved with each photo you take. 1. Select Print with date from the PictBridge menu. The following screen will appear: Press the Up/Down button to select a menu item, then Press the or Right button to enter this item. Refer to the following sections for more detailed information on each setting. 2. Use the Left/Right navigation buttons to scroll through the photos. 71
-
 1
1 -
2
-
3
-
4
-
5
-
6
-
7
-
8
-
9
-
10
-
11
-
12
-
13
-
14
-
15
-
16
-
17
-
18
-
19
-
20
-
21
-
22
-
23
-
24
-
25
-
26
-
27
-
28
-
29
-
30
-
31
-
32
-
33
-
34
-
35
-
36
-
37
-
38
-
39
-
40
-
41
-
42
-
43
-
44
-
45
-
46
-
47
-
48
-
49
-
50
-
51
-
52
-
53
-
54
-
55
-
56
-
57
-
58
-
59
-
60
-
61
-
62
-
63
-
64
-
65
-
66
-
67
-
68
-
 69
69 -
 70
70 -
 71
71 -
 72
72 -
 73
73 -
 74
74 -
 75
75 -
 76
76 -
 77
77 -
 78
78 -
 79
79 -
80
-
81
-
82
-
83
-
84
-
85
-
86
 |
 |
71
After setting the USB mode to Printer, the
PictBridge
menu
will appear:
Press the Up/Down button to select a menu item, then Press
the
or Right button to enter this item.
Refer to the following sections for more detailed information
on each setting.
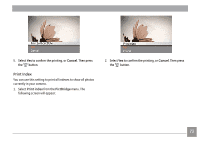
Print with Date
If you have set the date and time of your camera, the date and
time will be recorded and saved with each photo you take.
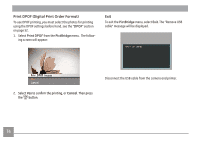
1.
Select
Print with
date
from the
PictBridge
menu. The
following screen will appear:
2.
Use the
Left/Right
navigation buttons to scroll through
the photos.
Using the PictBridge Menu