Haier HRF10WNDWW User Manual - Page 12
Refrigerator Door Shelves
 |
UPC - 688057304892
View all Haier HRF10WNDWW manuals
Add to My Manuals
Save this manual to your list of manuals |
Page 12 highlights
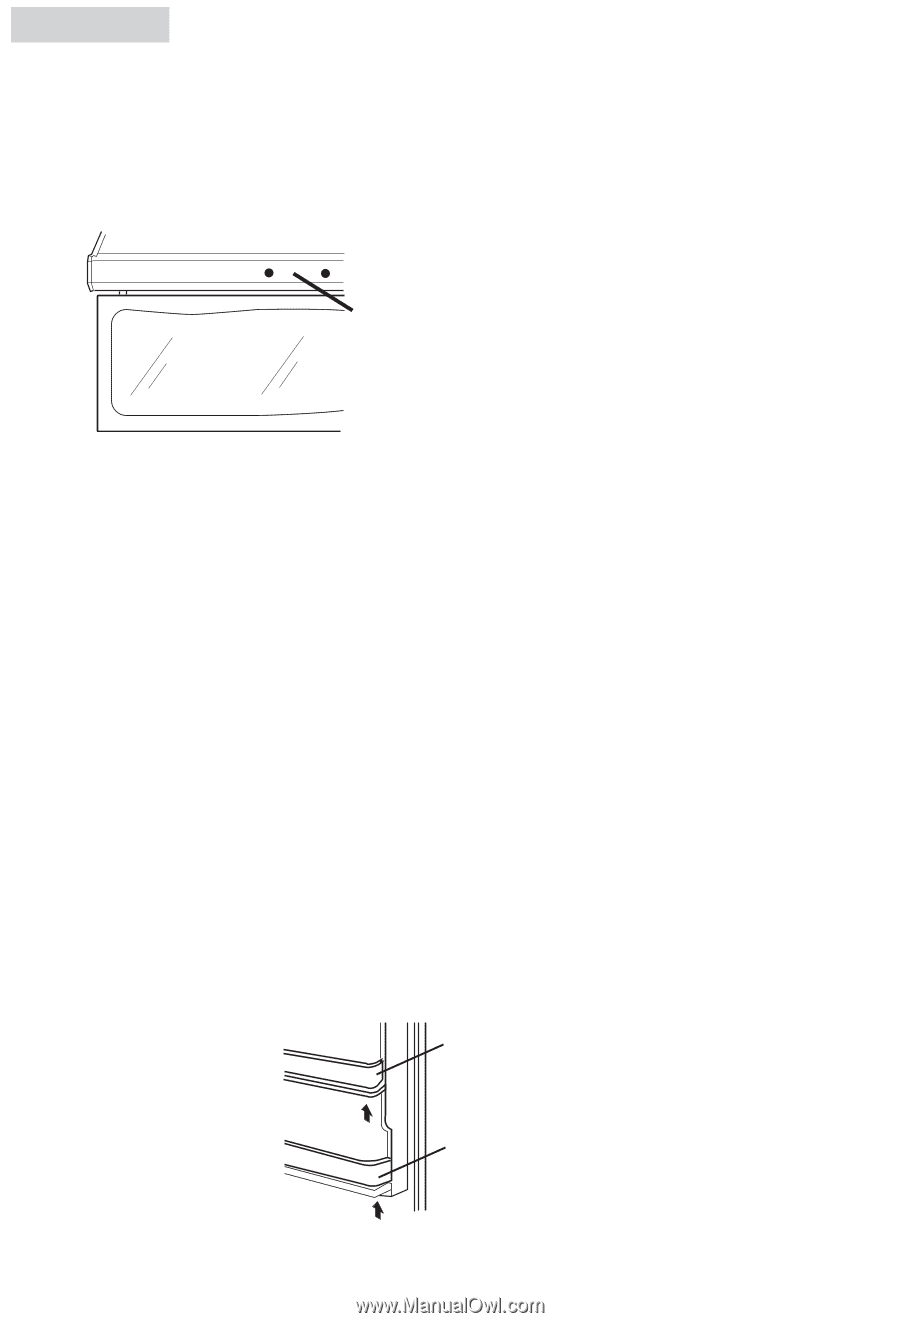
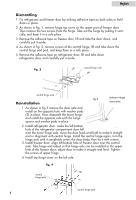
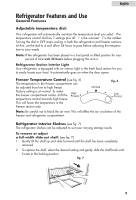
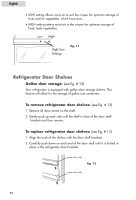
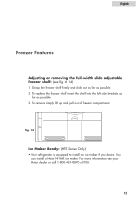
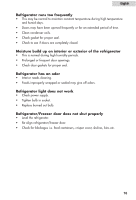
English • LOW setting allows moist air to exit the crisper for optimum storage of fruits and/or vegetables, which have skins. • HIGH setting retains moist air in the crisper for optimum storage of fresh, leafy vegetables. Low High High/Low Settings fig. 11 Refrigerator Door Shelves Gallon door storage: (see fig. # 12) Your refrigerator is equipped with gallon door storage shelves. This feature will allow for the storage of gallon size containers. To remove refrigerator door shelves: (see fig. # 12) 1. Remove all items stored on the shelf. 2. Gently push up each side until the shelf is clear of the door shelf brackets and then remove. To replace refrigerator door shelves: (see fig. # 12) 1. Align the ends of the shelves with the door shelf brackets. 2. Carefully push down on each end of the door shelf until it is locked in place in the refrigerator door brackets. upper door shelf fig. 12 lower door shelf 11
-
 1
1 -
2
-
3
-
4
-
5
-
6
-
 7
7 -
 8
8 -
 9
9 -
 10
10 -
 11
11 -
 12
12 -
 13
13 -
 14
14 -
 15
15 -
 16
16 -
 17
17 -
18
-
19
-
20
-
21
-
22
-
23
-
24
-
25
-
26
-
27
-
28
-
29
-
30
-
31
-
32
-
33
-
34
-
35
-
36
-
37
-
38
-
39
-
40
-
41
-
42
-
43
-
44
-
45
-
46
-
47
-
48
-
49
-
50
-
51
-
52
-
53
-
54
 |
 |