Hannspree SN10T1 User Manual - Page 15
Getting Started
 |
View all Hannspree SN10T1 manuals
Add to My Manuals
Save this manual to your list of manuals |
Page 15 highlights
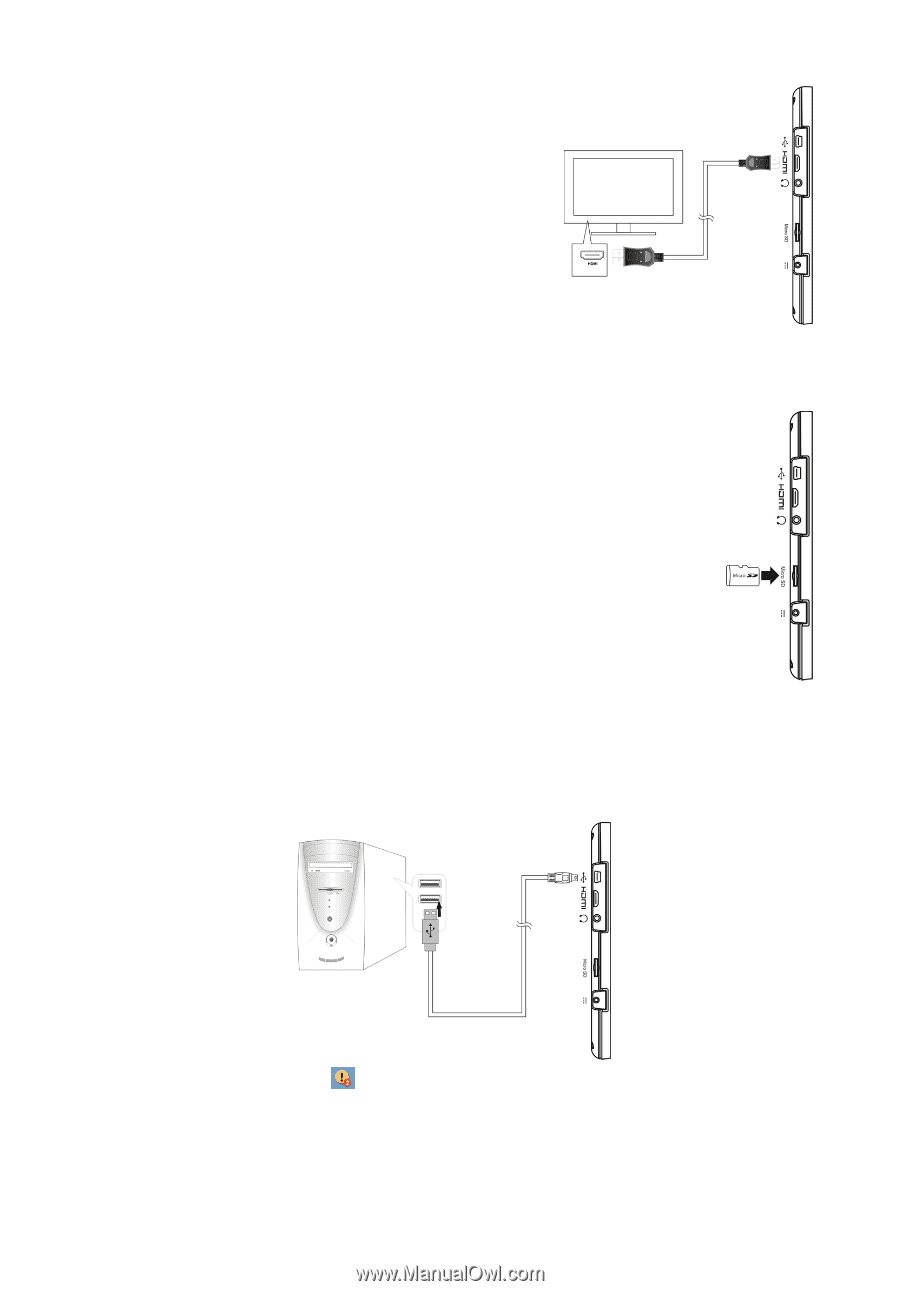
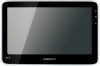
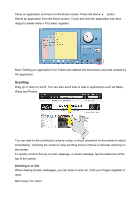
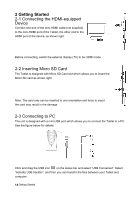
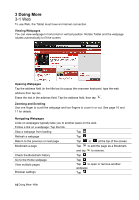
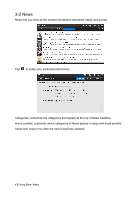
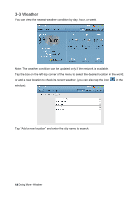
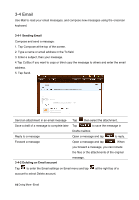
2 Getting Started 2-1 Connecting the HDMI-equipped Device Connect one end of the mini-HDMI cable (not supplied) to the mini-HDMI port of the Tablet, the other end to the HDMI port of the device, as shown right: Before connecting, switch the external display (TV) to be HDMI mode. 2-2 Inserting Micro SD Card The Tablet is designed with Micro SD Card slot which allows you to insert the Micro SD card as shown right: Note: The card only can be inserted in one orientation and force to insert the card may result in the damage. 2-3 Connecting to PC The unit is designed with a mini-USB port which allows you to connect the Tablet to a PC. See the figure below for details: Click and drag the USB icon on the status bar and select "USB Connected". Select "Activate USB transfer", and then you can transfer the files between your Tablet and computer. 14 Getting Started
-
 1
1 -
2
-
3
-
4
-
5
-
6
-
7
-
8
-
9
-
 10
10 -
 11
11 -
 12
12 -
 13
13 -
 14
14 -
 15
15 -
 16
16 -
 17
17 -
 18
18 -
 19
19 -
 20
20 -
21
-
22
-
23
-
24
-
25
-
26
-
27
-
28
-
29
-
30
-
31
-
32
-
33
-
34
-
35
 |
 |