Hayward Navigator Pro Pool Vac Classic
Hayward Navigator Pro Manual
 |
View all Hayward Navigator Pro manuals
Add to My Manuals
Save this manual to your list of manuals |
Hayward Navigator Pro manual content summary:
- Hayward Navigator Pro | Pool Vac Classic - Page 1
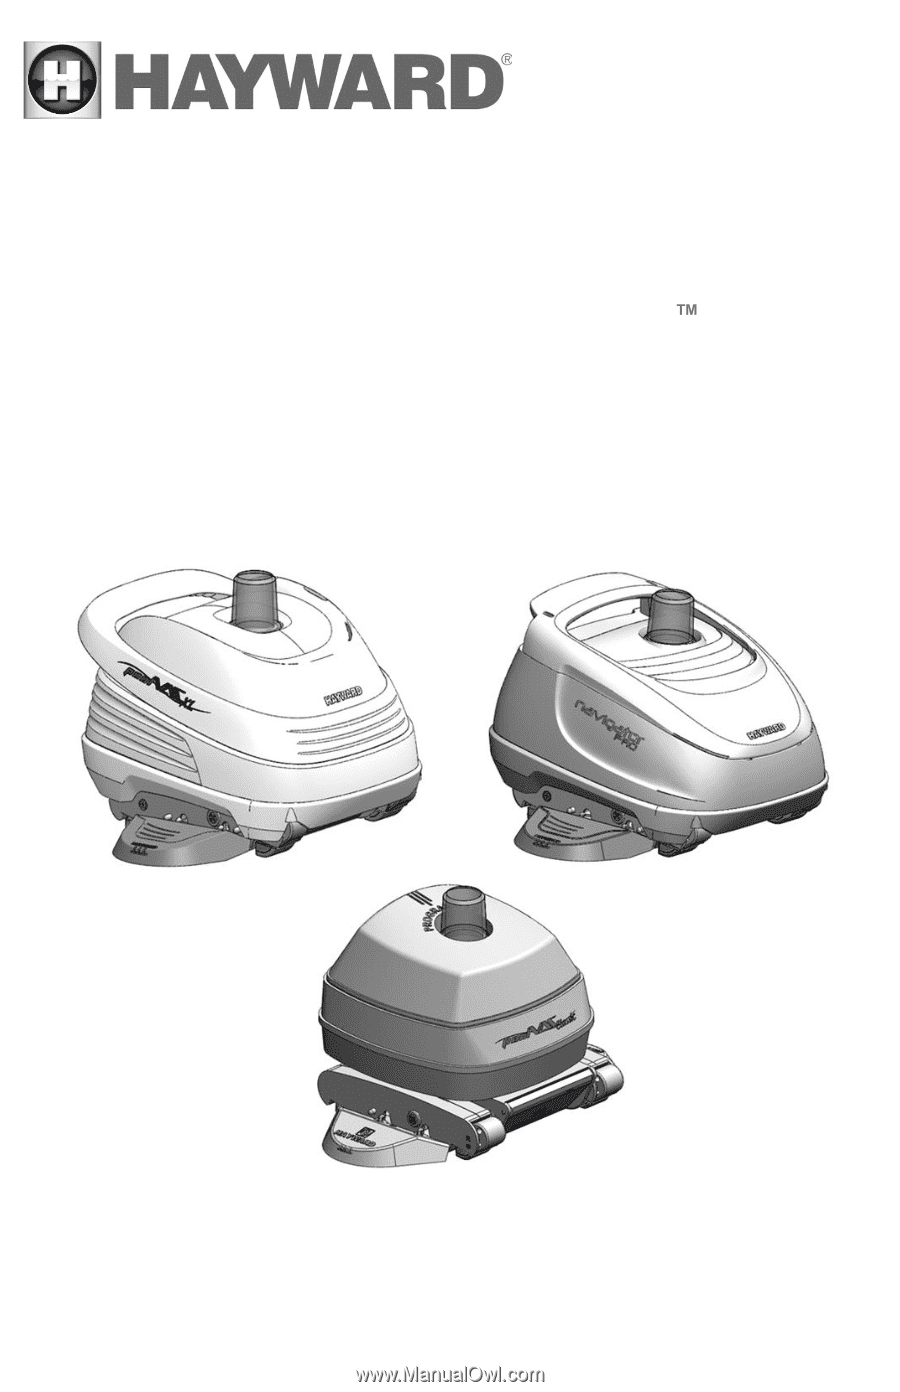
Pool Vac XL® Navigator Pro® Pool Vac Classic Owner's Manual Hayward Pool Products 620 Division Street Elizabeth, NJ 07207 Phone (908) 351-5400 www.hayward-pool.com P/N K540AD-Rev E - Hayward Navigator Pro | Pool Vac Classic - Page 2
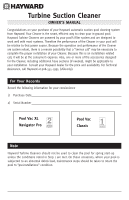
Record the following information for your convienience 1) Purchase Date 2) Serial Number Pool Vac XL Navigator Pro LIMITED WARRANTY Pool Vac Classic LIMITED WARRANTY Note Hayward Turbine Cleaners should not be used to clean the pool for spring start-up unless the conditions noted in Step 1 are - Hayward Navigator Pro | Pool Vac Classic - Page 3
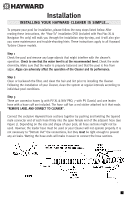
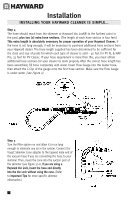
To" installation DVD (included with Pool Vac XL & Navigator Pro only) will walk you through the installation step-by-step, and it will also give you some maintenance and trouble-shooting hints. These instructions apply to all Hayward Turbine Cleaner models. Step 1 Check the pool and remove any large - Hayward Navigator Pro | Pool Vac Classic - Page 4
4 The hose should reach from the skimmer or Hayward Vac Lock® to the furthest point in the pool, plus two (2) extra hose sections. (The length of each hose section is four feet.) This extra length is absolutely necessary for proper operation of your Hayward Cleaner. If the hose is not long enough - Hayward Navigator Pro | Pool Vac Classic - Page 5
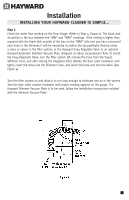
to run long enough to eliminate any air in the system. Turn the blue collar counter clockwise until proper reading appears on the gauge. If a Hayward Skimmer Vacuum Plate is to be used, follow the installation instructions included with the Skimmer Vacuum Plate. 3 - Hayward Navigator Pro | Pool Vac Classic - Page 6
problem, and not a problem with the cleaner. Contact your Authorized Hayward Dealer for assistance. If you have connected your hose to the Hayward Vac the Cleaner and submerge the hose to remove all air as when vacuuming the pool with a standard hand-vacuum (see Figure 6). Do not use the return line - Hayward Navigator Pro | Pool Vac Classic - Page 7
YOUR HAYWARD CLEANER IS SIMPLE... Step 9 Observe your Cleaner in operation, and make sure that the return line flow is not affecting the Cleaner's programmed steering and preventing the Cleaner from covering the entire pool. If the cleaner hose is being pushed across the surface of the pool, it - Hayward Navigator Pro | Pool Vac Classic - Page 8
hose will create a memory in the hose that will impede the Cleaner's ability to move properly in your pool. Coiled hoses are not covered under the Hayward warranty. When removing the Cleaner from your pool, be sure to grasp the cleaner by its handle, not by its hose, otherwise the Cleaner might be - Hayward Navigator Pro | Pool Vac Classic - Page 9
hose is securely attached to its suction source (i.e. Skimmer, Skimmer Vac Plate Vac Lock, etc.) 4. Disconnect the Cleaner hose from the skimmer/ not covered under the warranty. 6. When the Cleaner is out of the pool, always disconnect the leader hose from the Cleaner's head. 7. Always carry - Hayward Navigator Pro | Pool Vac Classic - Page 10
line which has three (3) vertical lines above it. When you can no longer see the horizontal line, the wings must be changed (see Figure 9). The Hayward Tune-Up Kit is available from your dealer. Shoes, wings and flaps may also be purchased separately. 2. SHOE REPLACEMENT: a) Turn unit upside down - Hayward Navigator Pro | Pool Vac Classic - Page 11
Turbine Suction Cleaner MAINTENANCE TIPS 3. WING REPLACEMENT: a) Using a screwdriver, remove the plugs from both pods (see Figure 9). b) Remove the old wings by bending the wings up toward the sides of the cleaner, and lift them off their hooks (see Figure 10). If any of the wing hooks are broken - Hayward Navigator Pro | Pool Vac Classic - Page 12
Turbine Suction Cleaner MAINTENANCE TIPS 4. FLAP REPLACEMENT: a) Remove the front and rear flaps from your Cleaner by inserting a small screwdriver between the flap and the lower body near the pivot point of the flaps (see Figure 11). b) You will notice that your replacement flaps look similar - Hayward Navigator Pro | Pool Vac Classic - Page 13
is strongly suggested that you bring your Pool Vac XL to a HAYWARD dealer for replacement. Tools required - #2 Phillips screwdriv8er 7 6 1/8" flat screwdriver Preliminary steps - Turn off pool pump Remove PoDol Vac XL from pool Disconnect suction hose from cleaner Change out - Hayward Navigator Pro | Pool Vac Classic - Page 14
that you bring your Navigator Pro to a HAYWARD dealer for replacement. 6 5 4 3 2 Tools required - #2 Phillips screwdriver 1/8" flat screwdriver Preliminary steps - Turn off pool pump Remove Navigator Pro from pool Disconnect suction hose from cleaner Change out steps - Hayward Navigator Pro | Pool Vac Classic - Page 15
trapped in the throat or inside the unit, the turbine/vacuum chamber is accessible following the instructions on pages 13 & 14 of this manual. 1. Turn off pDump. 2. Remove Cleaner from pool. 3. Disconnect Cleaner from leader hose. 4. Turn Cleaner upside down. 5. Locate and loosen the captive screw - Hayward Navigator Pro | Pool Vac Classic - Page 16
Removal Instructions "EASY OPENING BOTTOM" 6. Lift "Easy Opening Bottom" (see Figures 14 & 15). 7. Clean turbine/vacuum chamber (see Figure 16). 8. Check turbine 15. Then slide the cover in place and tighten the captive screw. 10. Reinstall your Cleaner in the pool per installation instructions. 14 - Hayward Navigator Pro | Pool Vac Classic - Page 17
TROUBLESHOOTING GUIDE Problem: Slow/no forward movement CAUSES Lack of/improper water flow through cleaner Blockage of the Cleaner throat Worn shoes Worn wings Improper cleaner model hose sections per installation instructions. Improper tension on rear flap Turn rear flap adjuster to ||| - Hayward Navigator Pro | Pool Vac Classic - Page 18
TROUBLESHOOTING GUIDE Problem: Cleaner climbs to water surface and sucks air. CAUSES SOLUTIONS Too much/improper water flow through cleaner Check water flow with Flow Gauge and adjust per instructions cleaner head Stop all air from entering the pool through the return lines If cleaner head and - Hayward Navigator Pro | Pool Vac Classic - Page 19
TROUBLESHOOTING GUIDE Problem: Cleaner sticks at steps, corners, etc. CAUSES SOLUTIONS Improper water flow Check water flow with Flow Gauge and adjust as per Step 6. Worn shoes Replace shoes Worn wings Replace wings Hose too short Install additional hose per installation instructions - Hayward Navigator Pro | Pool Vac Classic - Page 20
of "good" pool plaster is such that a pool vacuum cleaner - automatic or manual cannot remove that plaster. D) The integrity of "good" pool plaster is such pool and the pool's surroundings. To better serve you, please have the following information available if you call Hayward's Technical Service - Hayward Navigator Pro | Pool Vac Classic - Page 21
from bottom of unit (21-) If you purchased your Cleaner in the United States For convenient registration visit: www.hayward-pool.com or mail to: Hayward Pool Products 620 Division St. Elizabeth, NJ 07201 Attn: Warranty DEPT If you purchased your Cleaner in Canada For convenient registration - Hayward Navigator Pro | Pool Vac Classic - Page 22
Suction Cleaner WARRANTY REGISTRATION HAYWARD POOL PRODUCTS, INC. LIMITED PARTS WARRANTY To the Original Retail Consumer/Purchaser (the "PURCASER") of the Hayward Pool Vac XL, Navigator Pro and Pool Vac Classic (the "CLEANER"): Hayward Pool Products, Inc. ("HAYWARD") warrants the cleaner from - Hayward Navigator Pro | Pool Vac Classic - Page 23
Turbine Suction Cleaner WARRANTY REGISTRATION 21 - Hayward Navigator Pro | Pool Vac Classic - Page 24
Turbine Suction Cleaner WARRANTY REGISTRATION 22 Hayward is a registered trademark and Pool VaaccXULlt, rNaaavnigdaNtoarvPigroataonrdarPeotoral VdaecmCalraksssiocfaHreaytwraadredmInadrkussotrfieHsa, yInwca. rd Industries, Inc. © 200190 Hayward Iindustries, Inc.
-
 1
1 -
 2
2 -
 3
3 -
 4
4 -
 5
5 -
 6
6 -
 7
7 -
8
-
9
-
10
-
11
-
12
-
13
-
14
-
15
-
16
-
17
-
18
-
19
-
20
-
21
-
22
-
23
-
24
 |
 |
P/N K540AD-Rev E
Owner’s Manual
Hayward Pool Products
620 Division Street Elizabeth, NJ 07207
Phone (908) 351-5400
www.hayward-pool.com
Pool Vac XL
®
Navigato
r Pro
®
Pool Vac Classic