HealthRider H100i Treadmill English Manual
HealthRider H100i Treadmill Manual
 |
View all HealthRider H100i Treadmill manuals
Add to My Manuals
Save this manual to your list of manuals |
HealthRider H100i Treadmill manual content summary:
- HealthRider H100i Treadmill | English Manual - Page 1
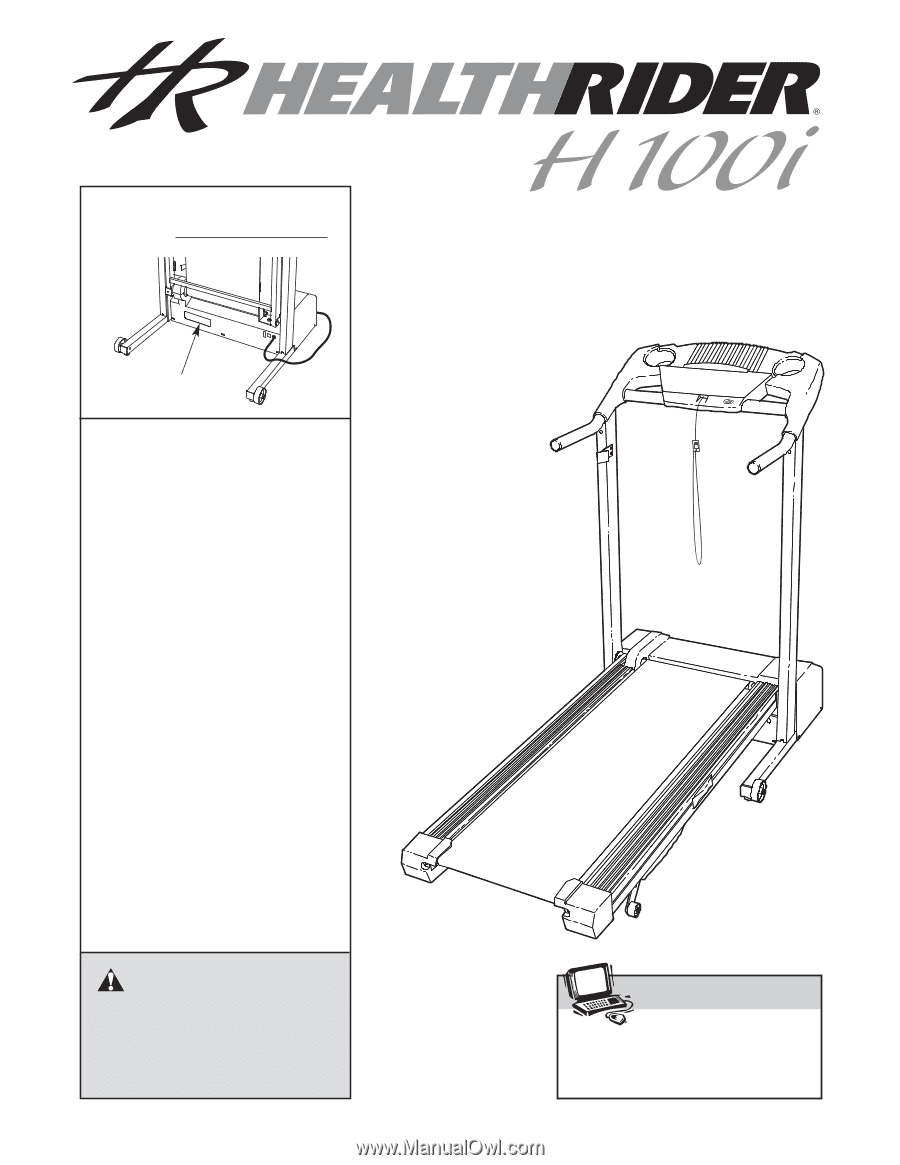
questions, or if parts are damaged or missing, PLEASE CONTACT OUR CUSTOMER SERVICE DEPARTMENT DIRECTLY. CALL TOLL-FREE: 1-888-922-4222 Mon.-Fri., 6 a.m.-6 p.m. MST ON THE WEB: www.healthriderservice.com USER'S MANUAL CAUTION Read all precautions and instructions in this manual before using this - HealthRider H100i Treadmill | English Manual - Page 2
8 HOW TO FOLD AND MOVE THE TREADMILL 12 TROUBLESHOOTING 13 CONDITIONING GUIDELINES 15 LIMITED WARRANTY Back Cover ORDERING REPLACEMENT PARTS Center of Manual Note: An EXPLODED DRAWING and a PART LIST are attached in the center of this manual. IMPORTANT PRECAUTIONS WARNING: To reduce the - HealthRider H100i Treadmill | English Manual - Page 3
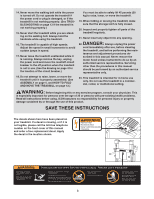
de- scribed in this manual. Never remove the motor hood unless instructed to do so by an authorized service representative. Servicing other than the procedures in this manual should be performed by an authorized service representative only. 23. This treadmill is intended for in-home - HealthRider H100i Treadmill | English Manual - Page 4
of this manual for the location). To avoid a registration fee for any service needed under warranty, you must register the treadmill at www.healthriderservice.com/registration. Before reading further, please review the drawing below and familiarize yourself with the labeled parts. Water Bottle - HealthRider H100i Treadmill | English Manual - Page 5
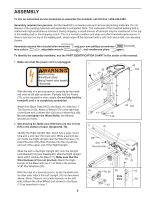
needlenose pliers . To identify the assembly hardware, see the PART IDENTIFICATION CHART in the center of this manual. 1. Make sure that the power cord is unplugged. 1 36 37 75 40 102 With the help of a second person, carefully tip the treadmill onto its left side as shown. Partially fold the - HealthRider H100i Treadmill | English Manual - Page 6
3. With the help of a second person, position the treadmill with the Uprights (62, 76) in the vertical position as 3 shown. Route the Wire Harness (21) through the bracket on the Right Handrail (47) and - HealthRider H100i Treadmill | English Manual - Page 7
(76) with two 8 3/4" Screws (13). Be careful not to overtighten the Screws. 1 14 13 76 9. Make sure that all parts are properly tightened before you use the treadmill. Note: Extra hardware may be included. Keep the included allen wrenches in a secure place; the large allen wrench is used to - HealthRider H100i Treadmill | English Manual - Page 8
being damaged, always use a surge suppressor with your treadmill (see drawing 1 at the right). To purchase a surge suppressor, see your local HealthRider dealer or call the toll-free telephone number on the front cover of this manual and order part number 146148, or see your local electronics store - HealthRider H100i Treadmill | English Manual - Page 9
page 8). Next, lo- cate the reset/off cir- Reset cuit breaker on the treadmill frame near the power cord. Make sure that the circuit breaker is in the " reset" posi- tion. Next, stand on the foot rails of the treadmill. Locate the clip attached to the key (see the drawing above), and - HealthRider H100i Treadmill | English Manual - Page 10
see THE INFORMATION MODE/DEMO MODE on page 11. For simplicity, all instructions in this section refer to miles. The center display- The center display and adjust the incline of the treadmill to the lowest setting. The incline must be at the lowest setting or the treadmill will become damaged when it - HealthRider H100i Treadmill | English Manual - Page 11
: The left display will show the total number of hours that the treadmill has been used. The center display will show the total number of miles is in the "demo" mode. This mode is intended to be used only when a treadmill is displayed in a store. When the console is in the demo mode, the power cord - HealthRider H100i Treadmill | English Manual - Page 12
latch to the left. Pivot the frame down until the frame and the foot rail are past the storage latch. 2. See drawing 1 above. Hold the treadmill firmly with both hands, and lower the frame to the floor. Do not drop the frame to the floor. To decrease the possibility of injury - HealthRider H100i Treadmill | English Manual - Page 13
TROUBLESHOOTING Most treadmill problems can be solved by following the steps below. Find the symptom that applies, and follow the steps listed. If further assistance is needed, please see the front cover of this manual. PROBLEM: The power does not turn on SOLUTION: a. Make sure that the power - HealthRider H100i Treadmill | English Manual - Page 14
in the power cord, insert the key, and run the treadmill for a few minutes. Repeat until the walking belt is properly tightened. b 2"-3" Rear Roller Bolts c. If the walking belt still slows when walked on, see the front cover of this manual. PROBLEM: The walking belt is off-center or slips when - HealthRider H100i Treadmill | English Manual - Page 15
35 or individuals with preexisting health problems. The pulse sensor is using your heart rate as a guide. The chart below shows recommended heart rates the speed and incline of the treadmill until your heart rate is near workout should include the following three parts: A Warm-up-Start each workout - HealthRider H100i Treadmill | English Manual - Page 16
information: • the MODEL NUMBER of the product (HRTL34305.0) • the NAME of the product (HealthRider H 100i treadmill) • the SERIAL NUMBER of the product (see the front cover of this manual) • the KEY NUMBER and DESCRIPTION of the desired part(s) (see the PART LIST and the EXPLODED DRAW- ING in the - HealthRider H100i Treadmill | English Manual - Page 17
PART LIST-Model No. HRTL34305.0 R0805B Key No. Qty. 1 1 2 1 3 2 4 1 5 1 6 1 7 1 8 4 9 4 10 1 11 1 12 1 13 13 14 Tie Clamp Right Upright Releasable Tie Choke Belt Guide Belly Pan Fastener Walking Belt Walking Platform Belly User's Manual # These parts are not illustrated - HealthRider H100i Treadmill | English Manual - Page 18
EXPLODED DRAWING-Model No. HRTL34305.0 R0805B 46 90 92 97 4 97 97 71 101 86 31 32 5 49 42 25 48 17 6 75 17 7 84 98 39 83 77 3 52 - HealthRider H100i Treadmill | English Manual - Page 19
as your bill of sale; store, operate, and maintain the Product as specified in the Manual; notify our Customer Service Department of any defect within 10 days after discovery of the defect; as instructed, return any defected part for replacement or, if necessary, the entire product, for repair. USER
-
 1
1 -
 2
2 -
 3
3 -
 4
4 -
 5
5 -
 6
6 -
 7
7 -
8
-
9
-
10
-
11
-
12
-
13
-
14
-
15
-
16
-
17
-
18
-
19
 |
 |
Serial Number
Decal
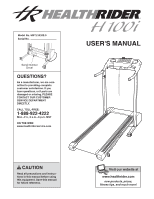
USER'S MANUAL
Model No. HRTL34305.0
Serial No.
CAUTION
Read all precautions and instruc-
tions in this manual before using
this equipment. Save this manual
for future reference.
Visit our website at
www.healthrider.com
new products, prizes,
fitness tips, and much more!
QUESTIONS?
As a manufacturer, we are com-
mitted to providing complete
customer satisfaction. If you
have questions, or if parts are
damaged or missing, PLEASE
CONTACT OUR CUSTOMER
SERVICE DEPARTMENT
DIRECTLY.
CALL TOLL-FREE:
1-888-922-4222
Mon.–Fri., 6 a.m.–6 p.m. MST
ON THE WEB:
www.healthriderservice.com