HP 2200 HP LaserJet 2200 Series - User Guide - Page 99
Wrinkles or Creases, Toner Scatter Outline, Random Image Repetition, See Media Specifications.
 |
View all HP 2200 manuals
Add to My Manuals
Save this manual to your list of manuals |
Page 99 highlights
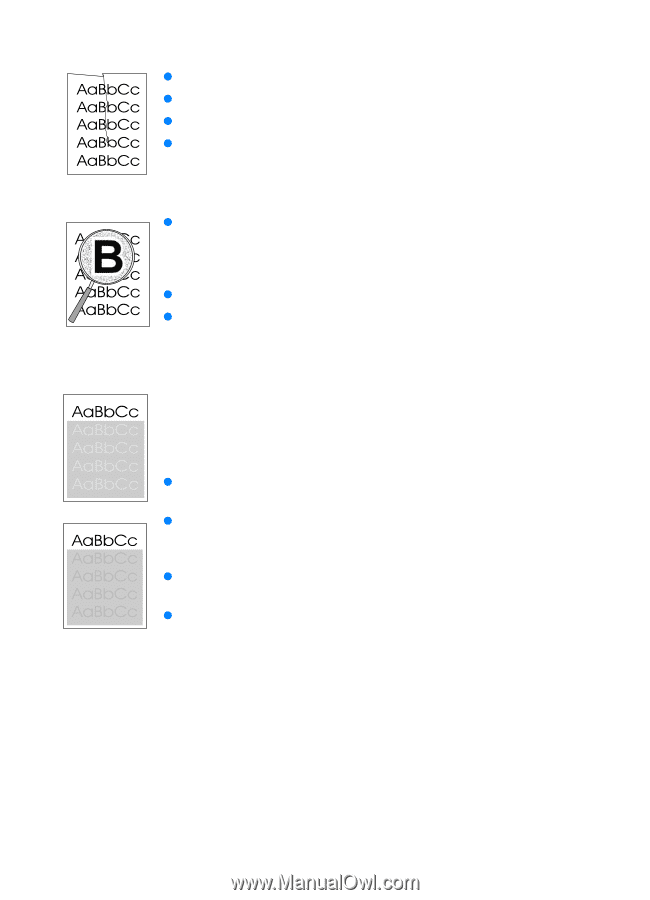
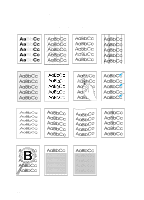
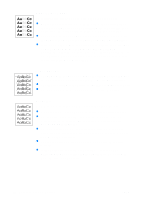
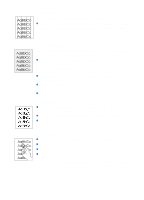
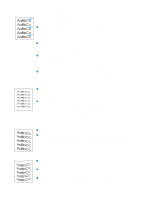
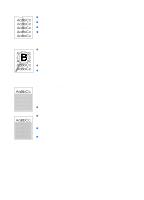
Wrinkles or Creases z Make sure that paper is loaded properly. z Check the paper type and quality. See Media Specifications. z Open the rear door and try printing to the rear output bin. z Turn over the stack of paper in the tray or try rotating the paper 180° in the input tray. Toner Scatter Outline z If large amounts of toner have scattered around the characters, the paper may have high resistivity. (Small amounts of toner scatter is normal for laser printing.) Try a different paper type. See Media Specifications. z Turn over the stack of paper in the tray. z Use paper designed for laser printers. See Media Specifications. Random Image Repetition If an image that appears at the top of the page (in solid black) repeats further down the page (in gray field), the toner may not have been completely erased from the last job. (The repeated image may be lighter or darker than the field it appears in.) z Change the tone (darkness) of the field that the repeated image appears in. z Change the order in which the images are printed. For example, have the lighter image at the top of the page, and the darker image further down the page. z From your software application, rotate the whole page 180° to print the lighter image first. z If the defect occurs later in a print job, turn the printer off for ten minutes, and then turn the printer on to restart the print job. ENWW Chapter 4 Problem Solving 89
-
 1
1 -
2
-
3
-
4
-
5
-
6
-
7
-
8
-
9
-
10
-
11
-
12
-
13
-
14
-
15
-
16
-
17
-
18
-
19
-
20
-
21
-
22
-
23
-
24
-
25
-
26
-
27
-
28
-
29
-
30
-
31
-
32
-
33
-
34
-
35
-
36
-
37
-
38
-
39
-
40
-
41
-
42
-
43
-
44
-
45
-
46
-
47
-
48
-
49
-
50
-
51
-
52
-
53
-
54
-
55
-
56
-
57
-
58
-
59
-
60
-
61
-
62
-
63
-
64
-
65
-
66
-
67
-
68
-
69
-
70
-
71
-
72
-
73
-
74
-
75
-
76
-
77
-
78
-
79
-
80
-
81
-
82
-
83
-
84
-
85
-
86
-
87
-
88
-
89
-
90
-
91
-
92
-
93
-
 94
94 -
 95
95 -
 96
96 -
 97
97 -
 98
98 -
 99
99 -
 100
100 -
 101
101 -
 102
102 -
 103
103 -
 104
104 -
105
-
106
-
107
-
108
-
109
-
110
-
111
-
112
-
113
-
114
-
115
-
116
-
117
-
118
-
119
-
120
-
121
-
122
-
123
-
124
-
125
-
126
-
127
-
128
-
129
-
130
-
131
-
132
-
133
-
134
-
135
-
136
-
137
-
138
-
139
-
140
-
141
-
142
-
143
-
144
-
145
-
146
-
147
-
148
-
149
-
150
-
151
-
152
-
153
-
154
-
155
-
156
-
157
-
158
-
159
-
160
-
161
-
162
-
163
-
164
-
165
-
166
-
167
-
168
-
169
-
170
-
171
-
172
 |
 |